
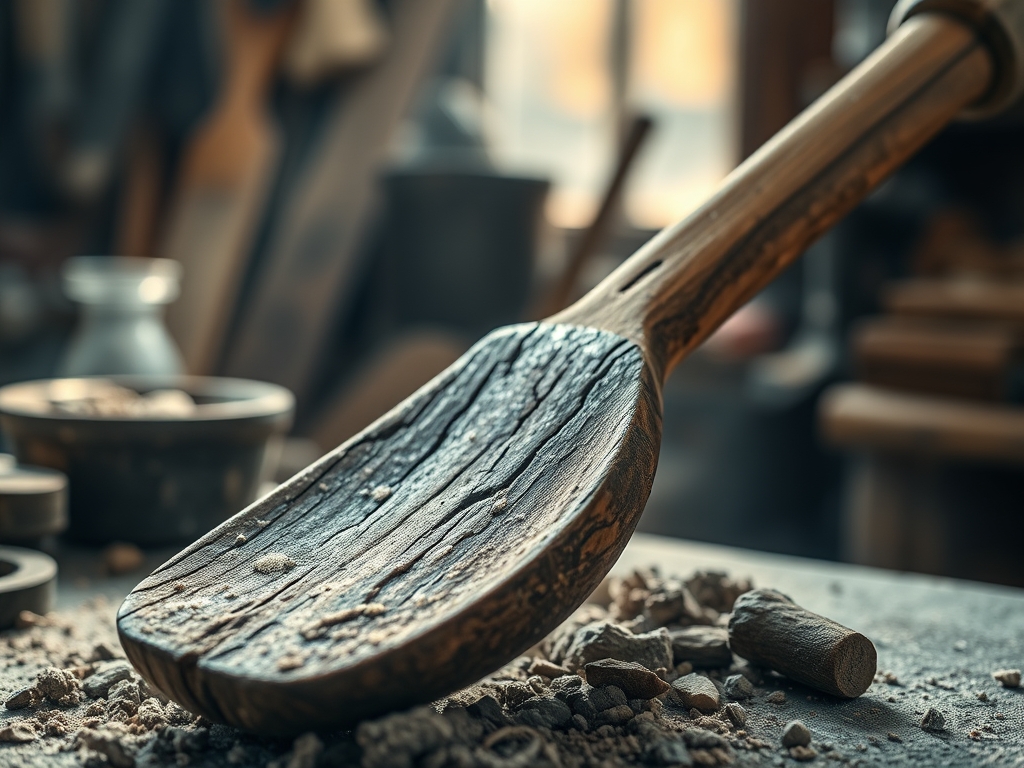
Grab your safety glasses and clear the workbench because we are diving into the most satisfyingly difficult project in the woodshop. There is a specific, visceral thrill that comes with Carving a Wooden Ladle; it is a dance between the rigid cellular structure of the timber and the fluid motion of your steel. You feel the tensile strength of the grain resisting your blade until, suddenly, the fibers yield in a perfect, translucent curl. We are not just making a kitchen utensil here. We are engineering a functional sculpture that must balance weight, ergonomics, and fluid dynamics. The deep curve of the bowl is where most makers fail because it requires you to understand wood anatomy in three dimensions. If you go too shallow, it is just a spoon; if you go too deep without respecting the lignin bonds, the bottom will simply drop out. We are aiming for that sweet spot where the wood is thin enough to be elegant but structurally sound enough to hold a liter of heavy stew.
THE STUDIO KIT
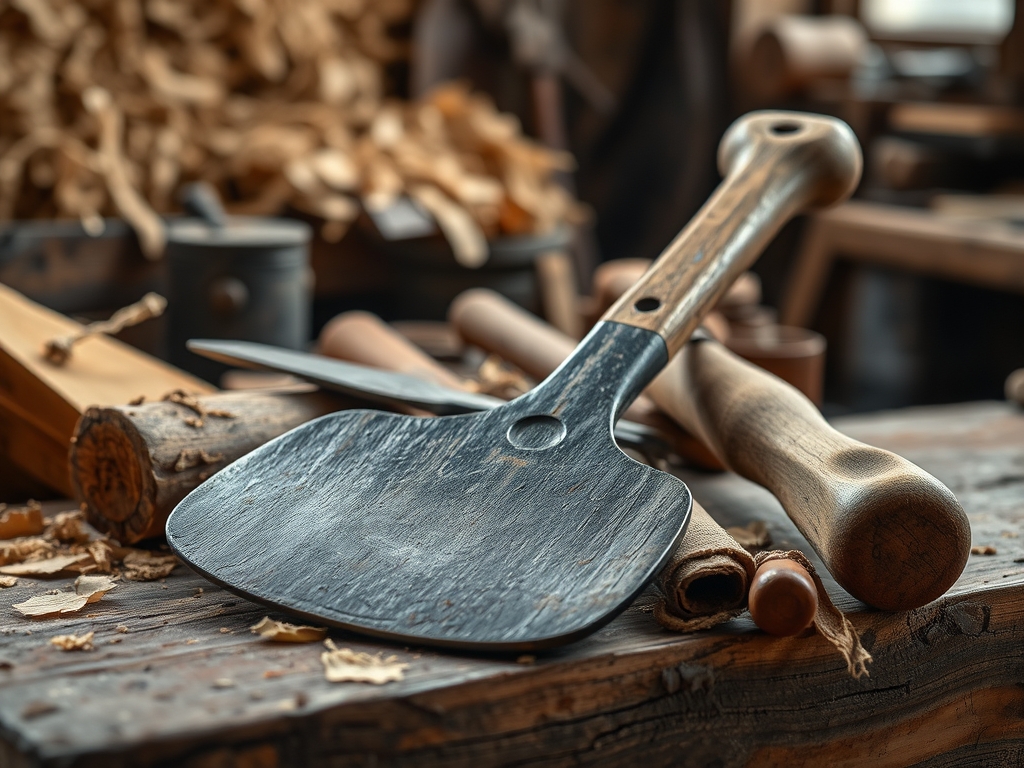
To master the deep curve, your kit must be surgical. You cannot rely on standard flat chisels for this level of interior excavation. You need a hook knife with a tight radius and a spoon gouge (specifically a No. 7 or No. 8 sweep) to navigate the hemispherical interior. For the exterior shaping, a drawknife and a spokeshave are your best friends for establishing the long, elegant neck of the ladle. I always keep a pair of digital calipers on hand to monitor the wall thickness; when you are working with a porous material like cherry or birch, a difference of two millimeters can be the difference between a heirloom and firewood.
For materials, we are looking for "green" wood or freshly felled hardwoods. This is because the moisture content keeps the fibers flexible, reducing the brittleness during heavy removal. If you cannot source fresh apple or maple, a Material Substitution would be kiln-dried walnut, but you will need to frequently hydrate the surface with a spray bottle to prevent the grain from tearing. You will also need a burnishing tool or a smooth river stone to compress the fibers at the end, which increases the hydrophobic properties of the wood.
THE TEMPO
The "Maker's Rhythm" for a ladle is a marathon, not a sprint. You should allocate approximately six to eight hours for a single piece, broken into three distinct phases. The first phase is the Bulk Removal (90 minutes), where the energy is high and the chips are flying. This is followed by the Refinement Phase (3 hours), which is the most mentally taxing portion. This is where you navigate the transition from the handle to the bowl, ensuring the grain direction does not result in a snap.
The final phase is the Curing and Finishing (spread over three days). Because we are removing so much mass from the center, the wood will want to warp as it reaches equilibrium with the workshop's humidity. You have to slow down the drying process by placing the ladle in a paper bag with its own shavings. This controlled evaporation prevents radial checking, which are those heart-breaking cracks that appear when the exterior dries faster than the core. Patience here is just as important as your grip on the gouge.
THE CORE METHOD
1. Mapping the Grain Orientation
Before the first cut, you must analyze the medullary rays and the annual rings of your wood block. Position the bowl of the ladle so the grain runs parallel to the handle. This ensures that the long fibers provide the necessary tensile strength to support the weight of the liquid when the ladle is full. If the grain runs diagonally through the neck, the piece will fail at its narrowest point under the slightest stress.
Mastery Tip: Wood is essentially a bundle of drinking straws. By aligning the "straws" horizontally across the length of the ladle, you maximize the structural integrity and prevent the wood from absorbing excess moisture through the end-grain in the bowl.
2. Excavating the Interior Hollowing
We start with the bowl because it is the most volatile part of the build. Using your spoon gouge, work from the edges toward the center, always cutting across the grain rather than with it to avoid splitting the block in half. You are aiming for a consistent gauge across the entire hemisphere. Use your thumb as a pivot point to create a smooth, sweeping motion that mimics the final shape of the ladle.
Mastery Tip: This stage relies on the physics of shear strength. By cutting perpendicular to the fibers, you are severing them cleanly rather than prying them apart, which results in a smoother interior surface that requires less sanding.
3. Shaping the Ergonomic Crank
The "crank" is the angle at which the handle meets the bowl. A professional ladle is not flat; it has a distinct lift that allows you to reach the bottom of a deep pot without your knuckles hitting the rim. Use a drawknife to shave down the handle, tapering it toward the bowl while maintaining a thicker "spine" on the underside for reinforcement.
Mastery Tip: This is a lesson in leverage and fulcrums. A well-designed crank shifts the center of gravity toward the user's hand, reducing the rotational torque required to lift a full scoop of liquid.
4. Refining the Rim and Wall Thickness
Now we bring in the calipers. You want the walls of the bowl to be roughly 4mm to 6mm thick. Any thicker and the ladle feels clunky; any thinner and you risk the wood becoming hygroscopic enough to warp or crack during its first encounter with boiling soup. Use a sharp hook knife to take whisper-thin shavings until the light almost glows through the wood.
Mastery Tip: Achieving a uniform thickness ensures even thermal expansion. If one side of the bowl is thicker than the other, it will expand at a different rate when dipped in hot liquid, leading to internal stress fractures.
5. The Burnishing Finish
Once the shape is perfect, we do not just sand it. We burnish it. Take a hard object—like the back of a metal spoon or a polished stone—and rub it vigorously over the wood surface. This does not remove material; instead, it collapses the surface cells and compresses the fibers into a dense, shiny layer. Follow this with a food-safe application of raw linseed oil or beeswax.
Mastery Tip: Burnishing utilizes friction and pressure to create a mechanical seal. By closing the pores of the wood, you decrease its capillary action, meaning it will not soak up food odors or bacteria.
THE TECHNICAL LEDGER
Maintenance & Longevity
To ensure your ladle lasts a century, never put it in a dishwasher. The high heat and harsh detergents will strip the natural resins and cause the wood to become brittle. Re-oil the piece whenever the wood starts to look "thirsty" or pale. If the grain rises after use, a light buff with a high-grit abrasive will restore the smooth finish.
Material Variations
- Sustainable: Reclaimed orchard woods like Apple or Pear offer incredible density and beautiful interlocking grain.
- Premium: Black Walnut provides a high-contrast aesthetic and naturally high levels of tannic acid, which acts as a mild antimicrobial.
- Recycled: Old tool handles (ash or hickory) can be upcycled into smaller tasting ladles due to their extreme impact resistance.
The Correction
- The Tear-Out: If the wood chunks instead of slicing, your blade is dull or you are cutting against the grain. Fix: Hone your edge to a mirror finish and reverse your cutting direction immediately.
- The Thin Spot: If the calipers show a dangerously thin area, stop carving that section. Fix: Adjust the surrounding geometry to blend the thin spot into a decorative feature or a shallower curve.
- The Surface Crack: If a small check appears during drying. Fix: Fill the void with a mixture of fine wood dust and food-safe waterproof glue, then sand flush.
Studio Organization
Store your curing ladles in a cool, dark place with consistent airflow. Avoid placing them near heaters or in direct sunlight, as UV degradation and rapid moisture loss are the primary enemies of green wood projects. Use a pegboard to hang finished pieces to ensure they don't sit in stagnant moisture.
THE FINAL REVEAL
There is nothing quite like the weight of a finished ladle in your hand. When you get that deep curve right, the piece feels like an extension of your own arm. The light should play off the burnished interior, showing the variegated patterns of the grain you worked so hard to preserve. It is a triumph of physics and persistence. You have taken a raw, chaotic piece of nature and refined it into a tool of mathematical precision and tactile beauty. Now, go make some soup and put your masterpiece to the test!
STUDIO QUESTIONS
Why does my ladle crack while it is drying?
Cracking, or checking, happens when the exterior dries faster than the interior. This creates tension that pulls the fibers apart. Slow the drying process by keeping the ladle in a bag of its own damp wood shavings for several days.
Can I use any wood for a ladle?
No. Avoid softwoods like pine, which are too resinous and porous. Stick to "closed-pore" hardwoods like maple, cherry, or birch. These are durable, food-safe, and won't impart a bitter taste to your cooking or absorb bacteria easily.
What is the best way to sharpen a hook knife?
Because of the curve, you cannot use a flat stone. Use a wooden dowel wrapped in high-grit sandpaper or a leather strop loaded with polishing compound. Maintain a consistent angle to ensure the bevel remains razor-sharp for clean hollowing.
How do I know if the bowl is deep enough?
A functional ladle bowl should hold at least 4 to 6 ounces of liquid. Use your calipers to check depth against the exterior profile. If the curve allows for a comfortable "pour" without spilling, you have mastered the geometry.

