
Imagine the scent of raw, vegetable tanned leather hitting your senses the moment you clear your workbench. It is earthy and sweet; a promise of a transformation that turns a dainty timepiece into a rugged heirloom. Your fingers trace the grain of a four ounce shoulder hide, feeling the subtle resistance of the fibers. This is where the magic starts. We are not just swapping a strap today. We are mastering the art of Hand Stitching a Watch Band to give your favorite watch a soul. When you pull that first length of waxed linen thread through the leather, you feel the tension build. It is a tactile conversation between your hands and the material. This project demands precision, but it rewards you with a piece of gear that feels like it could survive a trek across the tundra or a high stakes boardroom meeting. We are stripping away the mass produced plastic and replacing it with something that breathes and ages with you. Grab your coffee and clear some space. We are about to dive deep into the physics of leathercraft.
THE STUDIO KIT
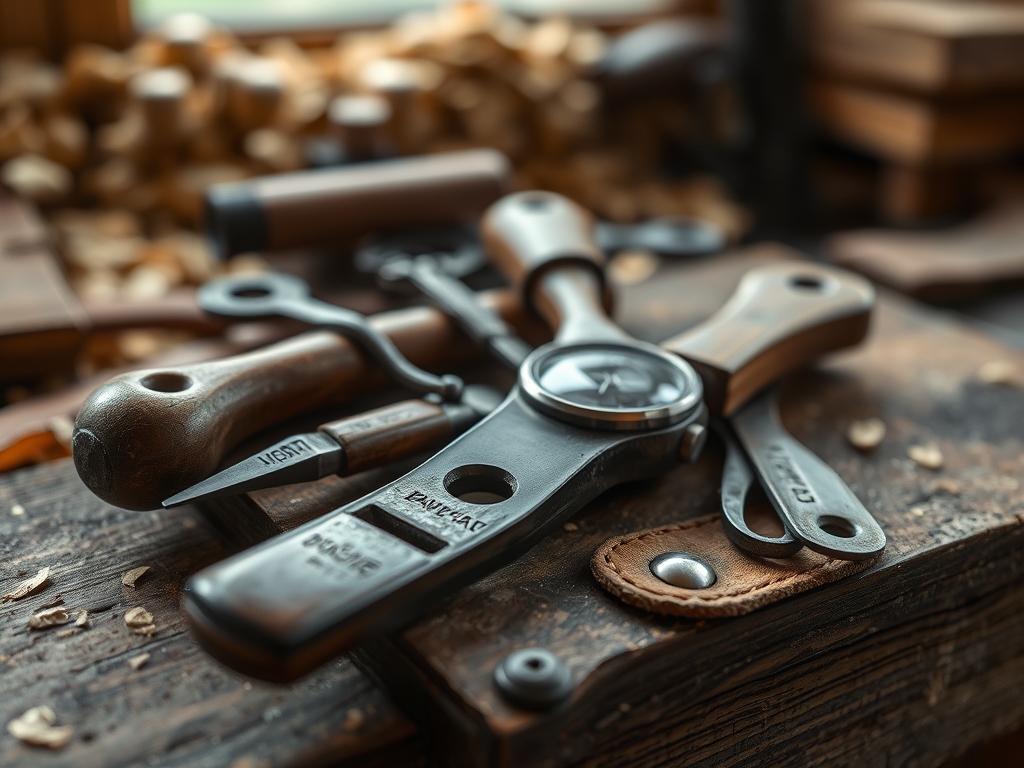
To achieve a professional finish, your kit must prioritize tools that manage the tensile strength of your leather. You will need a pair of digital calipers to measure the lug width of your watch head to the nearest tenth of a millimeter. For the cut, skip the craft knife and reach for a rotary cutter or a specialized round knife to ensure the edges do not compress or distort under pressure. Your stitching will require a diamond awl and two blunt tipped harness needles. The thread choice is critical; a 0.6mm waxed polyester or linen thread provides the necessary durability without overpowering the scale of the watch.
For the finishing touches, a bone folder is essential for creasing fold lines, and a wood slicker is used to burnish the edges. You also need edge kote or beeswax to seal the fibers. If you are looking for Material Substitutions, you can swap traditional cowhide for cork leather or recycled fire hose. However, keep in mind that synthetic materials lack the interlocking collagen fibers of genuine leather, which means your stitch tension must be adjusted to prevent the material from tearing.
THE TEMPO
The "Maker's Rhythm" is a psychological state where the physics of the material dictates your speed. Expect to spend about four to five hours on this project. The Preparation Phase takes sixty minutes; this involves measuring, cutting, and skiving the leather to reduce bulk at the fold points. The Punching and Stitching Phase is the heart of the work, requiring roughly two hours of intense focus. Hand stitching is a meditative process where each movement must be identical to ensure a uniform appearance. Finally, the Finishing Phase takes another hour. This is where you sand, dye, and burnish the edges. Do not rush the drying times for your edge paint. If the moisture has not fully evaporated, the seal will remain tacky and attract dust, ruining the aesthetic integrity of your rugged new look.
THE CORE METHOD
1. Precision Cutting and Skiving
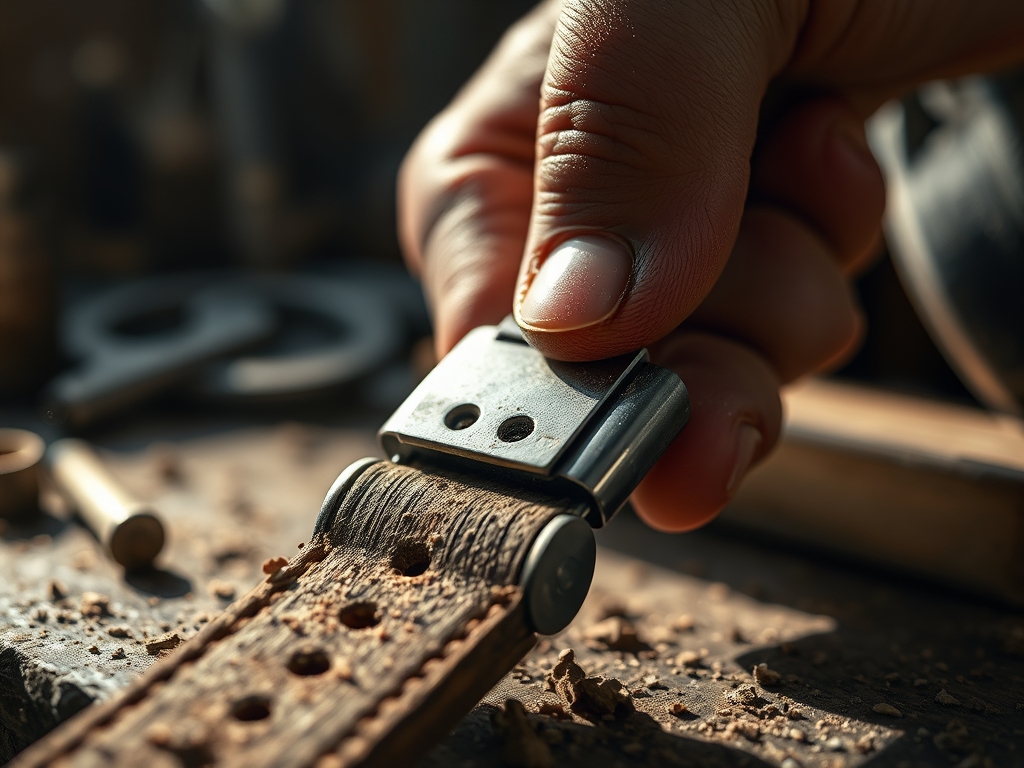
Measure your lug width and cut two strips of leather. Use your skiving knife to thin the leather at the ends where it will fold over the spring bars. This reduces the profile so the watch sits flush against your wrist. Mastery Tip: Skiving relies on the shear strength of the leather. By thinning the material, you are strategically reducing its thickness while maintaining enough fiber density to prevent the spring bar from ripping through the loop.
2. Marking the Stitch Line
Use a wing divider to scratch a faint line exactly two millimeters from the edge. This ensures your stitches are perfectly parallel. Mastery Tip: This line acts as a guide for your pricking iron. By creating a physical groove, you are pre-compressing the leather fibers, which helps the thread sit flush with the surface rather than sitting on top where it would be prone to abrasion.
3. The Saddle Stitch
Thread your needles and begin the saddle stitch. Pass one needle through the first hole, then pass the second needle through the same hole from the opposite side. Pull both ends with equal tension. Mastery Tip: This technique creates an interlocking structure. Unlike a sewing machine lockstitch, if one thread breaks in a saddle stitch, the other remains intact because of the friction fit within the leather hole.
4. Edge Burnishing
Sand the edges of your strap with progressively finer sandpaper, moving from 220 grit to 800 grit. Apply a small amount of water or gum tragacanth and rub vigorously with your wood slicker. Mastery Tip: Burnishing uses frictional heat to fuse the loose protein fibers of the leather edge together. This creates a smooth, hardened surface that resists moisture and prevents the leather from fraying over time.
THE TECHNICAL LEDGER
Maintenance and Longevity: To keep your rugged strap in peak condition, apply a neatsfoot oil or high quality leather conditioner every six months. This replenishes the oils lost to evaporation and prevents the fibers from becoming brittle. Avoid over-saturating the leather, as this can cause the material to lose its shape and become overly elastic.
Material Variations: For a sustainable approach, look for oak bark tanned leather. This traditional process uses natural tannins and takes up to a year to produce, resulting in a leather with incredible dimensional stability. If you want a more exotic look, shell cordovan offers the highest density of any leather, though its lack of grain makes it more difficult to burnish.
The Correction:
- Uneven Stitches: If your stitches look zig-zagged, you likely switched the order of your needles. Fix this by ensuring the same needle always goes into the hole first.
- Loose Folds: If the leather around the spring bar feels loose, your skiving was too shallow. Re-skive the area to allow for a tighter radius.
- Rough Edges: If burnishing is not working, your edges are likely too dry. Add a drop of water to increase the capillary action and help the fibers bind.
Studio Organization: Store your leather hides flat in a cool, dark place with a consistent humidity of around 50 percent. Exposure to UV light will cause photo-oxidation, which prematurely ages the leather and alters its color. Keep your awls and knives stropped and coated in a light machine oil to prevent rust.
THE FINAL REVEAL
Look at that! You have successfully taken a piece of raw hide and transformed it into a custom, rugged masterpiece. The way the thick thread contrasts against the deep tones of the leather gives the watch an entirely new personality. It feels substantial on the wrist; a weight that reminds you of the work you put in. As the weeks go by, this leather will develop a patina, darkening and softening in response to your environment. You did not just make a watch band; you engineered a piece of wearable history. Every time you check the time, you will see those perfect saddle stitches and know that your timepiece is now as tough as you are.
STUDIO QUESTIONS
What is the best leather thickness for a watch band?
A thickness of 3 to 4 ounces (1.2 to 1.6mm) is ideal. This provides enough structural integrity for durability while remaining flexible enough to wrap comfortably around the wrist without causing skin irritation or excessive bulk.
Why should I use waxed thread for hand stitching?
Wax acts as a lubricant, reducing friction as the thread passes through the leather. It also seals the stitch hole against moisture and prevents the thread from fraying, which significantly increases the tensile longevity of the seam.
How do I prevent the leather from stretching over time?
Choose vegetable tanned leather over chrome tanned options. Vegetable tanning creates a denser fiber structure with less elasticity. Additionally, keeping the stitch tension consistent during assembly prevents the leather from deforming under the weight of the watch head.
Can I use a regular sewing needle for leather?
No, regular needles are too weak. You need harness needles with blunt tips. These are designed to pass through holes previously created by an awl or pricking iron, ensuring you do not pierce the thread fibers during the process.

