
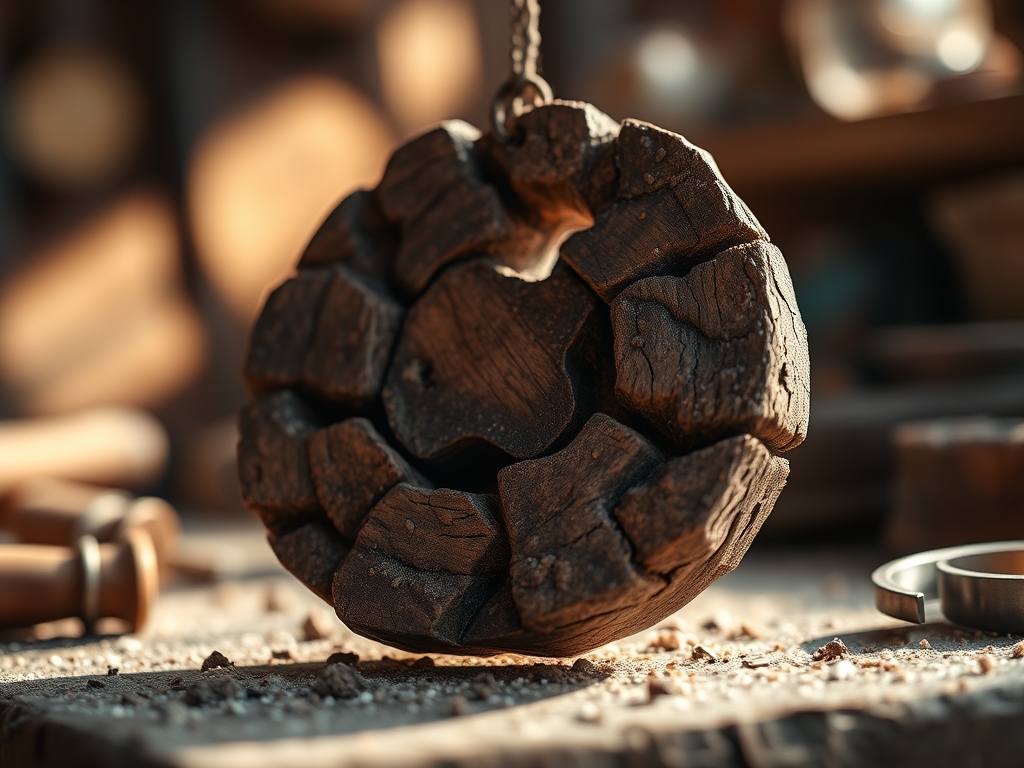
Grab your favorite wool socks and a mug of something steaming; we are diving into the gritty, tactile world of winter craftsmanship. There is a specific kind of magic that happens when the air turns crisp and you find yourself hunched over a workbench with a sharp blade in hand. We are not just making a trinket. We are Carving a Wooden Ornament that captures the very essence of the season. Feel the weight of the wood in your palm. It is cold, dense, and full of potential energy. As you run your thumb over the surface, you are feeling the cellular structure of the tree itself. The lignin and cellulose fibers are locked in a tight embrace, waiting for you to intervene. This project is about more than just aesthetics; it is a lesson in structural integrity and the physics of organic materials. We are going to take a raw, unfinished block and transform it into a legacy piece that catches the firelight. Let us get our hands dirty and our minds sharp.
THE STUDIO KIT
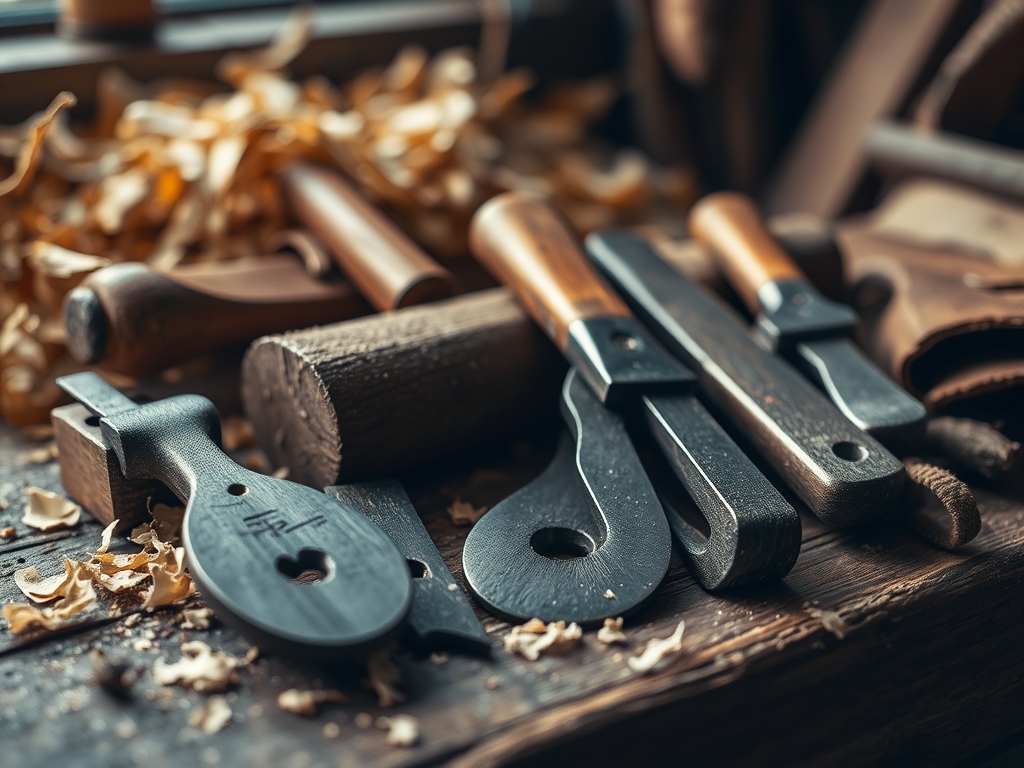
To master the art of Carving a Wooden Ornament, you need a kit that respects the material physics of timber. We start with a basswood blank, chosen specifically for its tight, even grain and low density, which makes it incredibly forgiving for intricate detail work. You will need a high-carbon steel detail knife with an ergonomic handle to prevent hand fatigue during long sessions. A set of micro-chisels and a V-tool are essential for creating depth and shadow. For precision, keep a pair of digital calipers nearby to ensure your symmetry is mathematically sound.
You also need a honing strobe and polishing compound. A dull blade does not cut; it tears the wood fibers, leaving a fuzzy, unprofessional finish. For the final touch, grab some high-grit sandpaper (starting at 220 and moving to 600) and a natural beeswax finish.
Material Substitutions: If you cannot find basswood, butternut is a gorgeous alternative with a slightly richer color. For a premium, high-density challenge, try cherry or walnut, though these require much sharper tools and more force due to their higher Janka hardness rating. Avoid pine for small ornaments; the wide latewood bands in the grain cause the blade to jump, leading to uneven cuts and potential injury.
THE TEMPO
The "Maker's Rhythm" is a psychological state where time dilates. For this project, expect to spend about four to six hours from the first cut to the final buff. The Initial Roughing Phase takes roughly sixty minutes. This is the high-energy stage where you remove bulk material. The Detailing Phase is the heart of the project, requiring two to three hours of focused, meditative work. This is where you find your flow. Finally, the Finishing Phase takes about an hour, including sanding and the application of oils. Remember, wood is a porous medium; it needs time to "breath" and stabilize between heavy carving and sealing.
THE CORE METHOD
1. Mapping the Grain
Before the blade even touches the wood, you must identify the longitudinal grain direction. Use a pencil to draw your design directly onto the block. Always align the most delicate parts of your ornament, like a thin snowflake arm or a reindeer antler, parallel to the grain. This maximizes the tensile strength of the wood.
Mastery Tip: Wood is essentially a bundle of microscopic straws. If you carve against the grain, you are lifting those straws and snapping them, which causes "tear-out." Always carve with the grain to keep the surface smooth and the structural integrity intact.
2. The Rough Out
Using your primary detail knife, begin removing the corners of your block. Use push cuts for power and pull cuts (with your thumb as a lever) for control. Focus on creating a "blank" that resembles the silhouette of your final shape.
Mastery Tip: This stage is about managing displacement. Do not try to take off large chunks at once. Small, thin shavings prevent the wood from splitting along unexpected stress lines.
3. Establishing Planes and Volume
Now, move from a 2D silhouette to a 3D form. Carve away the sharp edges to create rounded surfaces or faceted planes. Use your calipers to check the thickness of the piece. For a winter ornament, you want a balance between a delicate appearance and enough mass to survive a fall from a tree branch.
Mastery Tip: Use bevel-down carving on concave curves. The back of the knife blade acts as a fulcrum, allowing you to "scoop" the wood while maintaining a consistent depth of cut through mechanical leverage.
4. Intricate Detailing
Switch to your V-tool or micro-chisels. This is where you add the "soul" to the piece: the veins in a leaf, the texture of fur, or geometric patterns. These cuts create shadows, which provide the visual contrast necessary for a small object to "pop" from a distance.
Mastery Tip: This is where capillary action comes into play later. Deep, narrow grooves will hold more finish and stain, appearing darker. Use this to your advantage to create natural shading without needing paint.
5. The Refined Burnish
Once the carving is complete, sand the piece starting with 220 grit. Move in the direction of the grain. After sanding, use a smooth piece of hardwood or a bone folder to burnish the surface. This compresses the surface fibers, giving the wood a natural luster and making it more resistant to moisture.
Mastery Tip: Burnishing creates a "closed" surface. This reduces the amount of oil the wood absorbs in the final step, preventing the ornament from becoming oversaturated and heavy.
THE TECHNICAL LEDGER
Maintenance & Longevity: Wood is hygroscopic; it absorbs and releases moisture based on the environment. To prevent your ornament from cracking over the years, keep it away from direct heat sources like radiators. Re-apply a thin coat of wax every two years to maintain the moisture barrier.
Material Variations:
- Sustainable: Use reclaimed orchard wood like apple or pear.
- Recycled: Carve from old tool handles or furniture scraps.
- Premium: Exotic woods like Ebony or Pink Ivory offer incredible density for micro-carving.
The Correction:
- The Slip: If the knife slips and removes a chunk you needed, use a "cyanoacrylate" (super glue) and a bit of matching sawdust to create a structural filler.
- The Crack: If the wood checks (cracks) due to dryness, stabilize it with thin CA glue before continuing.
- The Dull Edge: If the wood looks "fuzzy" after a cut, your blade is dull. Stop immediately and strobe the edge until it can shave hair.
Studio Organization: Store your carving tools in a roll made of oil-tanned leather. This prevents the high-carbon steel from rusting and protects the delicate tips from chipping. Store your finished ornaments in acid-free tissue paper to prevent the finish from reacting with plastic storage bins.
THE FINAL REVEAL
Look at that! You have successfully navigated the cellular landscape of timber to create something breathtaking. Your finished ornament should feel balanced and smooth, with crisp lines that play with the light. When you hang it on the tree, the way the shadows settle into your V-tool cuts will give it a professional, high-end look that store-bought plastic can never replicate. You have taken a piece of the forest and, through the application of physics and grit, turned it into a winter heirloom. That tactile satisfaction of a job well done is the best gift you can give yourself this season.
STUDIO QUESTIONS
What is the best wood for a beginner carver?
Basswood is the gold standard for beginners. It has a very soft, consistent grain structure with minimal "latewood" interference. This allows for easy cutting in any direction without the blade catching or the wood splitting unexpectedly.
How do I keep my carving tools sharp?
Use a leather hone or "strop" loaded with a fine polishing compound. Drag the blade away from the edge at a consistent angle every fifteen minutes of carving. This maintains the microscopic alignment of the steel edge for effortless cutting.
Can I carve green (wet) wood for ornaments?
You can, but it is risky for small items. As green wood dries, it shrinks and loses volume. This often leads to warping or "checking" (cracking). For small ornaments, it is much safer to use kiln-dried or well-seasoned blanks.
What is the safest way to hold the wood?
Always carve away from your body. Use a "bench hook" or a small vise to secure the wood if you are using two hands on a chisel. If hand-holding, wear a cut-resistant Kevlar glove on your non-dominant hand.
How do I fix a "fuzzy" finish on my carving?
Fuzziness occurs when dull tools tear fibers instead of cutting them. To fix this, use high-grit sandpaper (400+) to sand down the fibers. For future cuts, ensure your blade is "scary sharp" by stropping it frequently during the process.

