
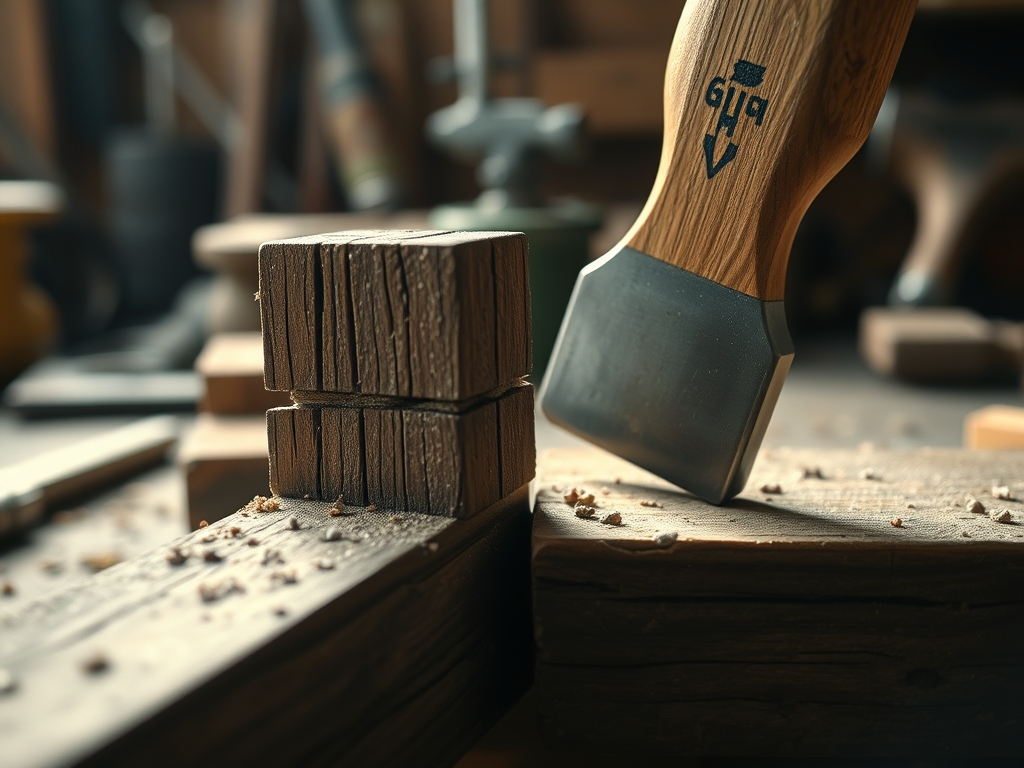
Imagine the smell of fresh white oak shavings hitting a cold concrete floor while the morning light catches the dust motes dancing over your workbench. There is a specific, electric thrill in the silence of a manual shop that a screaming power tool just cannot replicate. When I am Hand Cutting Mortise Joints, I am not just removing waste; I am engaging in a high stakes conversation with the cellular structure of the wood. A drill is a blunt instrument that tears through fibers with heat and friction, often leaving behind ragged edges and internal bruising. But a chisel? A chisel is a surgical blade that respects the lignin bonds and the vertical grain. When you drive that steel into the timber, you feel the resistance of the growth rings and the snap of the fibers as they yield. It is tactile, it is precise, and it is honestly the most satisfying workout your forearms will ever get. We are trading the mindless roar of a motor for the rhythmic, percussive heartbeat of a mallet.
THE STUDIO KIT

To master this, you need a kit that prioritizes tensile strength and edge retention. First, grab a dedicated mortise chisel; these are thicker than standard bench chisels to withstand heavy prying forces without snapping. You will also need a heavy joiner's mallet, preferably made of dense lignum vitae or high impact urethane, to transfer maximum kinetic energy without rebounding. For marking, put down the pencil. We use a marking gauge with a hardened steel pin to sever the wood fibers before the blade even touches the surface. This prevents splintering and ensures your joint is airtight.
You will also need digital calipers for verifying your tenon thickness to the thousandth of an inch. A sharp marking awl is essential for punching your start points, and a small square ensures your walls stay perfectly perpendicular. If you are looking for Material Substitutions, you can use a heavy framing hammer if you cushion the blow with a scrap block, but you lose that delicate feedback loop. For the wood itself, while walnut is the gold standard for its tight grain and workability, you can practice on reclaimed Douglas fir. Just be aware that softwoods have lower compressive strength, meaning they might crush rather than cut if your tools are even slightly dull.
THE TEMPO
The "Maker's Rhythm" is all about managing your internal cadence against the resistance of the material. Expect to spend the first twenty minutes in the "Mapping Phase." This is where you calibrate your tools and lay out the geometry. The actual "Excavation Phase" for a single deep mortise usually takes about fifteen to thirty minutes of steady, rhythmic striking. You cannot rush the wood. If you strike too hard, you risk splitting the workpiece along the grain direction. If you go too slow, you lose the fluid motion that keeps your cuts consistent. It is a meditative cycle: strike, tilt, pry, clear. By the time you reach the "Refinement Phase," your heart rate should be steady, and your focus should be entirely on the sound of the steel. A crisp, high pitched "ping" means you are hitting solid wood; a dull thud suggests you are hitting compressed waste that needs to be cleared.
THE CORE METHOD
1. The Fiber Score
Use your marking gauge to scribe deep lines into the wood surface. By physically cutting the top layer of fibers, you create a "track" for your chisel to follow.
Mastery Tip: This technique utilizes the principle of shear stress. By pre-cutting the grain, you ensure that when the chisel enters the wood, the waste material breaks away cleanly at the scribe line rather than tearing into the surrounding face grain.
2. The V-Notch Start
Position your chisel about an eighth of an inch inside your line and tap lightly to create a small notch. Work from the center outward toward your ends.
Mastery Tip: This creates a relief zone. Wood is essentially a bundle of straws; if you do not provide a place for the displaced volume to go, the internal hydraulic pressure of the wood cells can cause the board to check or crack.
3. Vertical Plunging
Hold the chisel perfectly vertical and deliver firm, decisive blows with the mallet. Work in "steps" about a quarter inch deep at a time.
Mastery Tip: Pay attention to the grain orientation. If the grain is "run out" or slanted, the chisel will want to follow that slope. You must counteract this by slightly over-correcting your angle to maintain true verticality.
4. Leveraged Clearing
After every few vertical cuts, use the chisel as a lever to pop the chips out of the mortise.
Mastery Tip: This relies on mechanical advantage. The back of the chisel acts as a fulcrum. Be careful not to use the edge of the mortise as the pivot point, or you will crush the fibers and ruin the crispness of the joint's shoulder.
5. Squaring the Ends
Once you reach your desired depth, go back to your original scribe lines and take one final, vertical paring cut to clean the ends.
Mastery Tip: This final pass ensures maximum surface area contact for the glue. The smoother the wall, the better the capillary action of the adhesive, leading to a molecular bond that is stronger than the wood itself.
THE TECHNICAL LEDGER
Maintenance & Longevity: Your chisels are high carbon steel. They are susceptible to oxidation from the oils on your skin. After every session, wipe them down with a rag dampened in camellia oil. To maintain the edge, use a series of diamond stones up to 8000 grit; a dull chisel is a dangerous tool because it requires more force and offers less control.
Material Variations:
- Sustainable: Bamboo ply is incredibly dense and requires frequent sharpening but offers amazing stability.
- Recycled: Old growth heart pine salvaged from barns is beautiful but brittle; watch for hidden nails that will chip your steel.
- Premium: Hard maple offers the best dimensional stability for high stress joints like chair rungs.
The Correction:
- The Overshoot: If you cut the mortise too wide, do not panic. Glue a thin "veneer" of the same species to the tenon and re-fit. This restores the friction fit.
- The Bottom Blowout: If you go too deep on a through-mortise and splinter the back, use a sacrificial "backer board" clamped tightly to the exit side next time.
- The Twisted Wall: If your walls aren't square, use a router plane to level the floor and a wide paring chisel to shave the high spots.
Studio Organization: Store your chisels in a wooden rack or a leather roll. Never let the edges touch other metal tools. To prevent wood degradation, keep your project in a humidity controlled environment; rapid shifts in moisture will cause the wood to expand and contract, potentially warping your freshly cut joints before assembly.
THE FINAL REVEAL
There is nothing quite like the moment you slide the tenon into the mortise and hear that "whoosh" of escaping air. It is a perfect, airtight marriage of geometry and nature. When you do this by hand, the joint feels alive. The surfaces are glassy, the corners are sharp enough to cut paper, and the structural integrity is vastly superior to anything held together by a screw. You have created something that can last for centuries. Look at those clean lines; they are a testament to your patience and your mastery over the material. You didn't just build a box; you engineered a masterpiece of interlocking physics.
STUDIO QUESTIONS
Why is a hand cut mortise stronger than a drilled one?
Hand cutting preserves the longitudinal fibers and avoids the heat damage caused by high speed drill bits. This maintains the natural structural integrity and allows for a more precise, high friction fit that maximizes glue surface area.
What is the best way to check for squareness?
Use a small engineer's square or a precision machined 1-2-3 block. Slide the square against the interior walls to ensure they are perfectly 90 degrees to the face, preventing "racking" or twisting in the final assembly.
Can I use a standard bench chisel for this?
You can, but be cautious. Standard chisels lack the cross sectional mass of a mortise chisel. Heavy prying can bend or snap the blade. Take smaller "bites" of wood to reduce the stress on the thinner steel.
How do I know when the joint is tight enough?
The "Gravity Test" is key. A perfect joint should hold together under its own weight when lifted, but you should be able to pull it apart with firm hand pressure. If you need a hammer to join them, it is too tight.

