
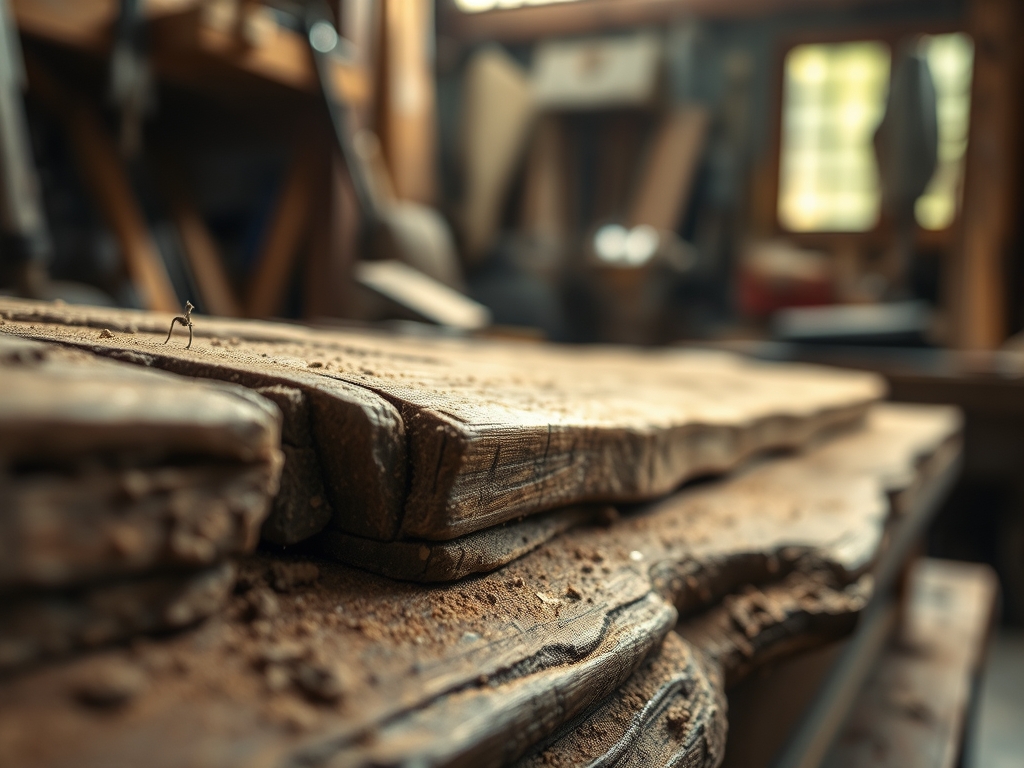
Imagine the scent of ancient tannins and dried rain hitting your nose as you drag a heavy, silvered plank onto your workbench. Working With Reclaimed Oak is not just a carpentry choice; it is a full contact sport that requires you to respect the cellular history of a tree that likely saw the turn of the century. When you run your palm across that gray, weathered surface, you are feeling the result of decades of lignification and UV exposure. But then, your fingertips hit it: a jagged, rusted snag of iron. That is a hand forged square nail, and it is currently fused to the cellulose fibers of your timber via a century of oxidation. We are not just pulling metal today. We are performing a delicate extraction to preserve the structural integrity of a premium hardwood. Reclaimed oak has a Janka hardness rating that often exceeds its kiln dried modern counterparts because the fibers have had a hundred years to settle and compress. This makes every embedded nail a potential fracture point for your expensive saw blades.
THE STUDIO KIT
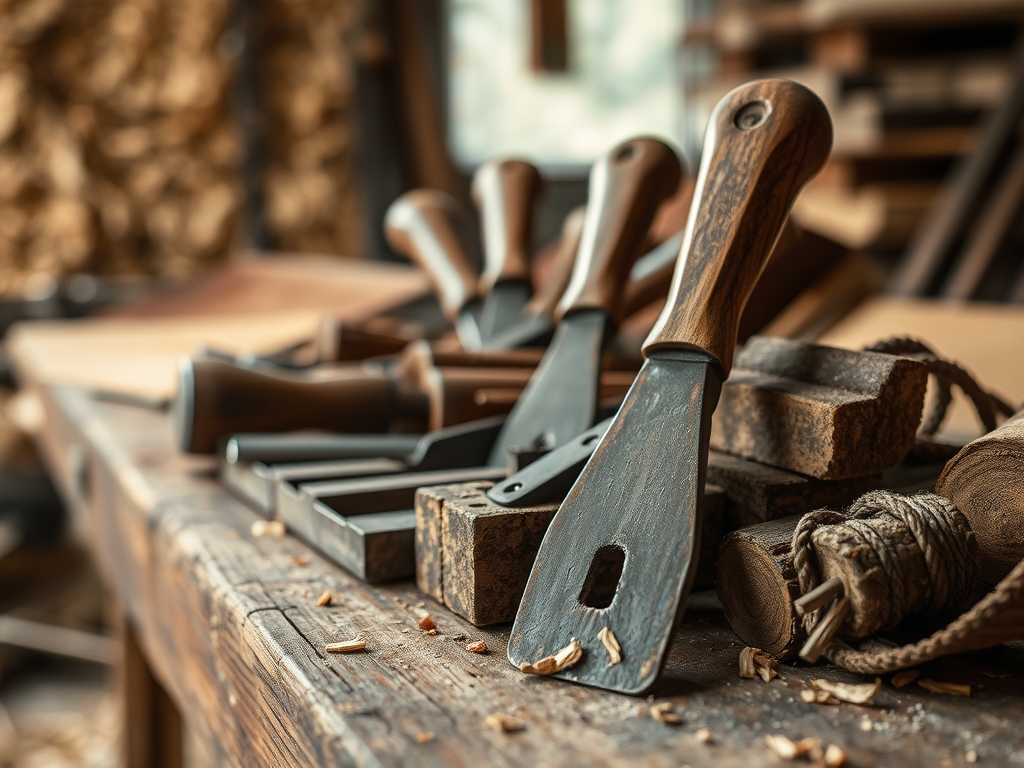
To master this reclamation, your kit needs to be as tough as the timber. You will need a high leverage pry bar and a pair of end cutting nippers to grip flush heads. For those stubborn, headless shanks buried deep in the grain, an oscillating tool with a carbide grit blade is essential for surgical precision. You must also keep a rare earth magnet or a dedicated metal detector wand nearby; oak is high in tannic acid, which reacts with iron to create deep blue-black staining, often hiding the metal from the naked eye.
Material Substitutions: If you cannot find a traditional cat's paw pry bar, a heavy duty glazier's bar offers a thinner profile to minimize "blowout" in the wood grain. For filling the resulting holes, skip the plastic wood fillers. Instead, use a mix of cyanoacrylate adhesive and the actual sawdust generated from your sanding phase to ensure a perfect color match and a chemical bond that mimics the density of the surrounding oak.
THE TEMPO
The "Maker's Rhythm" for reclaimed projects is slower than standard construction. You cannot rush the extraction phase without risking a catastrophic split along the medullary rays of the wood. Plan for the Scanning Phase to take thirty minutes per board; this involves a slow, methodical sweep with your metal detector. The Extraction Phase can vary from ten minutes to an hour depending on the frequency of "blind nails" that have rusted through. Finally, the Stabilization Phase requires twenty four hours for any epoxy or resin fills to fully cure and reach their peak tensile strength before you begin your final surfacing.
THE CORE METHOD
1. The Magnetic Mapping
Before a single blade touches the wood, you must map the internal landscape. Use your metal detector in a grid pattern, marking every "hit" with a white grease pencil. Oak is a ring-porous hardwood, meaning it has large vessels that can trap moisture and accelerate the corrosion of internal fasteners. A nail that looks small on the surface might have a massive "bloom" of rust internally that has expanded, creating internal pressure.
Mastery Tip: This process relies on electromagnetic induction. By marking the exact entry and exit points, you can calculate the angle of the fastener. If you cut into a hidden nail, the friction causes a localized heat spike that can instantly detemper your steel chisel, ruining its ability to hold a honed edge.
2. Relieving the Compression
Never pull a nail straight out of dry oak. The friction coefficient is too high. Instead, use a small hollow punch to lightly tap the nail deeper into the wood by just a millimeter. This "shocks" the bond between the rusted iron and the wood fibers, breaking the seal of the oxidation layer.
Mastery Tip: This technique utilizes mechanical vibration to overcome the static friction of the rust. By breaking this bond first, you reduce the force required for extraction by nearly forty percent, which prevents the oak from splintering as the nail exits the surface.
3. The Fulcrum Extraction
Slide your pry bar under the head, but do not pull yet. Place a thin scrap of plywood or a metal shim under the "heel" of the tool. This protects the vascular cambium layers of the wood from being crushed by the lever's force. Pull with a steady, slow pressure rather than a sudden jerk.
Mastery Tip: This is a lesson in leverage and pressure distribution. By increasing the surface area of the fulcrum with a shim, you prevent the tool from exceeding the compressive strength of the oak fibers, which avoids leaving an unsightly "dent" or "bruise" in your finished piece.
4. Managing the Void
Once the nail is out, you are left with a "black hole" caused by iron acetate staining. Use a small dental pick or an awl to scrape out any remaining loose rust. If you want to remove the black stain, apply a tiny drop of oxalic acid to the hole using a precision pipette.
Mastery Tip: The black stain is a chemical reaction between the iron and the wood's tannins. Oxalic acid acts as a chelating agent, binding with the iron ions and neutralizing the color. This restores the wood to its natural hue without compromising the structural lignin.
THE TECHNICAL LEDGER
Maintenance & Longevity: Reclaimed oak is incredibly stable because it has already finished its "movement" cycle. However, once you expose new wood by planing or sanding, you must seal it immediately with a penetrating oil to prevent the wood from absorbing atmospheric moisture and warping.
Material Variations:
- Sustainable: Reclaimed barn joists are the gold standard for density.
- Recycled: Pallet oak is thinner and more prone to "checking" or splitting.
- Premium: Quarter-sawn reclaimed oak features beautiful "fleck" patterns but is much harder to drill.
The Correction:
- The Snap: If a nail head snaps off, do not dig. Use a hollow core drill bit to cut a plug around the nail, remove the whole "core," and then glue in a matching oak dowel.
- The Blowout: If a large chunk of wood splinters off, save the piece. Use a high-viscosity PVA glue and a vacuum press or heavy clamps to re-bond the fibers along the original grain line.
- The Blade Hit: If you hit a hidden staple, stop immediately. Check the blade for "burrs" using a magnifying loupe. A single nicked tooth will create "chatter marks" across your entire project.
Studio Organization: Store your reclaimed planks horizontally on a cantilever rack with "stickers" (small wood spacers) between every layer. This allows for 360-degree airflow, preventing the growth of fungi or the accumulation of moisture that could lead to dry rot.
THE FINAL REVEAL
Look at that surface! Once those rusted intruders are gone and the oak is sanded down to a 220 grit, the character is unmatched. The holes where the nails once lived are now "beauty marks" that tell a story of a previous life. The wood feels cool, dense, and incredibly smooth to the touch, with a tactile richness that modern lumber simply cannot replicate. You have successfully navigated the physics of extraction and preserved a piece of history.
STUDIO QUESTIONS
How do I find nails I can't see?
Use a high sensitivity metal detector or a rare earth neodymium magnet. Move the tool slowly across the surface in a cross-hatch pattern. Listen for the pitch change in the detector to identify the depth and size of the hidden metal.
Is it safe to plane wood with nail holes?
Yes, provided you have confirmed the holes are empty. Use a bright LED flashlight to peer into each void. If you see a metallic glint, the hole still contains a shank that will destroy your planer knives instantly.
Why does the wood turn black around the nails?
This is a chemical reaction between the oak's natural tannins and the iron oxide from the nail. Moisture acts as a catalyst, creating a permanent dye called iron acetate that penetrates deep into the porous cellular structure of the wood.
What is the best way to fill large nail holes?
Mix fine oak sanding dust with a two part epoxy resin. This creates a high density filler that matches the wood's expansion rate. For a decorative look, use brass powder or crushed turquoise to turn the void into a visual feature.

