Grab that blank of straight grained hickory and feel the weight of it. There is a specific, cold density to high quality sapwood that tells you exactly how it will behave under fire. We are not just making a stick; we are engineering a lever that must withstand thousands of pounds of percussive force without shattering. Using a Spoke Shave is the only way to achieve that perfect, ergonomic curve while respecting the natural fiber orientation of the wood. When you run your thumb along the rough cut surface, you are feeling the open pores of the xylem. Those long, tubular cells are what give the axe handle its incredible tensile strength. If we fight the grain, the handle snaps. If we dance with it, we create a tool that lasts a century. You can already smell the faint, nutty aroma of the wood as it warms up in your hands. This is the moment where raw nature meets precision geometry. We are about to peel back the layers of time, one paper thin curl at a time, until the soul of the tool is revealed.
THE STUDIO KIT
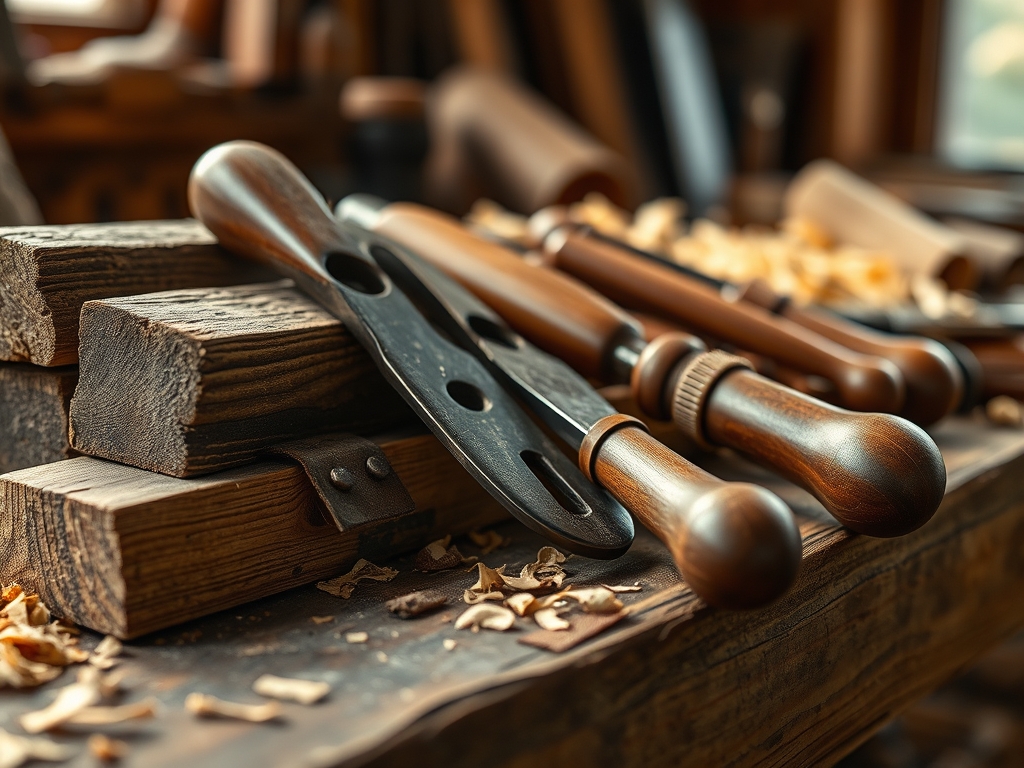
To execute this build, your workbench needs to look like a precision laboratory. Our primary actor is the flat bottom spoke shave, a tool that utilizes a narrow sole and a razor sharp blade to navigate shallow curves. You will also need a drawknife for the heavy stock removal; its dual handles allow you to use your core muscles to slice through bulk material. For measurement, skip the tape and grab your digital calipers. We need to measure the eye of the axe head to within a tenth of a millimeter to ensure a friction fit.
A cabinet scraper is essential for the final smoothing phase. Unlike sandpaper, which tears fibers and leaves dust in the pores, a scraper shears the wood, leaving a burnished surface that accepts oil more deeply. You will also need a shinto rasp for aggressive shaping in the palm swell area. For materials, the gold standard is Grade A American Hickory due to its high shock resistance.
Material Substitutions: If hickory is unavailable, White Ash is a magnificent alternative because of its long, straight grain and high elasticity. In a pinch, Hard Maple works, though it lacks the vibration dampening qualities of ash or hickory. For a premium, luxury build, Curly Maple offers stunning chatoyancy, though the interlocking grain makes Using a Spoke Shave much more difficult due to tear out risks.
THE TEMPO
The "Maker's Rhythm" is about managing heat and fatigue. This project takes approximately six to eight hours of active bench time. The first two hours are the Macro Phase, where you are moving fast, sweating, and using the drawknife to find the rough silhouette. The middle three hours are the Precision Phase. This is where the tempo slows down. You are Using a Spoke Shave with a rhythmic, pulling motion, listening for the "sing" of the blade. If the tool chatters, your rhythm is off. The final two hours are the Refinement Phase, focusing on the tactile feel of the grip and the burnishing of the grain. Never rush the final hour; your hands are more sensitive than your eyes when it comes to ergonomic perfection.
THE CORE METHOD
1. Mapping the Grain Direction
Before the first cut, you must identify the cathedrals in the wood grain. Wood is a bundle of straws; if you shave against the direction they are leaning, the blade will dig in and lift a chunk out. Always work from the high point of a curve down toward the low point. This ensures you are cutting with the grain, keeping the fibers compressed rather than lifting them.
Mastery Tip: The science of fiber buckling dictates that wood is strongest when the grain runs continuous from the head to the fawn foot. If the grain "runs out" the side of the handle, that becomes a mechanical failure point under high shear stress.
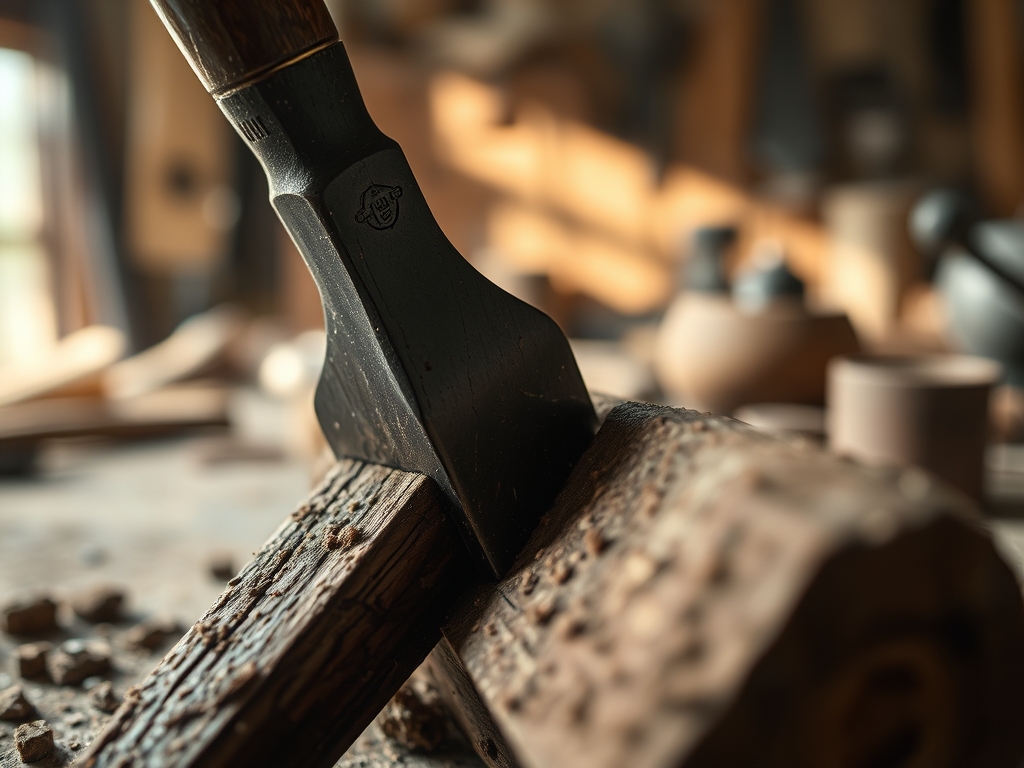
2. The Heavy Reduction
Secure your blank in a sturdy woodworking vise. Use the drawknife with the bevel down for maximum control. You are aiming to remove the square corners of the blank, turning the rectangle into an octagon. This geometric simplification allows you to track your progress and ensure the handle remains centered. Use an awl to mark your center lines on both the top and bottom of the blank.
Mastery Tip: By creating an octagonal cross section, you increase the surface area available for grip while maintaining structural integrity. The flat planes prevent the tool from rotating in your hand during a strike.
3. Using a Spoke Shave for Contouring
Now we bring in the specialist. Adjust the blade of your spoke shave so it takes a shaving no thicker than a piece of hair. Hold the tool with your thumbs behind the blade and pull it toward you in long, sweeping strokes. This is where you define the waist of the handle. The goal is to create a slight flex point that absorbs the shock of the impact before it reaches your wrists.
Mastery Tip: This process utilizes mechanical leverage. By thinning the middle of the handle while keeping the ends thick, you create a "leaf spring" effect. This distribution of force prevents the wood from reaching its elastic limit and snapping.
4. Fitting the Eye
The most critical junction is where the wood meets the steel. Use your calipers to measure the internal dimensions of the axe head. Use the spoke shave to taper the top of the handle into a tenon. You want the fit to be so tight that you have to drive the head on with a mallet. Use a jeweler's saw to cut a vertical kerf in the top for the wedge.
Mastery Tip: This relies on compressive interference. When you drive a wooden wedge into the kerf, it forces the handle fibers outward against the steel walls, creating a permanent mechanical bond through friction and pressure.
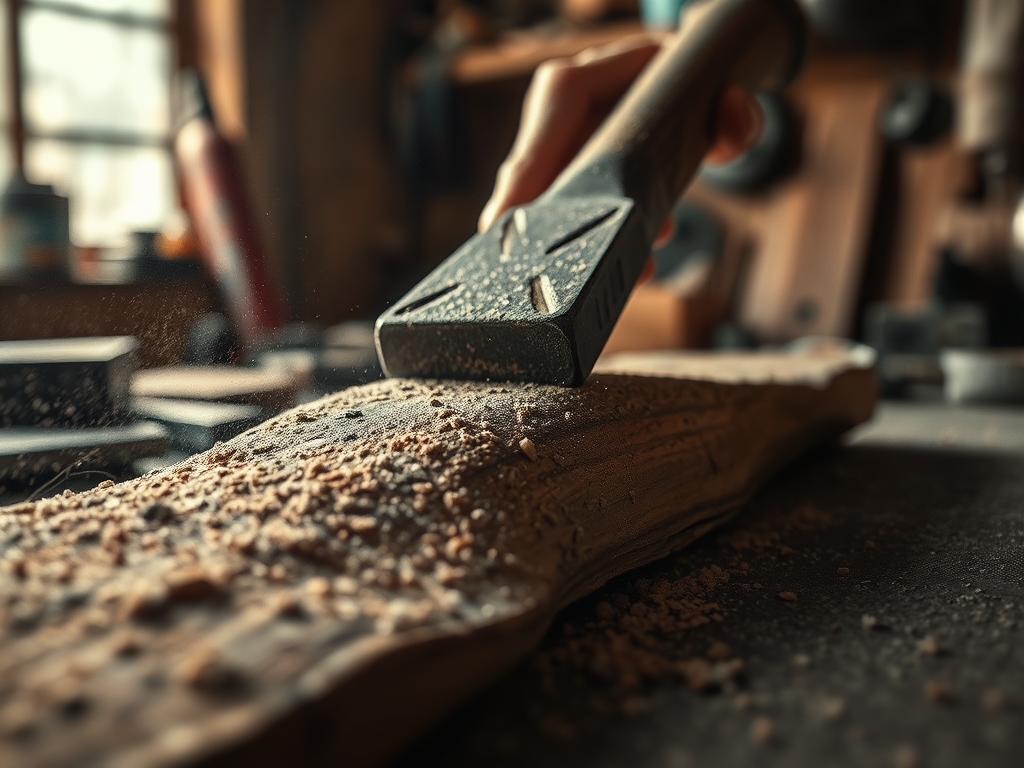
5. The Final Burnish
Ditch the power tools. Use a cabinet scraper to remove any remaining tool marks. Once the surface is smooth, take a handful of the wood shavings you just made and rub them vigorously against the handle. The friction generates heat, which pulls the natural oils to the surface and seals the pores.
Mastery Tip: This is known as burnishing. It collapses the surface cells (the parenchyma), creating a hardened outer layer that is more resistant to moisture and dirt than a sanded surface.
THE TECHNICAL LEDGER
Maintenance & Longevity: A custom handle needs food. Apply a coat of boiled linseed oil every day for a week, once a month for a year, and once a year for life. This keeps the wood fibers supple and prevents the "brittle snap" associated with kiln dried wood that has lost its internal moisture balance.
Material Variations: For a sustainable approach, look for "windfall" hickory. It often has unique mineral staining that adds character without compromising the density gauge. Premium builds may incorporate a leather wrap, but ensure it is glued with high tack contact cement to prevent moisture trapping, which leads to rot.
The Correction:
- The Over-Cut: If you shave too much off the tenon, don't scrap it. Glue a thin shim of matching wood to the side to restore the thickness.
- Grain Tear-out: If the spoke shave rips the wood, you are going the wrong way. Reverse your direction immediately and use a card scraper to heal the wound.
- The Chatter Mark: This happens when the blade is dull or the wood is vibrating. Sharpen your iron to a 30 degree bevel and ensure your vise is tight.
Studio Organization: Store your handles vertically in a climate controlled space. Horizontal storage against a damp wall can cause the wood to "take a set" or warp, ruining the alignment of the handle to the bit.
THE FINAL REVEAL
Look at that! The way the light catches those shaved facets is pure magic. When you wrap your hand around that grip, it should feel like an extension of your own forearm. The balance point should be just below the head, giving you that effortless swing. You have transformed a static piece of timber into a high performance kinetic tool. There is a specific pride in knowing that every curve was calculated and every shaving was intentional. Now, go out there and give it a swing; you have earned that satisfying "thunk" into the log!
STUDIO QUESTIONS
Why is hickory the best wood for an axe handle?
Hickory possesses a unique combination of tensile strength and shock resistance. Its cellular structure allows it to flex under impact and return to its original shape without fracturing, protecting the user's joints from vibration.
How do I stop my spoke shave from chattering?
Chatter is usually caused by a loose blade or a shallow grip. Ensure the lever cap is tight and the blade is sharp. If it persists, increase the downward pressure and check that you are cutting with the grain.
Should I sand my handle to a high grit?
No. Sanding to a high grit plugs the wood's pores with dust, preventing oil absorption. Using a cabinet scraper or spoke shave leaves the pores open and the fibers sheared clean, resulting in a superior, more durable finish.
How do I know if the grain orientation is correct?
Look at the end grain on the bottom of the handle. The growth rings should run parallel to the direction of the axe head. This "vertical grain" ensures the wood can handle the compressive force of a strike.