Imagine the smell of ozone and hot iron hitting the air as you step into the workspace. There is a specific kind of magic in the weight of high carbon steel. When you are Forging a Center Punch, you are not just making a tool; you are creating the very foundation of accuracy for every future project. Most store bought punches are made of soft, mystery alloys that mushroom under the first sign of pressure. We want something better. We want a tool with a crystalline structure so tight it laughs at stainless steel. This project is about the intersection of raw heat and molecular alignment. You can feel the potential energy in a raw bar of O1 tool steel. It is heavy, cold, and waiting for the forge to reorganize its atoms. We are going to take that static piece of metal and turn it into a precision instrument that will outlive your workbench. It is about the tactile feedback of the hammer and the way the steel glows when it reaches the perfect critical temperature for shaping.
THE STUDIO KIT
To build a tool that survives a lifetime of abuse, you need a kit that respects the physics of metallurgy. Our primary material is O1 Tool Steel or a recycled Coil Spring from a vehicle suspension system. These materials possess high tensile strength and the ability to be hardened through heat treatment. You will need a Propane Forge or a charcoal hearth capable of reaching 1,500 degrees Fahrenheit. For shaping, a 2-pound Cross Peen Hammer is your best friend because it allows for directional displacement of the metal.
You must have a Quench Tank filled with vegetable oil or professional grade fast quench oil. Water is too violent for high carbon steel and often causes micro-fractures. For the finishing touches, grab your Digital Calipers to check the diameter and a Belt Grinder with 80, 120, and 400 grit ceramic belts.
Material Substitutions: If you cannot find O1 steel, look for an old Jackhammer Bit or a high quality Chisel. These are usually S7 or W1 steel. Avoid rebar at all costs; its carbon content is too inconsistent for a tool that requires a sharp, durable point.
THE TEMPO
The "Maker's Rhythm" is not about rushing; it is about synchronized thermal management. You have roughly 30 to 45 seconds of "workable heat" once the steel leaves the forge before the molecular structure becomes too rigid to move safely.
Phase 1: Shaping (45 Minutes). This is the high energy portion where you are moving the bulk of the material.
Phase 2: Thermal Cycling (30 Minutes). This is the "patience phase" where we normalize the steel to relieve internal stresses.
Phase 3: Hardening and Tempering (60 Minutes). The most critical window where we lock in the hardness and then "relax" it just enough so it does not shatter like glass.
Phase 4: Finishing (30 Minutes). Polishing and sharpening the geometry for peak performance.
THE CORE METHOD
1. Tapering the Business End
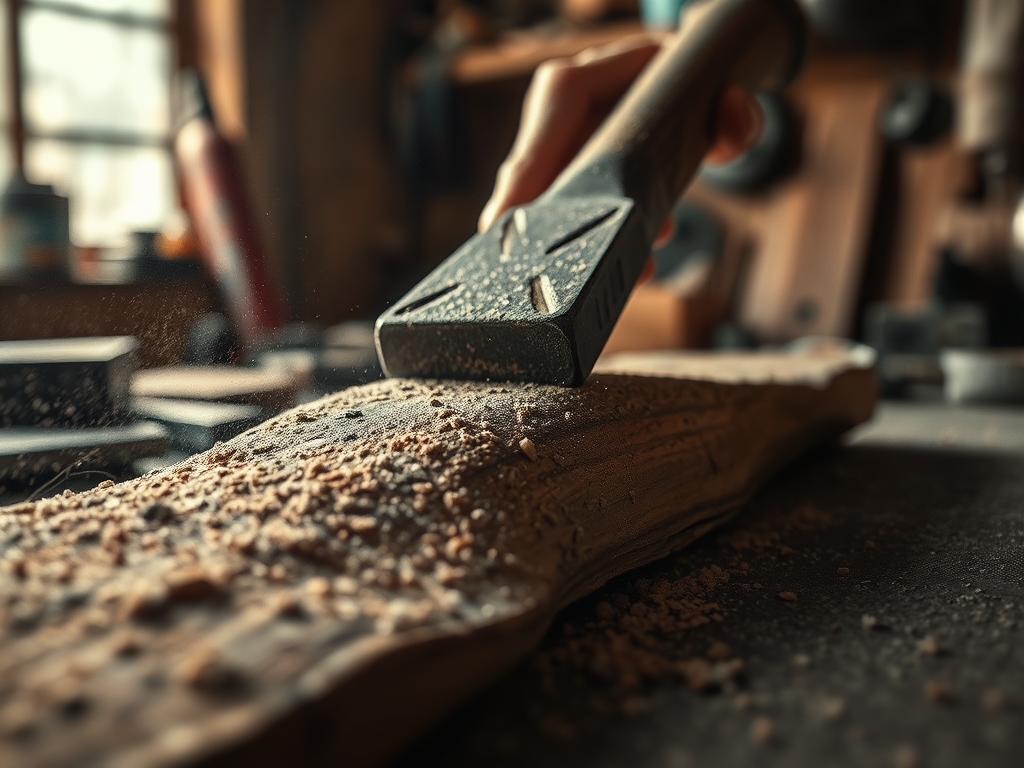
Heat the last two inches of your steel bar until it reaches a bright cherry red. Using the edge of the anvil, strike the metal while rotating it 90 degrees after every two hits. This creates a square taper. Once the square is established, hit the corners to turn it into an octagon, then finally roll it smooth to create a perfect cone.
Mastery Tip: This process relies on plastic deformation. By working from a square to an octagon, you ensure the grain direction of the steel flows toward the tip, which significantly increases the structural integrity of the point compared to just grinding it down.
2. Squaring the Striking Face
The end you hit with the hammer needs to be slightly chamfered. If the top of your punch is perfectly flat and sharp, it will eventually "mushroom" and send dangerous metal shards flying. Use your hammer to slightly round the edges of the striking face while the metal is at a dull red heat.
Mastery Tip: This creates a geometric relief that directs the force of your hammer blow straight down the center axis of the tool. It prevents eccentric loading, which is the primary cause of tool failure and hand fatigue.
3. Normalizing the Grain
After all the shaping is done, heat the entire tool to a non-magnetic state and let it air cool on the floor of the shop away from drafts. Repeat this three times. This is the most skipped step, but it is the most important for longevity.
Mastery Tip: Forging creates massive internal stress and uneven grain sizes. Normalizing uses thermal energy to allow the atoms to rearrange into a uniform, fine grained matrix. A fine grain is much tougher than a coarse grain and resists snapping under high impact.
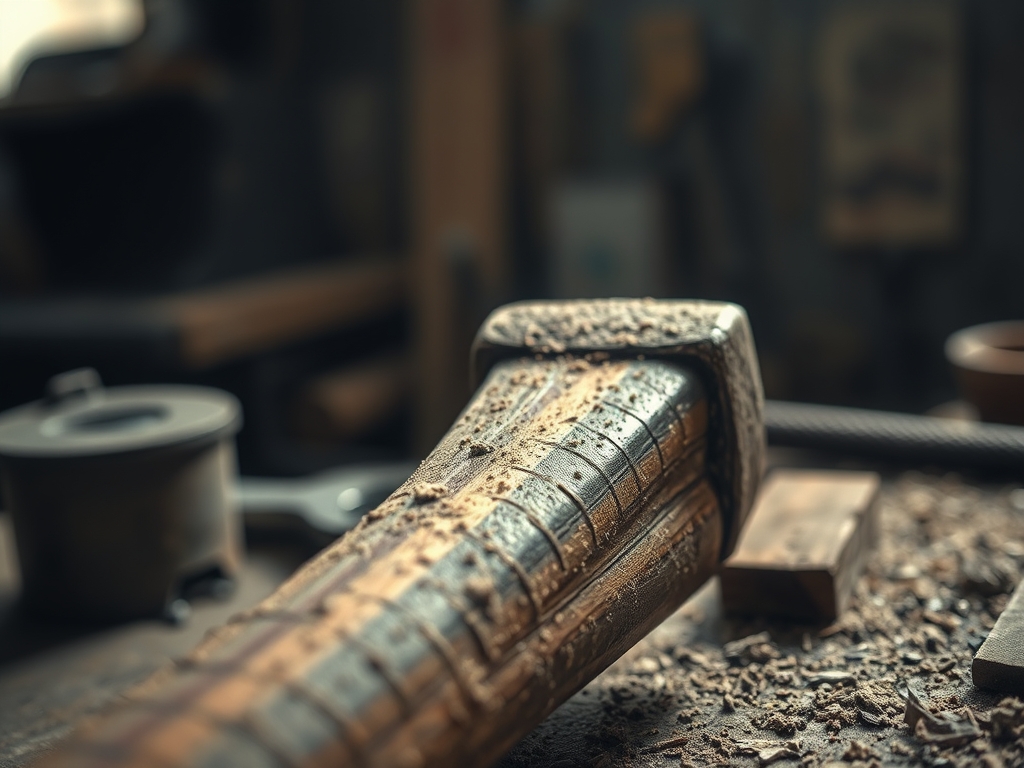
4. The Quench
Heat just the bottom third of the punch until it is no longer magnetic. Quickly plunge it vertically into your oil tank. Agitate it up and down, never side to side. The oil should be preheated to about 120 degrees Fahrenheit to prevent "thermal shock."
Mastery Tip: This rapid cooling traps the carbon in a stressed state called Martensite. This is the hardest form of steel, but it is also very brittle. The vertical plunge ensures even cooling, which prevents the tool from warping or "banana-ing."
5. Tempering for Toughness
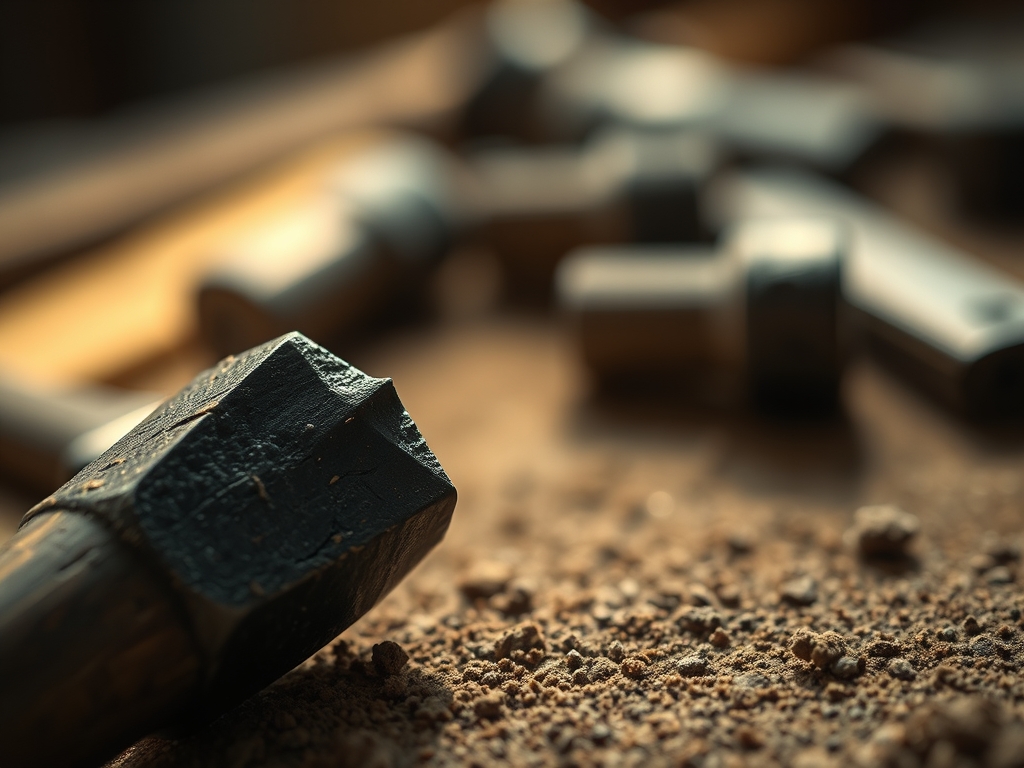
Clean the scale off the tool with an Oscillating Tool or sandpaper until the steel is bright and shiny. Use a torch to gently heat the middle of the punch. Watch the colors crawl toward the tip: pale straw, dark straw, then bronze. When the tip reaches a Dark Straw color, quench it again to stop the heat.
Mastery Tip: Tempering is a trade off between hardness and ductility. A "Dark Straw" color indicates a temperature of roughly 450 degrees Fahrenheit, which provides the perfect balance for a center punch that needs to stay sharp but not chip when it hits a hard surface.
THE TECHNICAL LEDGER
Maintenance & Longevity: Steel is porous at a microscopic level. To prevent oxidation, wipe your punch with a light coat of camellia oil or paste wax after every use. If the tip eventually dulls, do not use a high speed grinder which can ruin the temper; use a diamond hone or a slow wet stone.
Material Variations:
- Sustainable: Repurpose old coil springs from scrap yards. They are usually 5160 spring steel, which is incredibly tough.
- Premium: Use S7 Shock Resisting Tool Steel. It is designed specifically for high impact tools and is the gold standard for professional makers.
The Correction:
- The Tip Snapped: This means your temper was too "cold." Re-grind, re-harden, and temper to a deeper bronze color.
- The Tool is Soft: You likely missed the "quench window." The steel cooled too much before hitting the oil. Ensure you move from forge to oil in under 3 seconds.
- Warping: You probably moved the tool side to side in the oil. Always use a vertical "stabbing" motion to keep the cooling rate symmetrical.
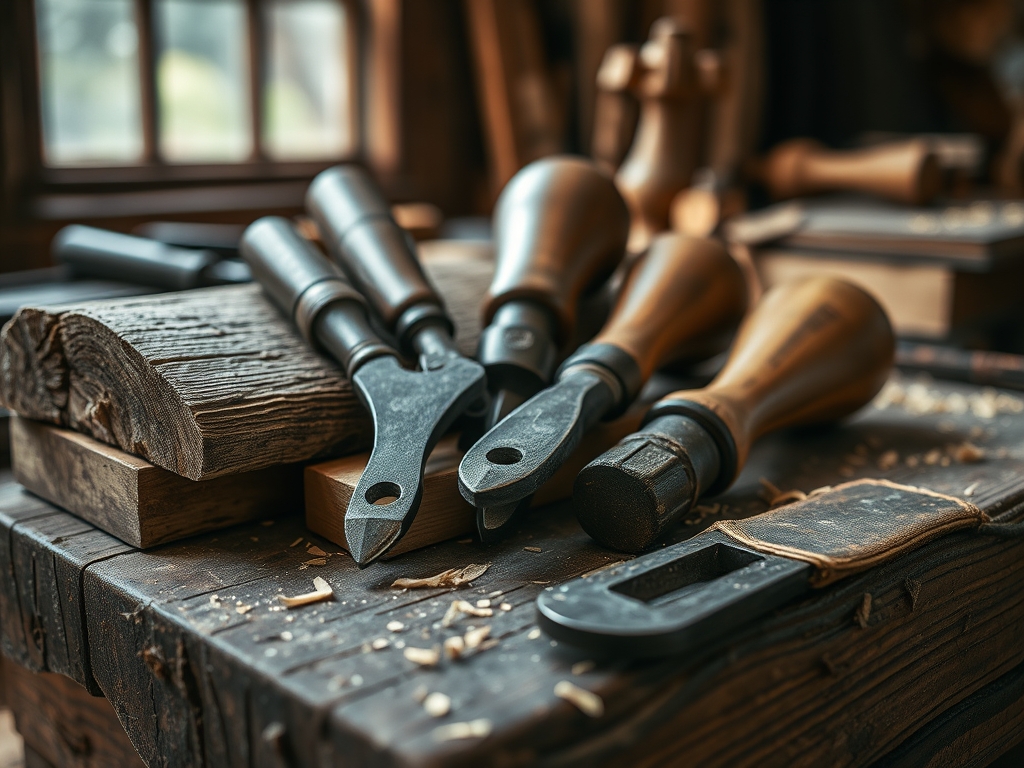
Studio Organization: Store your custom tools in a wooden rack or a dedicated tool roll. Avoid throwing them into a metal drawer where the sharp tips can clank against other hardened tools. This preserves the burnish and prevents micro-nicks on the working end.
THE FINAL REVEAL
Look at that! You just turned a generic piece of industrial byproduct into a shimmering, hardened masterpiece. The weight feels balanced in your hand; the ergonomic taper fits your grip perfectly. When you place that point on a piece of cold rolled steel and give it a tap, the "thud" is solid and authoritative. There is no bounce, no vibration, just a perfect, crisp indentation exactly where you wanted it. This is the difference between "buying" and "making." You have mastered the thermal cycles and the hammer blows to create a tool that is an extension of your own intent. It is beautiful, it is functional, and it is built to last for the next hundred years.
STUDIO QUESTIONS
What is the best steel for a center punch?
O1 or S7 tool steel is ideal. These alloys offer high carbon content for hardness and specific elements like chromium or vanadium for toughness. They respond predictably to heat treatment, ensuring the point does not dull or shatter during heavy use.
Why did my center punch tip bend?
If the tip bends, the steel is too soft. This happens if the metal was not heated to a non-magnetic state before quenching, or if it was tempered at too high a temperature, reverting the martensite back into a softer state.
Can I quench high carbon steel in water?
It is risky. Water cools the metal too fast, often causing "ping" sounds which are actually internal stress fractures. Oil provides a slower, more controlled cooling rate that preserves the structural integrity of high carbon alloys without causing them to crack.
How do I know if the steel is hot enough?
Use a strong magnet on a stick. As steel reaches its critical transformation temperature (around 1,475 degrees Fahrenheit), it becomes non-magnetic. This is a foolproof physical indicator that the molecular structure is ready for the quench phase of hardening.
Do I need to temper the striking end?
Yes, but to a different degree. The striking end should be softer than the tip. Aim for a "Blue" or "Purple" temper color on the tail. This ensures the end can absorb hammer blows without chipping or sending dangerous shards flying.