Grab your goggles and tie back your hair because we are about to turn a dusty backyard pillar into a literal masterpiece. There is something intoxicating about the smell of Western Red Cedar; it is that sharp, resinous aroma that hits your sinuses before you even make the first cut. When I decided that Carving a Simple Totem would be my weekend obsession, I did not realize how much the wood would talk back. Cedar is a soft wood, coming in at about 350 on the Janka hardness scale, which means it yields to a blade like cold butter. However, do not let that fool you. Its long, straight grain is prone to splintering if you do not respect the tensile strength of the fibers. I spent the first twenty minutes just running my palms over the rough-hewn surface, feeling the ridges where the sawmill blade left its mark. It is a tactile experience that demands focus. You are not just removing wood; you are negotiating with a biological structure that grew over decades to resist wind and rain.
THE STUDIO KIT
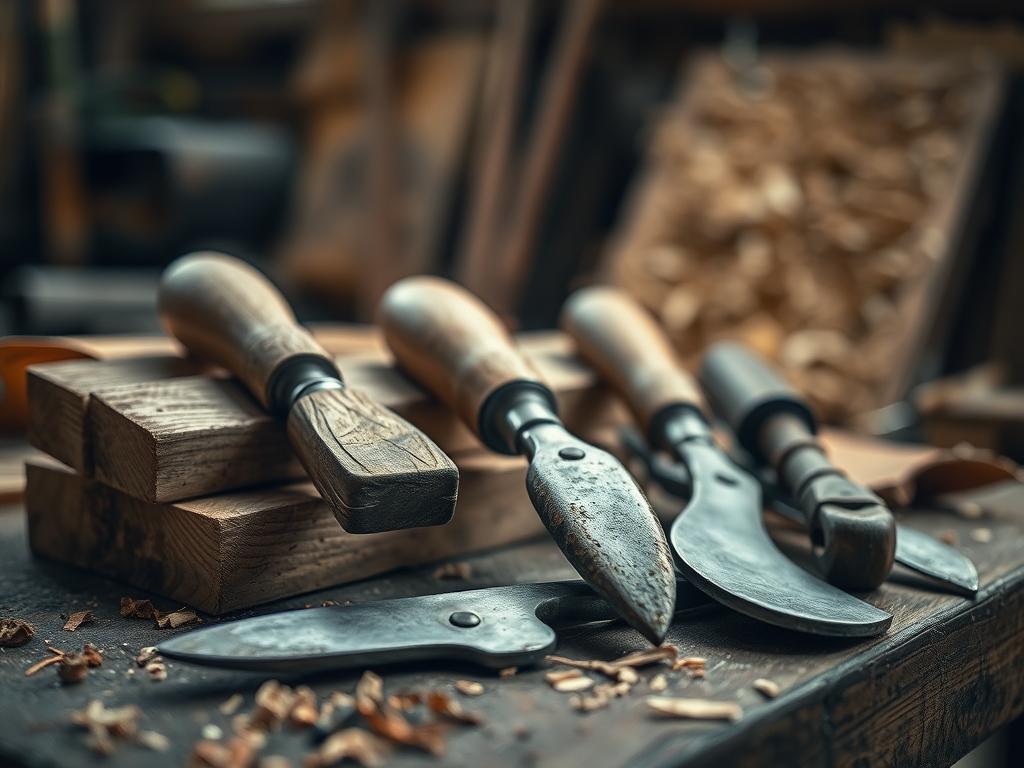
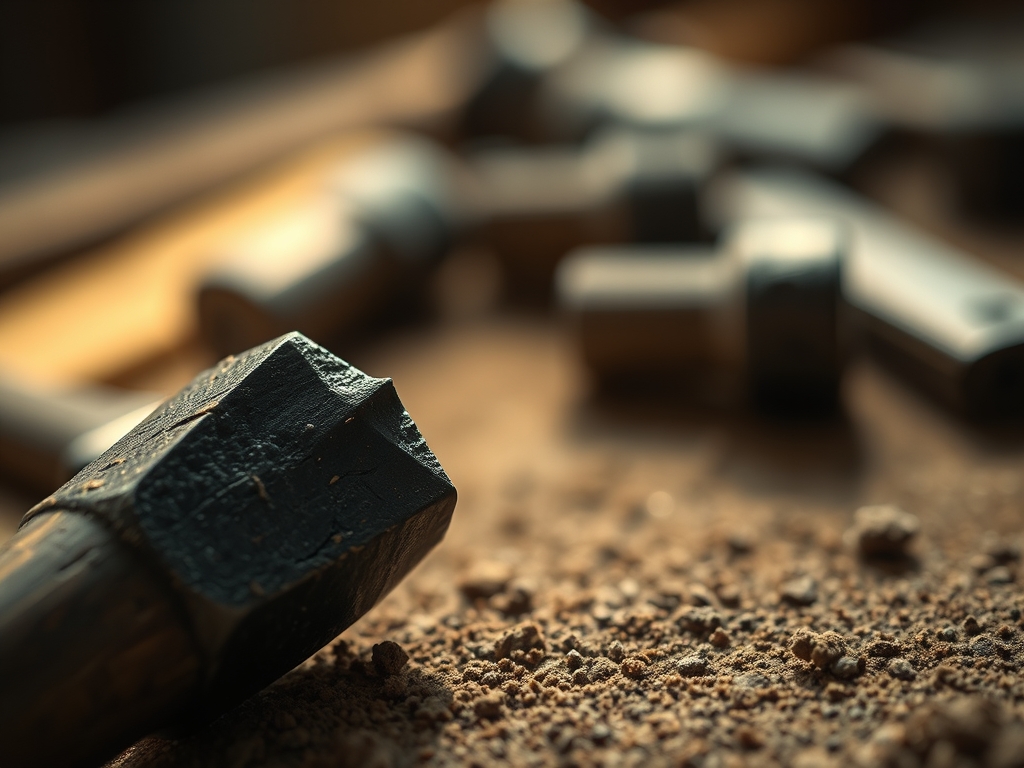
To master this project, your workbench needs to look like a surgeon's tray. We are starting with a four-by-four cedar post, preferably kiln-dried to ensure the moisture content is below twelve percent to prevent future checking. Your primary weapon is a high-carbon steel carving knife with an ergonomic handle to prevent carpal fatigue during long sessions. You will also need a set of palm gouges; specifically, a V-tool for deep lining and a U-gouge for clearing out bulk material. For precision layout, grab a marking awl and a pair of calipers to ensure your facial features are symmetrical across the vertical axis.
If you cannot find cedar, your best Material Substitutions are Basswood or Butternut. Basswood is the gold standard for beginners because it has an incredibly fine, non-directional grain that allows for intricate detail without the risk of "blowouts." Avoid pressure-treated pine for this specific project; the chemical salts used in the treatment process are abrasive on your blades and can be toxic when inhaled as fine particulate dust. Always keep a leather strop and honing compound nearby. A dull blade is a dangerous blade because it requires more force, which leads to slips and ruined timber.
THE TEMPO
The "Maker's Rhythm" is all about managing your internal clock against the physical resistance of the wood. Phase one is the Layout, which takes about forty-five minutes of intense mental mapping. You are translating a 2D vision onto a 3D cylinder. Phase two is the Rough-In, the most aerobic part of the process, taking roughly three hours. This is where you use your mallet and large gouges to find the "bones" of the totem. Phase three is the Detail Work, which can take anywhere from five to ten hours depending on your level of perfectionism. Finally, the Finishing phase requires twenty-four hours of drying time between coats of sealant. Do not rush the rough-in; if you remove too much material early on, you cannot put it back. The wood has a memory, and your cuts should be rhythmic and intentional.
THE CORE METHOD
1. Mapping the Geometry
Before the steel touches the wood, use your marking awl to scribe the center line and the horizontal divisions for the eyes, nose, and mouth. Using an awl instead of a pencil creates a physical groove that "seats" your blade for the initial stop cuts. This prevents the knife from wandering across the grain.
Mastery Tip: This step relies on spatial orientation. By scribing a physical line, you are creating a mechanical guide that accounts for the wood's porous nature, ensuring that your symmetry remains intact even if the wood grain tries to pull your tool off-course.
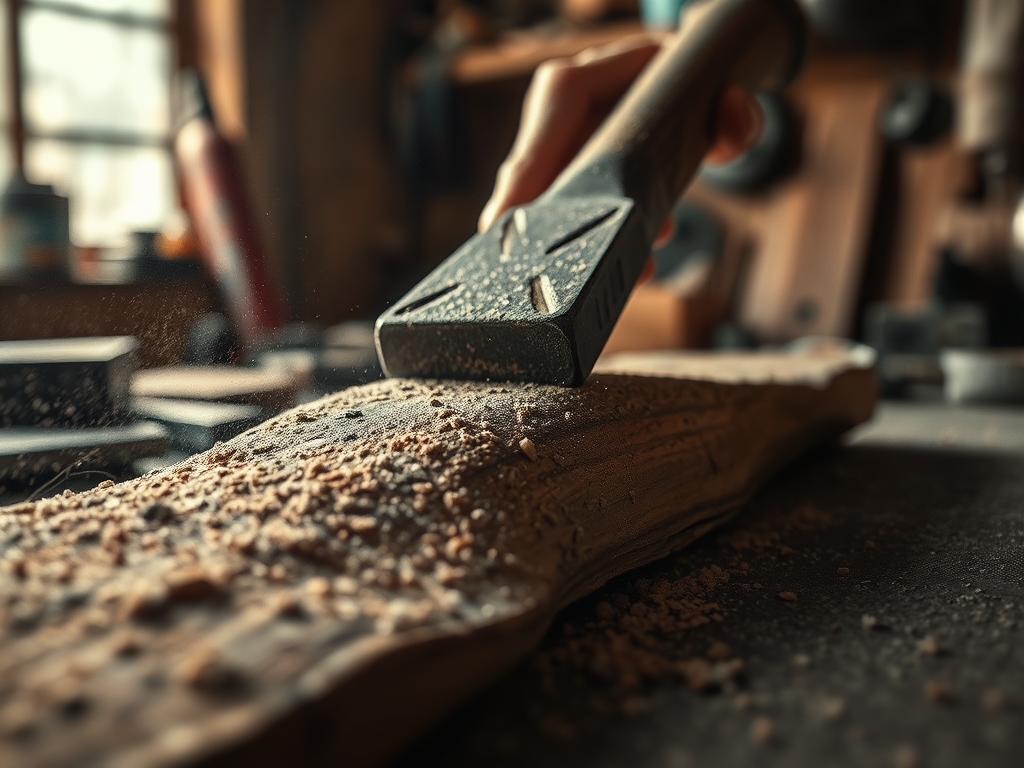
2. Establishing the Stop Cuts
Take your carving knife and drive it vertically into your scribed lines. Follow this by angling your blade at forty-five degrees to meet that vertical cut. This creates a "V" shaped trench that defines the boundaries of your shapes. It is the most critical step for preventing accidental splintering.
Mastery Tip: Stop cuts manage the structural integrity of the wood fibers. By severing the vertical grain early, you prevent long splinters from "running" up the post when you start removing larger chunks of wood later in the process.
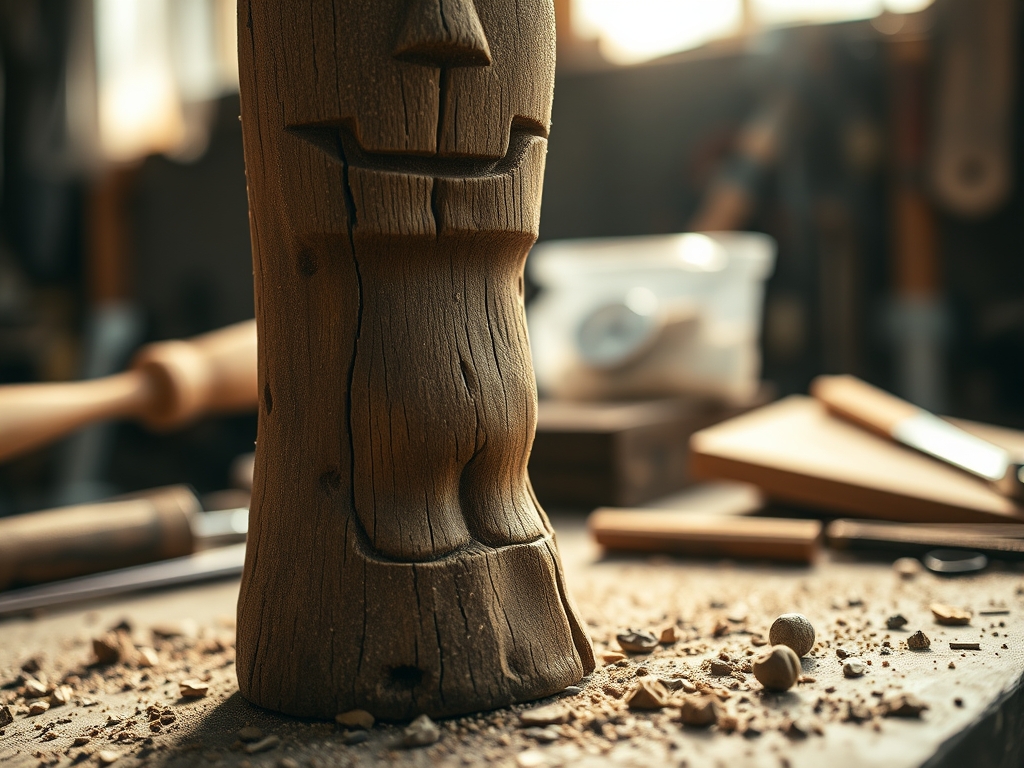
3. Relieving the Background
Using your U-gouge, begin removing wood from the areas around your features. Work from the outside in, always carving toward your stop cuts. This creates depth and makes your totem "pop" from the post. Focus on keeping your cuts shallow and consistent to maintain a smooth surface.
Mastery Tip: Pay attention to grain direction. If the wood starts to tear or look "fuzzy," you are carving against the grain. Flip your post 180 degrees to ensure you are always cutting "downhill" with the fibers to achieve a clean, reflective surface.
4. Refining and Burnishing
Once the shapes are defined, use a fine-grit sandpaper or a specialized burnishing tool to smooth out the tool marks. A bone folder or even a smooth stone can be used to compress the wood fibers, creating a natural sheen without the need for heavy chemicals.
Mastery Tip: Burnishing works through capillary action and fiber compression. By pressing the fibers down rather than cutting them, you close the pores of the wood, making it more resistant to moisture and giving it a professional, polished glow.
THE TECHNICAL LEDGER
Maintenance & Longevity: Cedar is naturally rot-resistant due to its internal oils, but an outdoor totem still needs protection. Apply a UV-resistant clear coat every two years to prevent the wood from turning silver. If cracks appear, fill them with a mixture of cedar dust and waterproof wood glue to maintain the tensile strength of the post.
Material Variations: For a sustainable twist, source reclaimed cedar fencing. It has a weathered patina that looks incredible when carved. For a premium experience, use "Clear" grade cedar, which is free of knots that can deflect your blade and cause injury.
The Correction:
- The Slip: If you gouge too deep, do not panic. Use a wood shim and wood glue to "patch" the area, then re-carve once dry.
- The Splinter: If a large chunk breaks off, glue it back immediately using a clamp to ensure the ply alignment is perfect.
- The Dull Blade: If the wood looks "crushed" rather than cut, stop immediately and strop your blade. A crushed fiber cannot be easily sanded smooth.
Studio Organization: Store your cedar posts vertically in a cool, dry area. Avoid concrete floors, as they can wick moisture into the wood, causing the base to rot or swell. Use a dedicated rack to keep your gouges organized by gauge size so you never grab the wrong tool in the heat of the moment.
THE FINAL REVEAL
Looking at the finished totem is like meeting a new friend who was hiding inside the wood all along. The way the light catches the deep "V" cuts and the smooth, burnished cheeks of the figure is incredibly satisfying. There is a weight to the piece, both physical and emotional, that you just do not get from store-bought decor. You have successfully navigated the physics of timber, the chemistry of sharp steel, and the geometry of art. Your first attempt at Carving a Simple Totem is not just a project; it is a testament to your patience and your growing mastery over the natural world. Now, go find a place of honor in the garden for your new cedar companion!
STUDIO QUESTIONS
What is the best way to sharpen carving tools?
Use a fine-grit diamond stone followed by a leather strop infused with honing compound. Hold the tool at a consistent twenty-degree angle to maintain the factory bevel. Frequent stropping every twenty minutes keeps the edge razor-sharp and prevents dangerous catches.
How do I prevent the cedar from cracking?
Keep the wood away from direct heat sources and apply a penetrating oil finish immediately after carving. This slows the evaporation of internal moisture, which reduces the internal stress that causes the wood fibers to pull apart and "check" or crack.
Can I use a rotary tool for this project?
Yes, an oscillating tool or rotary carver with carbide burrs works well for roughing. However, it creates significant dust. Always wear a P100 respirator and work in a ventilated area to avoid inhaling the fine, irritating cedar particulates.
What should I do if I hit a knot?
Knots are significantly harder than the surrounding wood. Slow down your pace and use a mallet with your gouge to drive through the knot. Ensure your blade is freshly honed, as a dull edge will likely skip off the hard surface.