Imagine the scent of raw, kiln dried walnut hitting your senses as you drag your fingertips across a surface that is currently anything but flat. It is rugged; it is stubborn; it is a chaotic landscape of high spots and valley floors that laugh at the concept of a level plane. You are standing before a massive slab, and the sheer scale of it feels like a physical weight in the room. This is the moment where most people panic because their six inch jointer is useless against a thirty inch wide monster. But we are not most people. We are going to master the art of Hand Planing a Large Tabletop using nothing but steel, sweat, and a deep understanding of wood anatomy. There is a specific, tactile thrill in feeling the blade bite into the grain, hearing that crisp "shick" sound as a translucent shaving curls away to reveal the hidden geometry beneath. We are bypassing the industrial machinery and leaning into the physics of the tool, turning a brute force task into a refined dance of tensile strength and surface tension.
THE STUDIO KIT
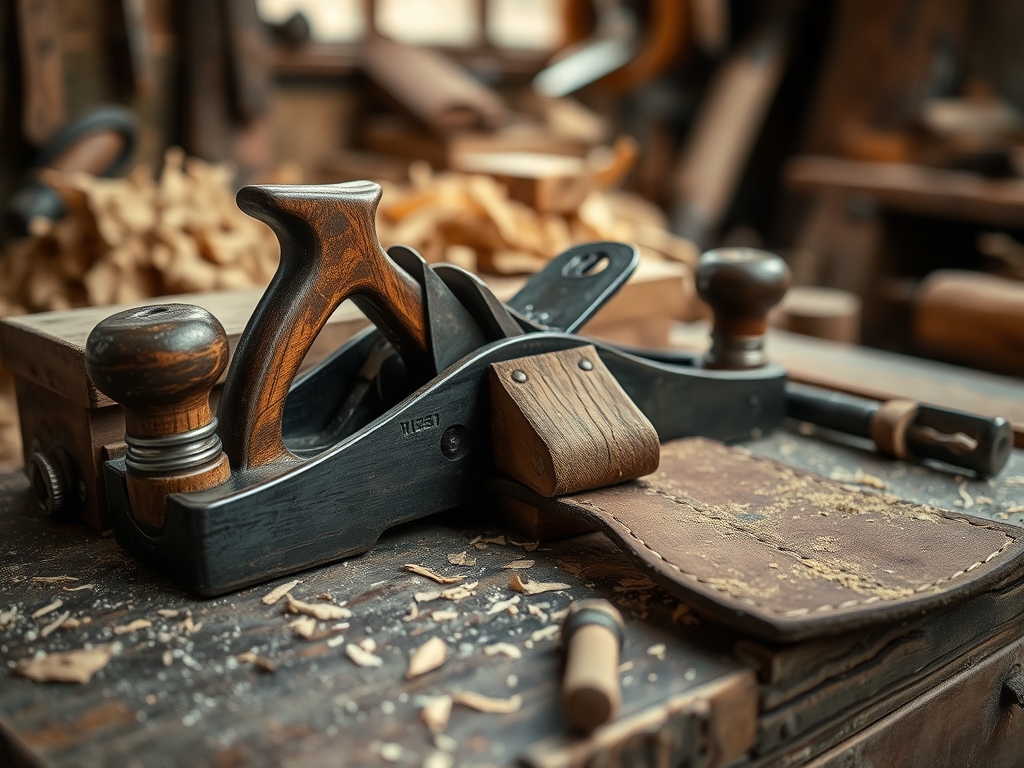
To flatten a continent of timber, you need a specialized arsenal that respects the cellular structure of the wood. Your primary weapon is the No. 7 Jointer Plane; its long sole acts as a mechanical bridge, skipping over the low spots to shave down the peaks. You will also need a No. 5 Jack Plane ground with a heavy camber for rapid material removal. For precision, keep a set of winding sticks nearby; these are perfectly parallel strips of wood used to visually amplify any twist in the board. You will also require a precision straightedge, a marking awl for scoring your boundaries, and a pair of calipers to monitor thickness consistency across the entire span.
Material Substitutions: If you lack a professional No. 7, a wooden transition plane or a well tuned No. 6 fore plane can suffice, though you will need to work harder to maintain the long range registration. Instead of commercial winding sticks, two identical pieces of extruded aluminum angle iron from the hardware store work beautifully because of their high dimensional stability.
THE TEMPO
The "Maker's Rhythm" is not about speed; it is about managing your internal ergonomic battery. Phase one is the "Survey," which takes about thirty minutes of squinting and marking. Phase two is "The Rough Out," a high intensity sixty minute session where you use the Jack plane to hog off the major discrepancies. Phase three is "The Refinement," a meditative two hour process of long, continuous strokes with the Jointer plane. Finally, "The Finish" involves thirty minutes of checking for planarity and addressing any localized tear out. Total active time is roughly four hours, but the mental focus required makes it feel like a focused sprint.
THE CORE METHOD
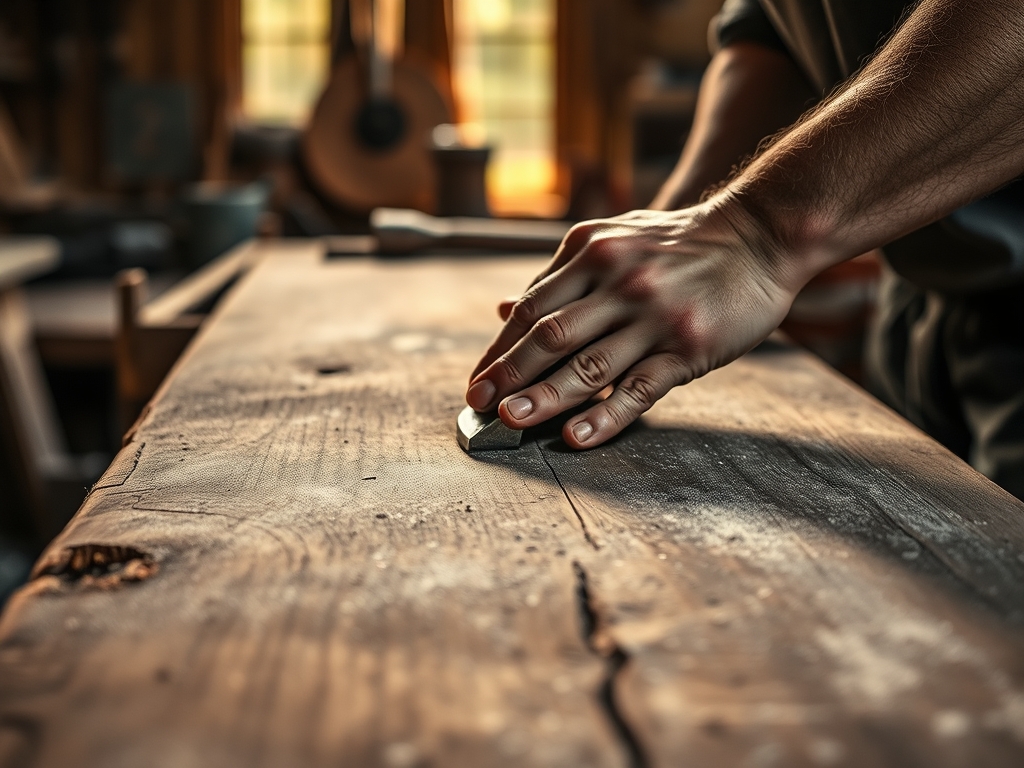
1. Mapping the Topography
Before touching a tool, you must understand the board's internal stresses. Place your winding sticks at opposite ends of the tabletop and sight across them. If they are not parallel, you have a twist. Use your straightedge to identify cups and bows. Mark these high spots with a carpenter's pencil in a crosshatch pattern.
Mastery Tip: Wood is a porous medium that reacts to ambient humidity. By mapping the board, you are identifying where the lignin bonds have compressed or expanded, allowing you to target the specific areas that are fighting the overall structural integrity of the piece.
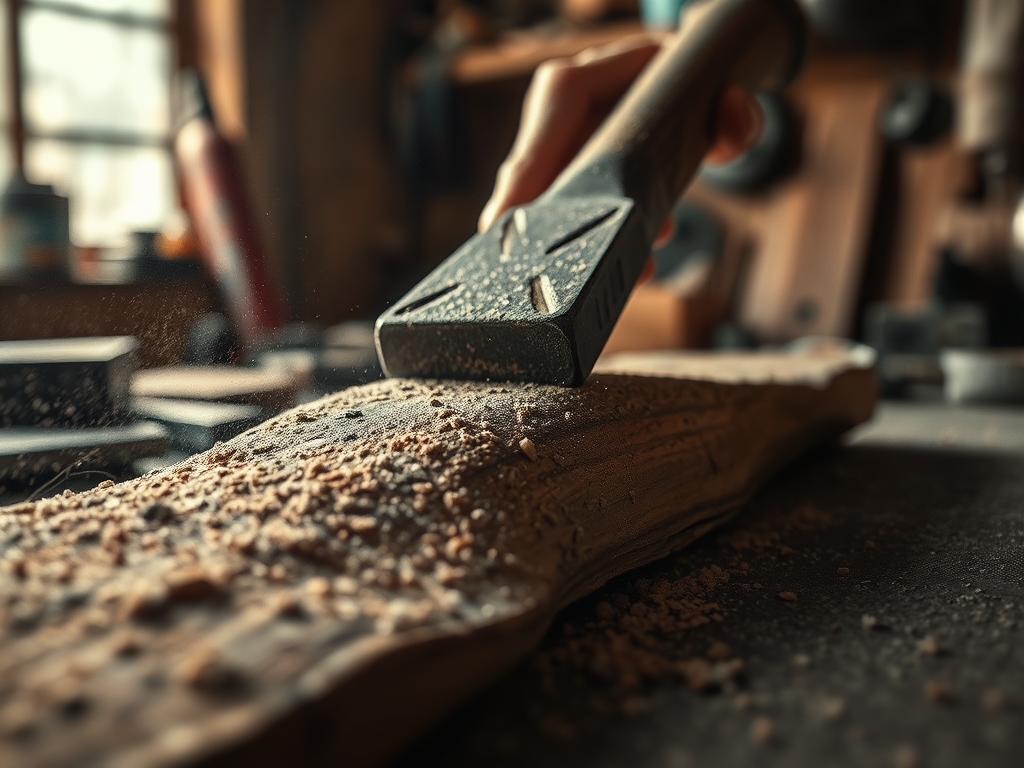
2. Traversing the Grain
Start with your Jack plane set for a heavy cut. Work diagonally across the grain at a forty five degree angle. This "scrubbing" motion allows the blade to sever the fibers without following the existing warp of the board. You are effectively creating a series of flat "valleys" that will eventually merge.
Mastery Tip: Cutting across the grain reduces the tensile resistance of the wood fibers. This prevents the blade from diving into the grain, a common issue when working with figured woods that have interlocking grain patterns.
3. Establishing the Long Axis
Once the board is roughly level, switch to your No. 7 Jointer plane. Work parallel to the grain, taking full length shavings. If the plane stops cutting, it means you have hit a low spot. Continue until you are getting a continuous, whisper thin shaving from the front of the table to the back.
Mastery Tip: The long sole of the jointer plane utilizes the geometric principle of a three point plane. It cannot fall into a dip that is shorter than its own length, ensuring that the final surface is mathematically flat rather than just smooth.
4. The Final Burnish
Retract the blade so it barely clears the mouth of the plane. Perform a series of overlapping passes with a very light touch. This final stage is not about removing bulk but about closing the vascular pores of the wood to create a surface that reflects light uniformly.
Mastery Tip: A sharp blade actually shears the cells rather than crushing them. This maintains the capillary action of the wood, which is vital if you plan to apply an oil finish that needs to penetrate deeply and evenly.
THE TECHNICAL LEDGER
Maintenance & Longevity: To keep your tabletop from moving, you must seal the underside as soon as the top is flat. If one side is open to the air while the other is sealed, the differential moisture absorption will cause the board to cup again within forty eight hours.
Material Variations:
- Sustainable: Reclaimed Douglas fir is soft but prone to splintering; use a higher pitch angle on your plane.
- Premium: Hard maple has high density and requires a razor sharp iron to avoid "chatter" marks.
- Recycled: Check thoroughly with a metal detector; a single hidden nail will ruin the tempered steel edge of your plane.
The Correction:
- Tear out: If the grain is lifting, dampen the wood slightly with a sponge to soften the fibers before the next pass.
- Hollow Center: If your straightedge shows a gap in the middle, stop planing the ends; focus exclusively on the center third of the board.
- Winding: If the twist persists, use a marking gauge to find the lowest corner and plane all other corners down to that specific datum point.
Studio Organization: Store your tabletop on its edge or on "stickers" (small scrap wood spacers) to allow airflow to both sides. Never leave a freshly planed board flat on a concrete floor, as the hygroscopic nature of the wood will pull moisture from the slab and ruin your work.
THE FINAL REVEAL
There is nothing quite like the moment you sweep the last pile of shavings off the bench to reveal a surface that is as flat as a frozen lake. When you run your hand across the wood, it feels cool, dense, and incredibly stable. The light catches the grain in a way that no machine sanded surface can replicate; it has a tactile depth and a shimmering "chatoyancy" that proves you have respected the material. You have taken a wild, warped piece of nature and brought it into alignment through sheer technical precision. It is not just a tabletop anymore; it is a testament to your mastery of physics and craft.
STUDIO QUESTIONS
How do I check for twist without expensive tools?
Use two identical levels or straight strips of wood as winding sticks. Place them at opposite ends and sight across the top edges. If the edges are not perfectly parallel, your board has a structural twist.
Why is my hand plane skipping across the wood?
Skipping, or chatter, usually happens because the blade is dull or the frog is not seated firmly. Ensure the blade is honed to a mirror finish and the cap iron is tight to provide maximum rigidity.
Can I flatten a board that is already glued up?
Yes, hand planing is the preferred method for wide, glued up panels. Work diagonally across the glue lines to ensure the seam integrity remains intact while you level the different heights of the individual boards.
How often should I sharpen my plane blade?
In dense hardwoods like white oak, you should hone your edge every thirty minutes of active planing. Maintaining a keen bevel reduces the physical force required and prevents the wood fibers from tearing during the cut.