
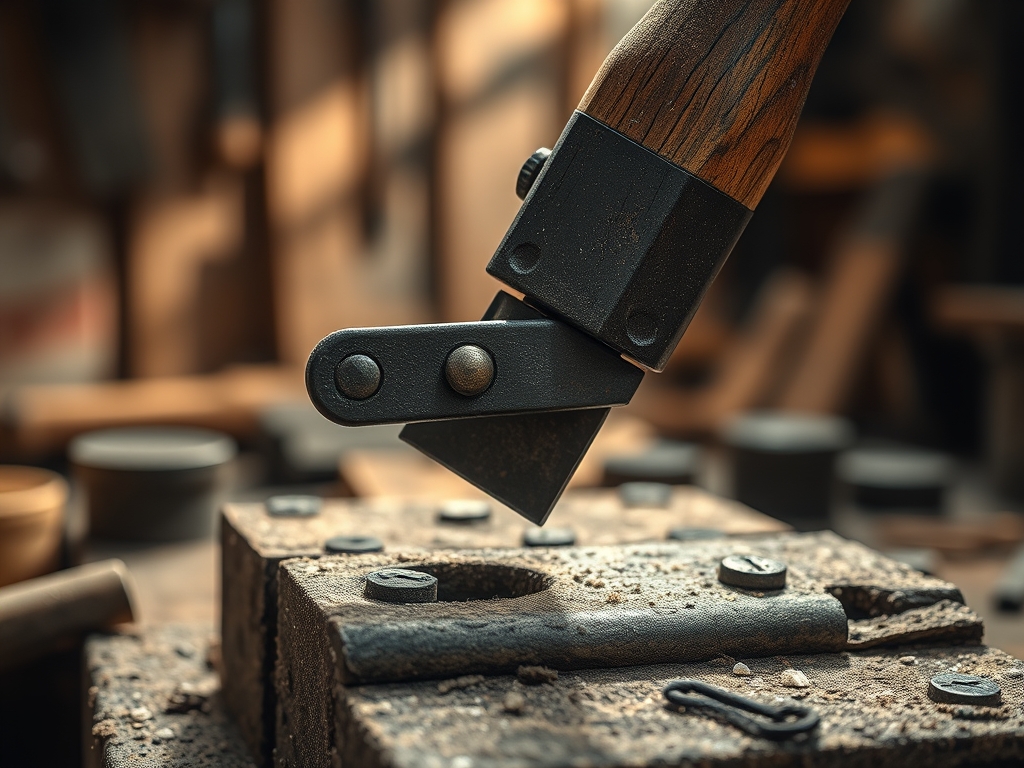
Listen to that sound. It is the sharp, metallic ring of a hammer meeting glowing steel. There is nothing quite like the tactile rush of moving solid rock into a fluid shape. We are not just making hardware today; we are Forging a Metal Gate Latch that feels like a handshake from history. When you pull that handle, it needs to offer a satisfying weight and a definitive click. That sound is actually the result of precise physics. We are talking about tensile strength and the way the crystalline structure of the iron realigns under high heat. If you have ever felt a cheap, stamped latch wiggle in its housing, you know why we are here. We want something that commands respect. We are going to harness the power of the forge to create a mechanism that survives decades of rain and heavy use. It is about the marriage of raw heat and cold logic. Grab your apron and let us get into the grit of it.
THE STUDIO KIT
To master this build, you need a kit that respects the thermal conductivity of your materials. We are starting with A36 structural steel in 3/8 inch square stock. This material is a dream for beginners because it has a predictable carbon content that allows for easy manipulation without the brittleness of high carbon steels. You will need a cross-peen hammer for drawing out the metal and a pair of wolf jaw tongs to maintain a secure grip on the workpiece as the temperature fluctuates.
For the precision work, keep your digital calipers and a center punch close by. We will be using a post vice to hold the hot steel during the twisting phase. This tool is essential because it is designed to take the impact of a hammer without shattering. If you are looking for Material Substitutions, you can use wrought iron for a more authentic, fibrous texture, though it requires a much higher welding heat. For a modern twist, stainless steel offers incredible corrosion resistance but demands more physical effort because it retains its yield strength even when glowing red.
THE TEMPO
The "Maker's Rhythm" is all about managing your heat cycles. You cannot rush the molecules. Expect to spend about 45 minutes on the initial tapering and shaping of the handle. This is the high energy phase where you are moving the most mass. The second phase, the punching and drifting of the pivot hole, takes roughly 30 minutes of focused, surgical strikes.
The final phase is the burnishing and finishing, which takes about 20 minutes. This is where you allow the metal to cool to a "black heat" before applying a traditional beeswax or linseed oil finish. Total active time is around two hours. Remember that the steel dictates the pace. If you try to hit it while it is too cold, you risk stress fractures; if you wait too long in the fire, you will literally burn the iron away into sparks.
THE CORE METHOD
1. Drawing the Taper
We start by heating the end of our square stock to a bright cherry red. Using the edge of the anvil, we strike the metal to create a functional taper. This increases the surface area and allows us to curl the end into a decorative and ergonomic finial.
Mastery Tip: Always strike the metal while it is at its highest plasticity. As the color fades to a dull red, the molecular friction increases, making your strikes less effective and potentially causing internal cracks.
2. Punching the Pivot Hole
Instead of drilling, we are going to hot-punch the hole for the mounting bolt. This is a superior method because it displaces the metal fibers rather than cutting them, which preserves the structural integrity of the latch arm. Use a tapered drift to expand the hole to the exact gauge of your hardware.
Mastery Tip: Use a bit of dried coal or lubricant on your punch to prevent it from sticking. This utilizes thermal expansion principles to ensure the tool releases easily from the shrinking metal.
3. The Decorative Twist
Secure the red-hot bar in the post vice and use a wrench or twisting gate to rotate the metal 360 degrees. This creates a beautiful spiral that also serves a functional purpose by increasing the torsional rigidity of the handle.
Mastery Tip: The tighter the twist, the more you work-harden the material. This process aligns the grain direction of the steel in a helical pattern, making it much harder to bend during daily use.
4. Setting the Catch
The catch is the "U" shaped piece that receives the latch bar. We will forge this from a flatter stock to ensure a wide bearing surface. This reduces the psi (pounds per square inch) of pressure on the gate post, preventing the wood from splintering over time.
Mastery Tip: Ensure the internal radius of the catch is slightly larger than the latch bar. This accounts for thermal contraction in winter and expansion in summer, preventing the mechanism from seizing.
THE TECHNICAL LEDGER
Maintenance & Longevity
Steel is a hungry material; it wants to return to the earth as rust. To prevent this, you must season the metal. While the latch is still warm to the touch (around 400 degrees Fahrenheit), rub it with a mixture of beeswax and boiled linseed oil. This creates a polymerized barrier that bonds to the porous surface of the hot steel.
Material Variations
For a sustainable approach, source your steel from old leaf springs found at scrap yards. This is 5160 spring steel, which offers incredible elasticity. For a premium look, use silicon bronze rod. It is expensive but offers a stunning golden hue and never rusts; it only develops a regal green patina.
The Correction: 3 Common Mistakes
- The Cold Shut: This happens when you fold metal over itself without welding it. The Fix: If you see a crack forming, you must grind it out entirely with an angle grinder before reheating.
- Overheating: If the steel starts throwing white sparks, you are burning the carbon out. The Fix: Cut off the "burnt" end and start your taper again on fresh material.
- Misalignment: The latch hits the catch at an angle. The Fix: Use a ball-peen hammer to "cold-tweak" the bar. The slight malleability of A36 steel allows for minor adjustments without reheating.
Studio Organization
Store your finished latches in a dry, low-humidity environment. If you are storing raw steel stock, wipe it down with a light coat of machine oil to prevent flash rusting. Keep your hammers organized by weight on a magnetic rack to maintain an ergonomic workflow.
THE FINAL REVEAL
Look at that! You have successfully transformed a cold, industrial bar of steel into a living piece of functional art. The way the light catches the hammer facets tells the story of every strike you made. When you lift that handle, you will feel the inertia and the balance that only a hand-forged piece can provide. It is sturdy, it is stylish, and it is built to outlast the gate it is attached to. You have mastered the fire and the anvil; now go hang that masterpiece and listen to the most satisfying click in the neighborhood!
STUDIO QUESTIONS
What is the best steel for a gate latch?
A36 mild steel is the gold standard. It offers a perfect balance of ductility and strength. It is easy to forge, simple to weld, and responds beautifully to traditional oil finishes without the brittle nature of high-carbon alloys.
Do I need a professional forge to start?
Not at all! You can build a simple brake drum forge using scrap parts. The physics remain the same: you need a fuel source and a forced-air induction system to reach the critical temperature required for forging.
How do I prevent the latch from rusting?
Apply a traditional black finish. Heat the metal until it turns blue, then quench it in raw linseed oil. This creates a durable, chemical-resistant coating that penetrates the micro-pores of the steel for long-term protection.
Why did my steel snap while hammering?
You likely experienced red shortness or worked the metal while it was too cold. Hammering steel below its recrystallization temperature causes internal stress. Always return the piece to the fire once it loses its bright orange glow.

