
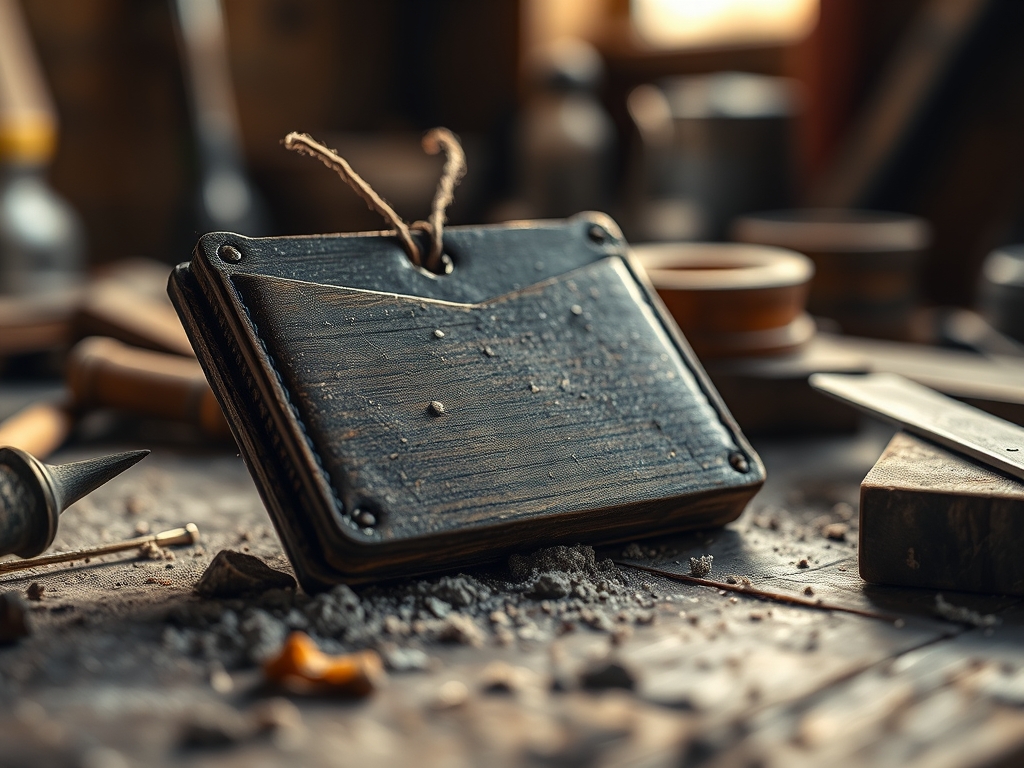
Grab your favorite mug of coffee because we are about to dive into the most satisfying sensory experience of your week. There is something deeply primal about the scent of vegetable tanned leather; it is earthy, sweet, and slightly woody. When you run your thumb across the grain, you feel the microscopic peaks and valleys of a natural hide that is ready to be transformed. Today, we are focusing on Hand Stitching a Card Case as the ultimate afternoon gift project. This is not just about making a wallet; it is about manipulating organic fibers to create a structural masterpiece that fits in your palm. We are looking for that perfect balance of tensile strength and sleek aesthetics. By the time we finish, you will have a piece that feels like it was born in a high end boutique but carries the soul of a handmade treasure. Let us get those needles threaded and talk shop about the physics of the perfect stitch.
THE STUDIO KIT
THE STUDIO KIT
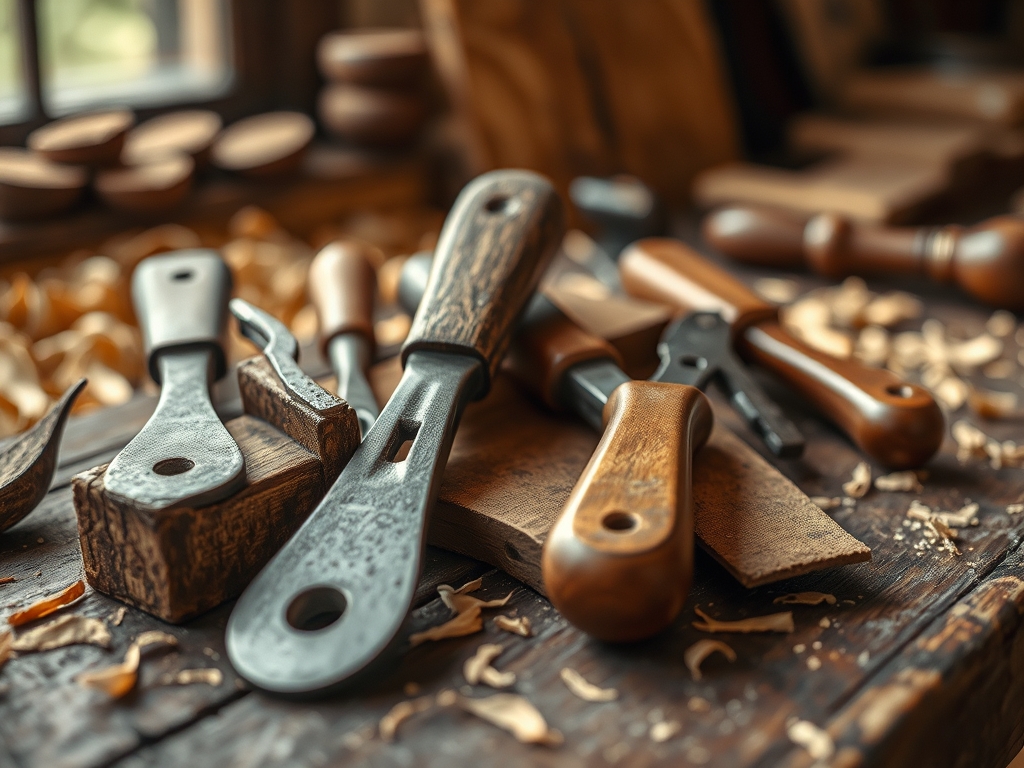
To achieve professional results, your workbench needs more than just enthusiasm. We are dealing with porous materials that require specific compression and piercing tools. First, you need a 3.0mm to 4.0mm pricking iron or diamond chisel. This tool ensures your stitch spacing is mathematically consistent, which is the hallmark of quality. You will also need two blunt tip harness needles and braided polyester thread (0.6mm is the sweet spot for a card case). Polyester is superior to cotton here because of its high break strength and resistance to rot from skin oils.
A bone folder is essential for creasing your folds without damaging the delicate grain side of the leather. For the edges, grab a wood burnisher and a small tin of beeswax or Tokonole. This creates a friction based seal that protects the fibers from moisture. If you cannot find vegetable tanned leather, look for "Material Substitutions" like heavy duty felt or recycled rubber from inner tubes. However, note that these materials lack the collagen density of leather, so your edge finishing techniques will need to pivot toward heat sealing or binding rather than burnishing.
THE TEMPO
Time is your most valuable resource, and mastering the "Maker's Rhythm" is about efficiency, not speed. For a standard three pocket card case, allocate approximately 15 minutes for the pattern layout and cutting. This is where your calipers come in handy to ensure every millimeter is accounted for. The next 20 minutes involve the "Prep Phase," which includes skiving the edges to reduce bulk and pre punching your stitch holes.
The "Stitching Phase" is the heart of the project, taking roughly 45 to 60 minutes. This is where you enter a flow state; the repetitive motion of the saddle stitch becomes meditative. Finally, spend 20 minutes on the "Finishing Phase." This is the most rewarding part, where you transform raw, fuzzy edges into glass like surfaces through high speed friction. Total time? About two hours of focused, high energy crafting that results in a lifetime of utility.
THE CORE METHOD
1. Precision Cutting and Skiving
Start by laying your pattern on the leather, paying close attention to the grain direction. Leather stretches more across the hide than along the spine, so orient your pockets vertically for maximum longevity. Use a sharp rotary cutter or a Japanese skiving knife to get clean, perpendicular edges.
Mastery Tip: Always maintain a 90 degree angle with your blade. This ensures the structural integrity of the seam; if your edges are beveled unintentionally, the glue bond will be weak and the stitches will look crooked.
2. The Adhesive Bond
Apply a thin layer of contact cement to the edges you intend to join. Wait until the glue is tacky to the touch before pressing the pieces together. Use your bone folder to apply firm pressure along the seam.
Mastery Tip: This step utilizes surface tension and chemical bonding to hold the leather in place while you stitch. A proper bond prevents the leather layers from shifting, which would otherwise cause the needle to exit at an incorrect angle.
3. Punching the Stitch Path
Place your pricking iron on the leather and strike it with a poly mallet. You want to pierce through all layers of the leather in one clean motion. Ensure the tool is perfectly vertical to maintain a mirrored hole placement on the back side.
Mastery Tip: The spacing of your holes dictates the ply tension of the thread. Holes that are too close together can act like a perforated line, causing the leather to tear under stress.
4. The Saddle Stitch Execution
Thread your needles and begin the saddle stitch, which involves passing two needles through the same hole from opposite sides. This creates an interlocking loop that will not unravel even if one thread is cut.
Mastery Tip: Pull each stitch with consistent ergonomic force. This ensures the thread seats deeply into the leather, protecting it from abrasion and creating that beautiful slanted aesthetic.
5. Edge Burnishing
Sand your edges with progressively finer grits (200 to 800). Apply a small amount of burnishing agent and rub the edge vigorously with your wood burnisher until it glows.
Mastery Tip: This process relies on capillary action and heat. The friction melts the natural waxes in the leather, fusing the fibers together into a solid, water resistant barrier.
THE TECHNICAL LEDGER
Maintenance & Longevity: To keep your card case in peak condition, apply a light coat of neatsfoot oil once a year. This keeps the fibers supple and prevents the tensile strength from degrading due to dryness.
Material Variations: For a sustainable twist, try "Piñatex" (pineapple leather) or cork fabric. While these materials are eco friendly, they are often less pliable than animal hide, so use a wider stitch spacing to prevent cracking.
The Correction:
- Uneven Stitches: If your line is wavy, use a wing divider to score a faint guide line before punching.
- Thread Fraying: If the thread starts to fuzz, your needle eye might have a burr. Switch needles and use more beeswax.
- Loose Edges: If the layers delaminate, you likely didn't sand enough. Sand back to the raw fiber and re glue.
Studio Organization: Store your leather flat in a cool, dry place. Avoid UV exposure, as sunlight can prematurely "tan" the leather, changing its color and making the grain side brittle.
THE FINAL REVEAL
Look at that! You just turned a flat piece of hide into a functional piece of art. The way the light catches the burnished edges and the rhythmic precision of the Hand Stitching a Card Case process is honestly intoxicating. This project is the perfect gift because it is personal, durable, and shows a mastery of physics and craft. Your friend is going to feel the weight and quality immediately; it is a tactile reminder of your talent every time they reach for their ID.
STUDIO QUESTIONS
What is the best leather weight for a card case?
A weight of 3oz to 4oz (1.2mm to 1.6mm) is ideal. This thickness provides enough tensile strength for durability while remaining slim enough for a pocket. It ensures the case is sturdy without being bulky.
Why use a saddle stitch instead of a machine?
The saddle stitch is structurally superior because it uses two independent threads. If one thread breaks, the other remains intact. Sewing machines use a lockstitch which can completely unravel if a single loop is severed.
How do I prevent the leather from scratching?
Vegetable tanned leather develops a natural patina, but you can minimize initial scratches by using a bone folder with a smooth finish. Applying a wax based conditioner also creates a protective barrier on the grain side.
Can I use regular sewing thread?
No, regular thread lacks the necessary gauge and strength. It will likely snap during the tensioning process or saw through the leather over time. Always use bonded nylon or braided polyester thread for leatherwork.

