Imagine the scent of fresh sap hitting the air as the steel bites into the wood. There is a primal, electric satisfaction in the process of Hand Splitting Firewood Planks that no modern table saw can replicate. You are not just cutting; you are negotiating with the very soul of the tree. When you place that blade against the growth rings, you are feeling for the microscopic weaknesses between the cellulose fibers. It is a tactile conversation between your muscles and the tensile strength of the timber. We are going to transform a rugged round of wood into elegant, functional boards using nothing but gravity, leverage, and a bit of physics. Forget the sawdust and the screaming motors. Today, we are going into the studio to master the art of the split. We are looking for that perfect, clean snap that echoes through the workshop. It is time to get your hands dirty and your mind sharp.
THE STUDIO KIT
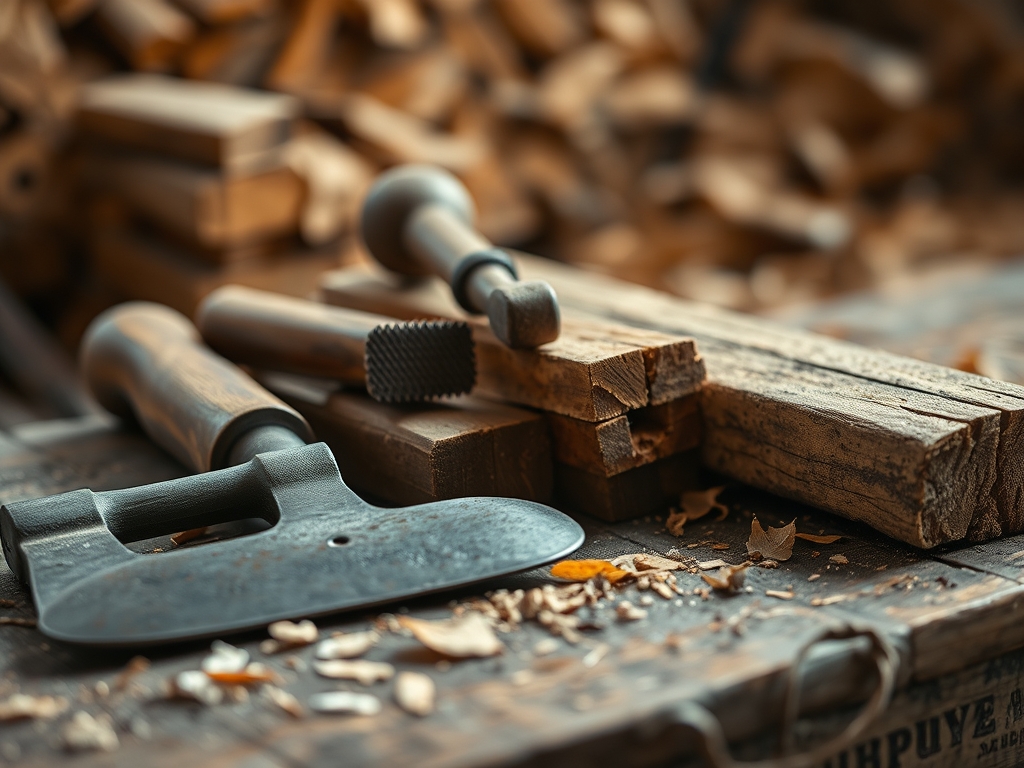
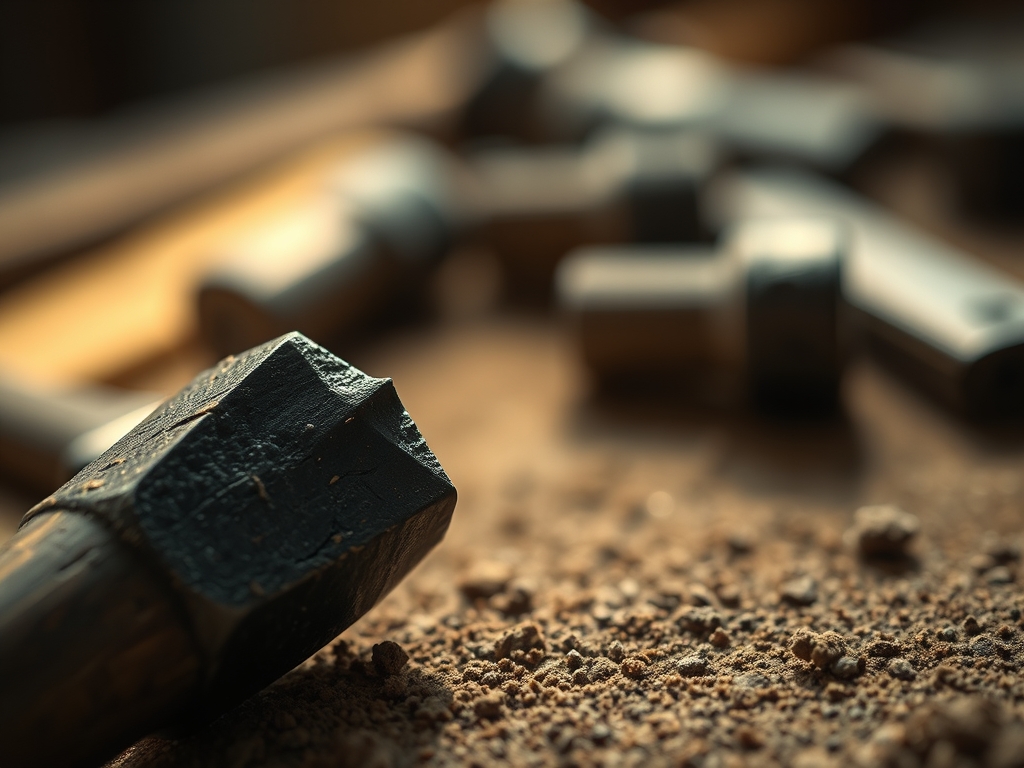
To execute this project with professional precision, you need a kit that respects the organic structure of your material. The star of the show is the froe, an L shaped tool with a heavy blade and a vertical handle. You will also need a maul or a heavy wooden mallet; never use a steel hammer on your froe as it will mushroom the spine of the tool. For checking your progress, keep a pair of calipers and a steel rule nearby to measure thickness consistency.
Your material selection is critical. Look for straight grained hardwoods like oak, ash, or hickory. These species have a high modulus of rupture, meaning they resist breaking across the grain but split beautifully along it. If you cannot find premium logs, you can use high quality firewood rounds as a material substitution, provided they are free of large knots. Knots are essentially internal structural anchors that redirect the grain, making a straight split nearly impossible. You will also want a shaving horse or a sturdy workbench with a vice to secure the planks for later refinement.
THE TEMPO
The Maker's Rhythm is all about patience and observation. This is not a race; it is a sequence of controlled releases of energy.
Phase One: Selection and Setup (20 Minutes). This involves inspecting the log for "spiral grain" and setting up your splitting block. You are looking for a stable surface that absorbs shock without bouncing.
Phase Two: The Primary Rive (30 Minutes). This is the high energy phase where you break the log into halves and quarters, known as bolts.
Phase Three: Plank Refinement (45 Minutes). Here, the tempo slows down. You are using the froe with surgical precision to peel away individual boards.
Phase Four: Dressing the Surface (Variable). Depending on your final goal, you might spend an hour per board using a drawknife or plane to smooth the porous surface left by the split.
THE CORE METHOD
1. Orienting the Grain
Before the first strike, examine the end grain of your log. You want to align your froe blade radially, like the spokes of a wheel. This ensures you are splitting through the medullary rays, which are the structural highways of the tree.
Mastery Tip: By aligning with the medullary rays, you minimize internal shear stress. This scientific approach ensures the board remains stable as it dries, preventing the dreaded "cup" or "bow" that ruins inferior lumber.
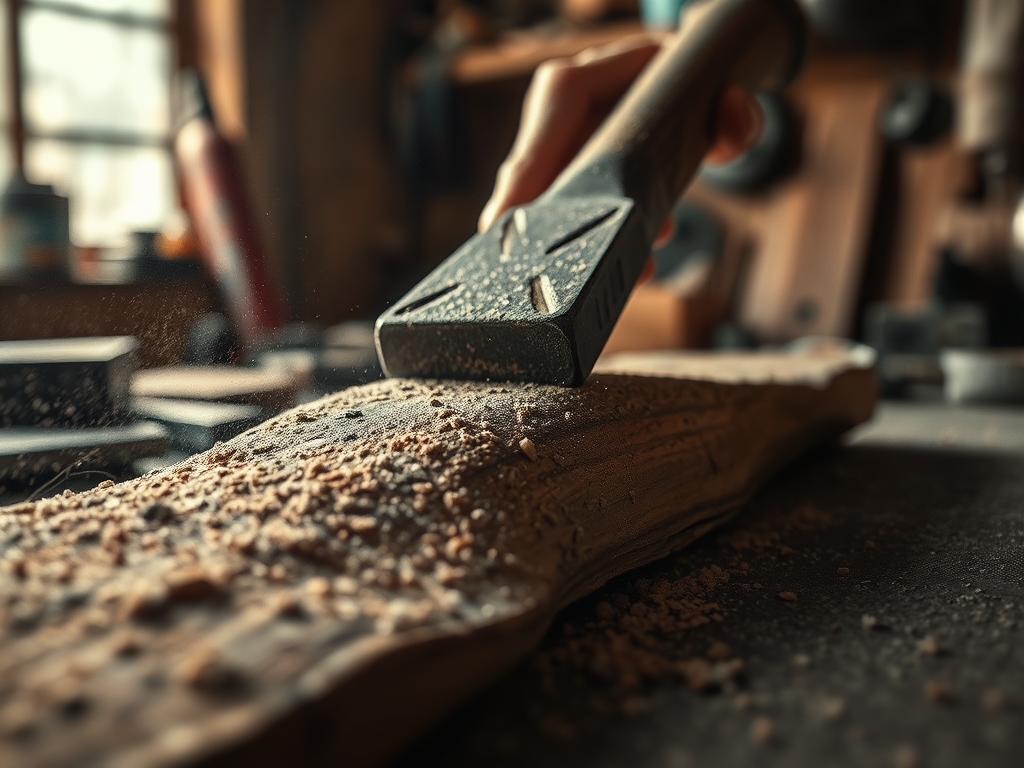
2. The Initial Bite
Place the froe blade across the center of the log. Strike the top of the blade firmly with your mallet. You are looking for the blade to sink about an inch into the wood, establishing a "kerf" or a guide path.
Mastery Tip: This step relies on compression failure. You are forcing the wood fibers apart at a specific point of weakness. The sharp edge of the froe concentrates all the kinetic energy into a microscopic line, overcoming the wood's lateral bond strength.
3. Leveraging the Split
Once the blade is buried, pull the handle toward you. This uses the froe as a massive lever. As the handle moves, the blade twists, acting as a wedge that drives the crack downward through the length of the log.
Mastery Tip: This is pure mechanical advantage. The long handle of the froe multiplies the force you apply. As the crack propagates, it follows the natural path of least resistance between the longitudinal tracheids, ensuring the board's structural integrity.
4. Managing the Runout
If you notice the split starting to veer toward one side, do not panic. Flip the log over and apply pressure from the opposite side. You can "steer" the split by leaning the log or changing the angle of your leverage.
Mastery Tip: This technique manages fracture mechanics. By applying pressure to the thicker side of the split, you increase the tension on those fibers, coaxing the crack back toward the center of the workpiece.
THE TECHNICAL LEDGER
Maintenance & Longevity: Your froe is a lifetime tool if treated well. Keep the edge "working sharp" but not razor sharp; a slightly blunt wedge shape actually splits better than a thin, fragile edge. Periodically rub the blade with camellia oil to prevent oxidation and keep the wooden handle hydrated with linseed oil to prevent brittleness.
Material Variations:
- Sustainable: Use "storm fall" timber or local arborist waste.
- Recycled: Old fence posts or beams can be re-split if they are not chemically treated.
- Premium: Select "clear" heartwood for the highest tensile strength and most beautiful grain patterns.
The Correction:
- The Stuck Blade: If the froe gets jammed, do not pry it sideways. Drive a separate wooden wedge into the crack to release the pressure on the blade.
- The Wandering Split: If the split runs out the side, the board is lost as a full length piece. Cut it shorter and use it for smaller components like drawer fronts.
- Mushroomed Spine: If you accidentally used a metal hammer, use a metal file to grind away the deformed "mushroom" edges of the froe to prevent metal shards from flying off during use.
Studio Organization: Store your split planks in a "sticker stack." Place thin strips of wood between each layer to allow for airflow. This prevents fungal growth and ensures the wood dries evenly without warping.
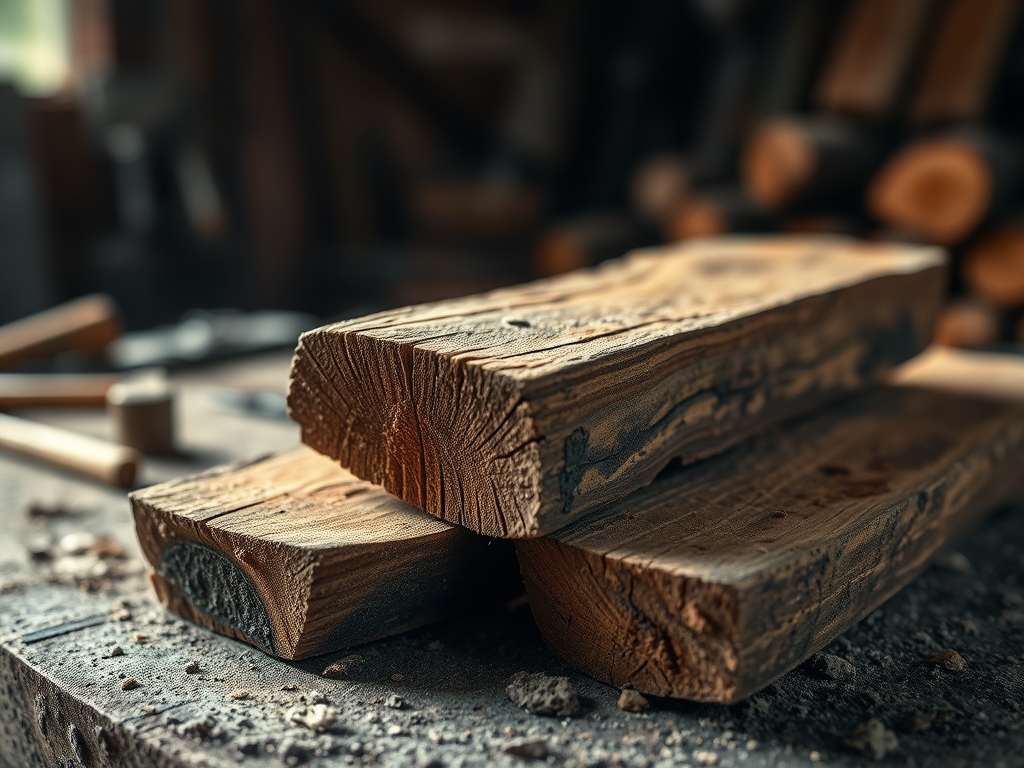
THE FINAL REVEAL
Look at that texture! There is something incredibly sophisticated about a board that has been split rather than sawn. Because the fibers are continuous from one end to the other, your Hand Splitting Firewood Planks are significantly stronger than anything you could buy at a big box store. You can see the light dancing off the natural cell structure, a shimmering effect called chatoyancy that only comes from a true riven surface. These planks are now ready to be turned into heirloom furniture, rustic shingles, or even tool handles. You have successfully navigated the physics of the forest and come out with a masterpiece of raw material.
STUDIO QUESTIONS
Why is splitting better than sawing for strength?
Splitting follows the natural grain, ensuring every fiber runs the full length of the board. This maximizes tensile strength and prevents "cross grain" weaknesses that cause sawn boards to snap under heavy loads or high pressure.
Can I split wood that is already seasoned and dry?
It is significantly harder. Green wood contains moisture that acts as a natural lubricant between the fibers. Dry wood has increased lignin density, making it brittle and more likely to shatter unpredictably rather than splitting cleanly along the grain.
How do I stop my froe handle from wobbling?
Ensure the eye of the froe is properly seated. If it loosens, soak the eye area in water to swell the wood or drive a small hardwood wedge into the top of the handle to create a permanent friction fit.
What is the best way to sharpen a froe?
Use a coarse whetstone or a metal file. You want a steep, durable bevel of about 30 to 40 degrees. Avoid a thin, hollow grind, as the high impact forces of the mallet will cause a thin edge to chip.