
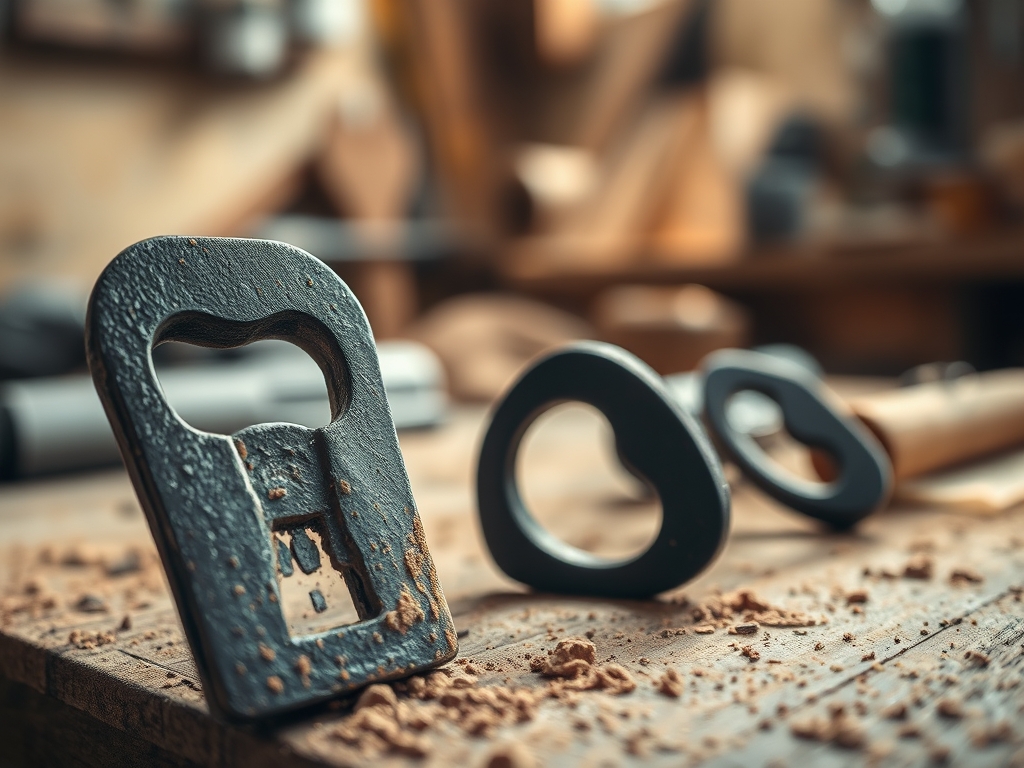
Imagine the smell of ozone and hot iron filling a tiny workspace while the rhythmic clang of a hammer vibrates through your marrow. There is something deeply primal about taking a rigid, industrial bar of metal and forcing it to yield to your will through sheer heat and pressure. When I need a gift for my metal-obsessed inner circle, I always return to the forge. Forged Steel Bottle Openers are the ultimate intersection of utility and artistry. They are not just tools; they are hand-sculpted artifacts that carry the literal energy of the maker. Unlike mass-produced aluminum versions, these openers possess a specific tensile strength and weight that makes every popped cap feel like a victory. We are talking about high-carbon durability wrapped in a sleek, ergonomic silhouette. This project is my absolute favorite because it challenges your understanding of thermal expansion while rewarding you with a piece that will outlast everyone in the room. It is heavy, it is honest, and it is the perfect way to say you value a friendship enough to play with fire for it.
THE STUDIO KIT
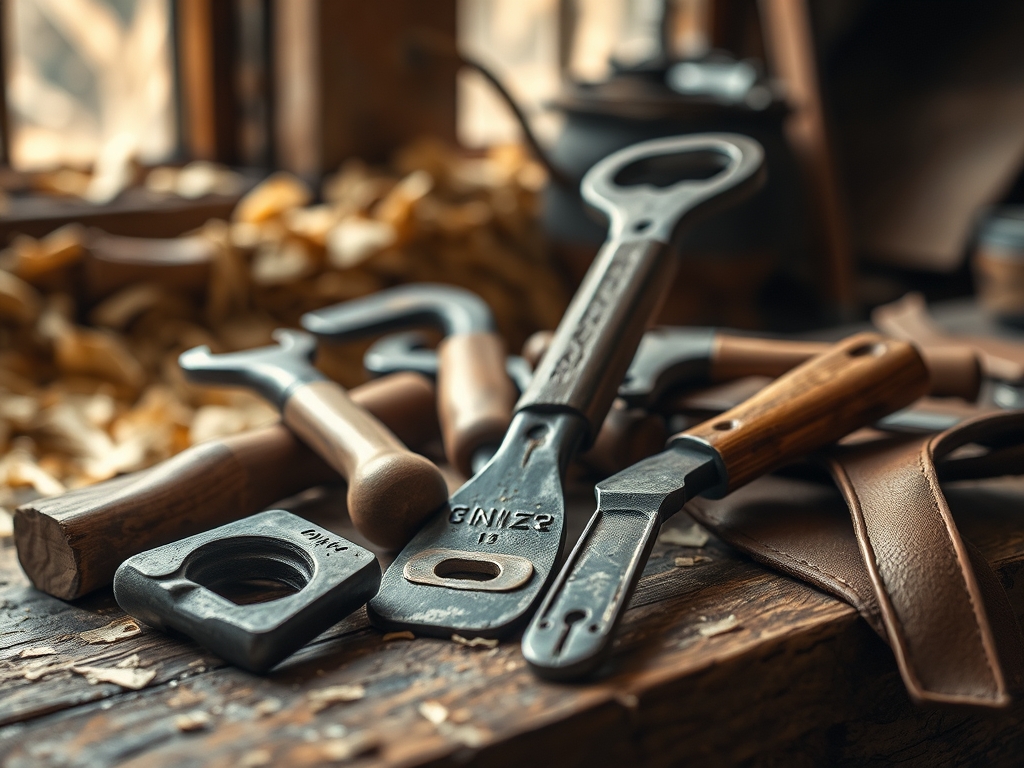
To master this build, your workbench needs to be a shrine to high-density materials. You will start with a 1/2-inch square bar of mild steel, roughly eight inches long. This provides the necessary **gauge** to ensure the handle does not flex under the torque of opening a stubborn bottle. You will need a propane or coal forge capable of reaching 2,000 degrees Fahrenheit, a 2-pound cross-peen hammer, and a sturdy anvil with a clean **hardy hole**. For precision, keep a pair of **calipers** nearby to check the thickness of the “eye” as you stretch the metal. You will also need a **center punch** to mark your hole and a **hot drift** to expand it.
Material Substitutions: If you cannot source virgin mild steel, high-quality recycled railroad spikes are a fantastic alternative. They offer a higher carbon content which increases the brinell hardness of the finished piece. If you lack a professional anvil, a heavy section of railroad track can suffice, though it lacks the rebound elasticity of a hardened steel face. For the finish, skip the toxic sprays and grab a block of natural beeswax or linseed oil; these create a non-porous polymer bond when applied to warm metal, preventing oxidation without losing the raw, industrial texture.
THE TEMPO
The "Maker's Rhythm" for this project is dictated entirely by the critical temperature of the steel. You are not working against a clock; you are working against the cooling rate of the metal. Each "heat" gives you roughly 60 to 90 seconds of optimal plasticity. The total project takes about two hours if you are focused. The first thirty minutes are spent on the "Rough In," where you taper the handle and square the shoulders. The middle hour is the "Technical Core," involving the punching and drifting of the opener head. The final thirty minutes are dedicated to the "Refinement," where you burnish the surface and apply the protective finish. Do not rush the cooling process. If you quench high-carbon steel too fast, you risk brittleness and internal fractures.
THE CORE METHOD
1. Tapering the Tang
Begin by heating the last three inches of your bar to a bright orange. Use your cross-peen hammer to draw out the metal, thinning it into a graceful taper. This reduces the mass density at the tail of the opener, making it more balanced in the hand.
Mastery Tip: Always strike the metal while it is at a "yellow-orange" heat. Working the steel when it turns dull red can cause stress fractures along the grain flow, compromising the structural integrity of the handle.
2. Punching the Eye
Flatten the head of the opener into a paddle shape about 1/4-inch thick. Use your center punch to create a pilot mark, then drive a heavy hot-punch through the center. You are looking to displace the metal rather than remove it.
Mastery Tip: This step relies on thermal conductivity. If your punch gets too hot, it will lose its temper and mushroom. Dip your tool in water between strikes to maintain its hardness while the steel remains plastic.
3. Drifting the Aperture
Insert your tapered drift into the punched hole. Drive it through to expand the opening to roughly one inch in diameter. This process realigns the molecular structure of the steel around the hole, creating a reinforced ring that is incredibly strong.
Mastery Tip: Use the "horn" of the anvil to shape the interior curve. The mechanical advantage of the curve allows you to thin the rim without collapsing the circle, ensuring a perfect fit for a standard bottle cap.
4. Setting the Tab
The "tab" is the small lip that catches the underside of the cap. Use a narrow chisel or the edge of the anvil to turn a small portion of the inner ring inward. This requires a delicate touch and high spatial awareness to ensure the angle is steep enough to grip but not so sharp that it shears the glass.
Mastery Tip: Test the leverage using a "dummy" bottle. The physics here involves a class one lever system; the distance from the fulcrum (the top of the ring) to the tab determines how much force the user must apply.
5. Finishing and Burnishing
Once the shape is perfected, wire brush the piece vigorously to remove mill scale. While the steel is still "black hot" (around 400 degrees), rub it with beeswax. The wax will smoke and liquefy, penetrating the micro-pores of the surface.
Mastery Tip: This is a chemical bond known as a conversion coating. The heat facilitates a reaction between the carbon in the steel and the fatty acids in the wax, creating a durable, hydrophobic barrier.
THE TECHNICAL LEDGER
Maintenance & Longevity: Steel is durable but susceptible to moisture. To keep your gift in heirloom condition, tell your friend to avoid the dishwasher at all costs. A simple wipe-down with a dry cloth after use is sufficient. If rust spots appear, a light scrub with steel wool and a re-application of oil will restore the luster.
Material Variations: For a premium version, try "San Mai" or layered Damascus steel. The contrasting layers of nickel and high-carbon steel create a stunning visual pattern that highlights the grain direction of the forge work. For a sustainable approach, upcycle old coil springs from a vehicle; they offer incredible fatigue resistance.
The Correction:
- The Cracks: If the metal splits during drifting, you worked it too cold. Fix: Grind out the crack, weld it shut, and re-heat to a higher temperature before continuing.
- The Slip: If the tab does not grip the cap, the angle is too shallow. Fix: Re-heat the head and use a needle-nose plier to increase the "bite" of the tab.
- The Scale: If the surface is pitted, you left it in the forge too long. Fix: Use an oscillating tool with a flap disc to sand the surface back to bright metal, then re-texture with a hammer.
Studio Organization: Store your raw steel bars horizontally in a dry rack to prevent surface oxidation. Keep your drifts and punches organized by size in a wooden block to protect their edges from chipping against other hardened tools.
THE FINAL REVEAL
When you hold the finished piece, the first thing you notice is the tactile feedback. It feels substantial, cool, and purposefully weighted. The dark, matte finish of the beeswax gives it a sophisticated "old world" soul that no factory-made gadget can replicate. It is a conversation starter that functions flawlessly. When your friend uses it to crack open a cold drink, they will feel the soul of the forge in their palm. It is the ultimate "iron-lover" gift because it proves that even the hardest materials can be transformed into something beautiful through patience and heat.
STUDIO QUESTIONS
Can I use stainless steel for this project?
Stainless steel has a much higher red-hardness, making it significantly more difficult to forge by hand. It requires precise temperature control to avoid "hot shortness," where the metal becomes crumbly and brittle at high heats.
What is the best way to clean off forge scale?
A soak in a mild acid bath, like white vinegar, for 24 hours will dissolve the ferrous oxide scale. After soaking, neutralize the acid with baking soda and water before applying your final wax finish.
Why did my opener snap when I dropped it?
If the steel was quenched too quickly in cold water, it became "glass hard." This creates extreme internal stress. You must "temper" the steel by reheating it to a straw-yellow color to restore toughness.
How do I ensure the opener fits all bottles?
Standard bottle caps are 26mm in diameter. Ensure your drifted hole is at least 28mm to allow for the thickness of the steel and the clearance needed for the tab to engage the cap's skirt.
Is mild steel strong enough for daily use?
Absolutely. While mild steel is softer than tool steel, its ductility prevents it from snapping under the repeated stress of prying. For a bottle opener, the mechanical design is more important than extreme hardness.

