The scent of freshly sliced cedar is a chemical cocktail of thujone and pheromones that instantly centers the mind. You are standing at the bench with a piece of rough-sawn timber. Your goal is simple but daunting: Hand Sawing Straight Lines without the safety net of a motorized fence or a laser guide. It is a dance between your ocular focus and the tensile strength of the wood fibers. When you first press the teeth of a saw into a board; you are not just cutting; you are disrupting the structural integrity of a biological masterpiece. The blade seeks the path of least resistance; often following the earlywood growth rings which are less dense than the latewood. To master the straight line; you have to stop fighting the wood and start listening to the vibration traveling through the handle. It is about that exact moment when the "kerf" begins to track true; guided by a steady hand and a sharp eye that refuses to blink. We are diving deep into the physics of the cut today.
THE STUDIO KIT

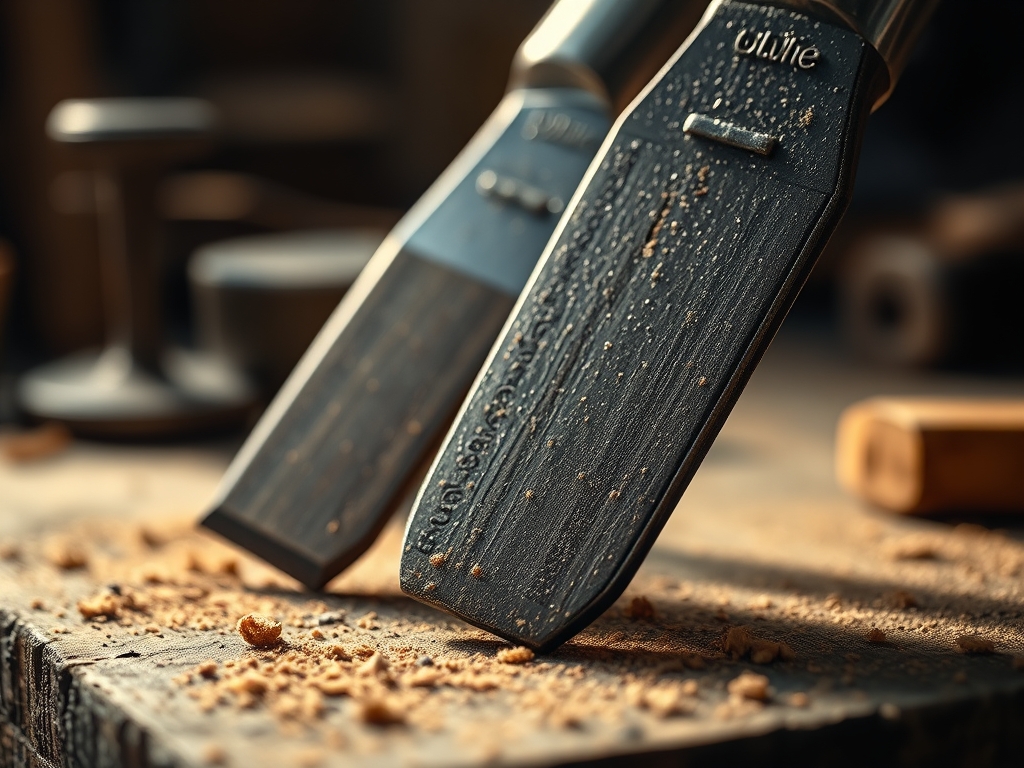
To achieve precision; your kit must prioritize ergonomic balance and metallurgical quality. I recommend a Western-style crosscut saw with a high TPI (Teeth Per Inch) for hardwoods; or a Japanese Ryoba if you prefer the control of a pull-stroke. You will also need a marking awl to sever the surface fibers before the saw ever touches the wood; which prevents splintering. A high-quality try square is non-negotiable for checking the 90-degree relationship between the face and the edge. For the material; we are working with kiln-dried white oak because its high density provides excellent tactile feedback.
If you cannot source oak; Material Substitutions include cherry or hard maple. Avoid construction-grade pine for your first practice sessions; as the varying resin content can cause the blade to wander. You should also keep a block of paraffin wax nearby to lubricate the plate; reducing friction and preventing the steel from binding in the cut.
THE TEMPO
The "Maker's Rhythm" is not about speed; it is about consistent oscillation. For a standard ten-inch cut through one-inch stock; expect to spend roughly two minutes on the actual sawing. However; the preparation phase takes ten minutes. You must calibrate your stance and clear your workspace. The rhythm follows a specific frequency: the starting notch is slow and deliberate; the mid-cut is a steady pendulum motion using the full length of the blade; and the exit is a delicate; high-frequency vibration to prevent the wood from snapping under its own weight as the fibers thin out.
THE CORE METHOD
1. Scribing the Fiber Path
Use your marking awl to create a physical "V" groove across the grain. This is not just a visual guide; it is a mechanical break in the cellulose structure. By pre-cutting the surface; you ensure the saw teeth do not "skate" across the top.
Mastery Tip: This technique utilizes mechanical displacement. By creating a physical channel; you are lowering the potential energy required for the saw teeth to engage; ensuring the blade follows the path of least resistance you have dictated.
2. Establishing the Kerf
Place your thumb an inch above the teeth to act as a temporary fence. Start the cut on the far corner of the wood; drawing the saw toward you with zero downward pressure. This creates a kerf; a narrow slit that will now guide the rest of the blade.
Mastery Tip: The science here involves friction coefficients. Using light pressure prevents the blade from overheating and warping; maintaining the planarity of the steel plate so the cut remains vertical.
3. The Long Stroke Engagement
Once the kerf is established; drop the angle of the saw to roughly 45 degrees. Use your shoulder as a hinge; not your elbow. Your eye should be positioned directly over the blade; looking down the spine like a rifle sight to ensure the lateral alignment is perfect.
Mastery Tip: This relies on proprioception. By locking your wrist and using the larger muscle groups of the shoulder; you minimize the micro-wobbles that cause a jagged edge.
4. Monitoring the Exit
As you reach the final half-inch of the board; support the waste piece with your off-hand. Lighten the stroke significantly. The goal is to finish the cut with a series of short; rapid movements to prevent the longitudinal fibers from tearing away.
Mastery Tip: This manages cantilevered stress. Without support; the weight of the falling wood creates a "hinge" effect that rips the grain; ruining the structural integrity of the finished edge.
THE TECHNICAL LEDGER
Maintenance & Longevity: Steel is porous on a microscopic level. After every session; wipe your blades with camellia oil to prevent oxidation. Check the "set" of the teeth using calipers; if the teeth are bent too far outward; the kerf will be too wide; wasting material and reducing precision.
Material Variations: If you are working with recycled timber; use a metal detector to check for hidden nails. For premium exotics like ebony; increase your TPI to 20 or higher to manage the extreme density.
The Correction:
- The Drift: If the saw wanders; do not twist the handle. Instead; tilt the saw toward the side you want to return to.
- Binding: If the saw gets stuck; your wood is likely under internal tension. Insert a small wedge into the top of the cut to keep the kerf open.
- Splintering: If the bottom of the board is messy; you are applying too much pressure on the downward stroke. Let the weight of the tool do the work.
Studio Organization: Store your saws vertically or in a dedicated "till" where the teeth do not touch other metal surfaces. This prevents dulling through contact and keeps the blades straight.
THE FINAL REVEAL
Look at that edge! When you trust your eye; the result is a surface that feels almost burnished. There is a specific satisfaction in seeing a line so straight it looks machined; yet knowing it was guided by your own neuromuscular control. The wood feels different when it is cut by hand; the cells are sliced cleanly rather than crushed by a high-speed circular blade. Your project now has a "soul" that only hand-tool woodworking can provide. It is tactile; precise; and utterly professional.
STUDIO QUESTIONS
Why does my saw keep jumping at the start?
You are likely applying downward pressure. The teeth need to "float" on the surface during the first few pull-strokes. Let the gravity and tooth geometry do the initial work to establish a shallow channel before you push forward.
How do I know if my saw needs sharpening?
If you see "dust" instead of small "chips;" or if the blade requires significant force to move; the apex of the teeth has rounded over. A sharp saw should feel like it is "grabbing" the wood fibers effortlessly.
What is the best way to stand while sawing?
Adopt a "fencer's stance" with one foot forward. Align your sawing arm; the blade; and your dominant eye in a single vertical plane. This alignment uses your skeletal structure for support rather than relying on inconsistent muscle tension.
Can I use a crosscut saw for ripping along the grain?
You can; but it is inefficient. Crosscut teeth act like knives to sever fibers; while rip teeth act like chisels to scoop them out. Using the wrong geometry results in slower cuts and increased heat friction.