The smell of hot oil and scorched iron is basically my new signature scent. Before we dive into the grit, you have to understand that Setting Up a Small Forge is not just about buying a propane burner; it is about mastering the physics of impact. My journey began with a massive hunk of 4140 alloy steel, a material prized for its high tensile strength and resistance to fatigue. When you first touch a raw steel billet, it feels cold and deceptively inert. However, the moment you strike it, you feel the vibration travel through your skeletal structure. This is the Young's Modulus in action, defining the relationship between stress and strain. I spent weeks researching the internal grain structure of reclaimed railroad track versus virgin tool steel. I learned that an anvil is not just a heavy object; it is a high-performance energy return system. If the base lacks the proper mass, your energy dissipates into the floor rather than the workpiece. We are building a foundation for every strike you will ever make.
THE STUDIO KIT
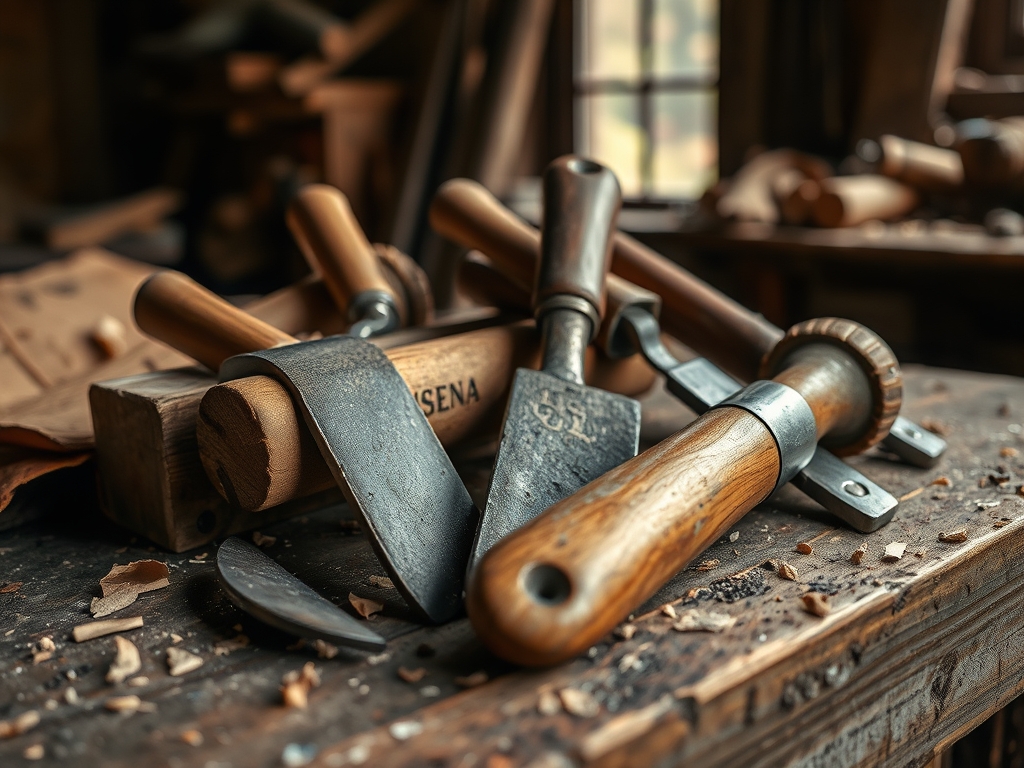
To transform a raw block of metal into a functional anvil, you need a kit that balances brute force with surgical precision. My studio setup includes a digital caliper for measuring face flatness and a high-speed angle grinder equipped with a ceramic flap disc. You will also need an oscillating tool for tight radius work around the horn. For the actual forge setup, I recommend a double-burner propane unit lined with refractory ceramic fiber to ensure maximum heat retention.
Material Substitutions: If you cannot source a 4140 steel block, a section of heavy-duty crane rail is a fantastic alternative due to its high carbon content. For the base, instead of a solid oak stump, you can use a sand-filled steel drum to dampen the acoustic resonance of your strikes. Just ensure your mounting bolts are at least 1/2 inch gauge to handle the lateral shear forces during heavy sledging. You will also want a jeweler's saw for fine-tuning any custom hardy tools you plan to seat in the anvil's square hole.
THE TEMPO
The "Maker's Rhythm" is a real psychological state where your heart rate syncs with the cycle of the forge. Building an anvil is a marathon, not a sprint. Phase one, the Material Sourcing and Prep, takes roughly eight to ten hours of hunting and cleaning. Phase two, the Grinding and Surfacing, is the most grueling, requiring about fifteen hours of consistent labor to achieve a mirror finish.
Phase three is the Heat Treatment, which is a high-stakes four-hour window where you must monitor the steel's color to hit the critical transformation temperature. Finally, the Mounting and Dressing phase takes five hours. In total, expect to invest about forty hours of focused studio time. The rhythm here is dictated by the cooling rates of the metal; you cannot rush the thermal conductivity of a forty-pound block of steel without risking internal fractures.
THE CORE METHOD
1. Leveling the Face
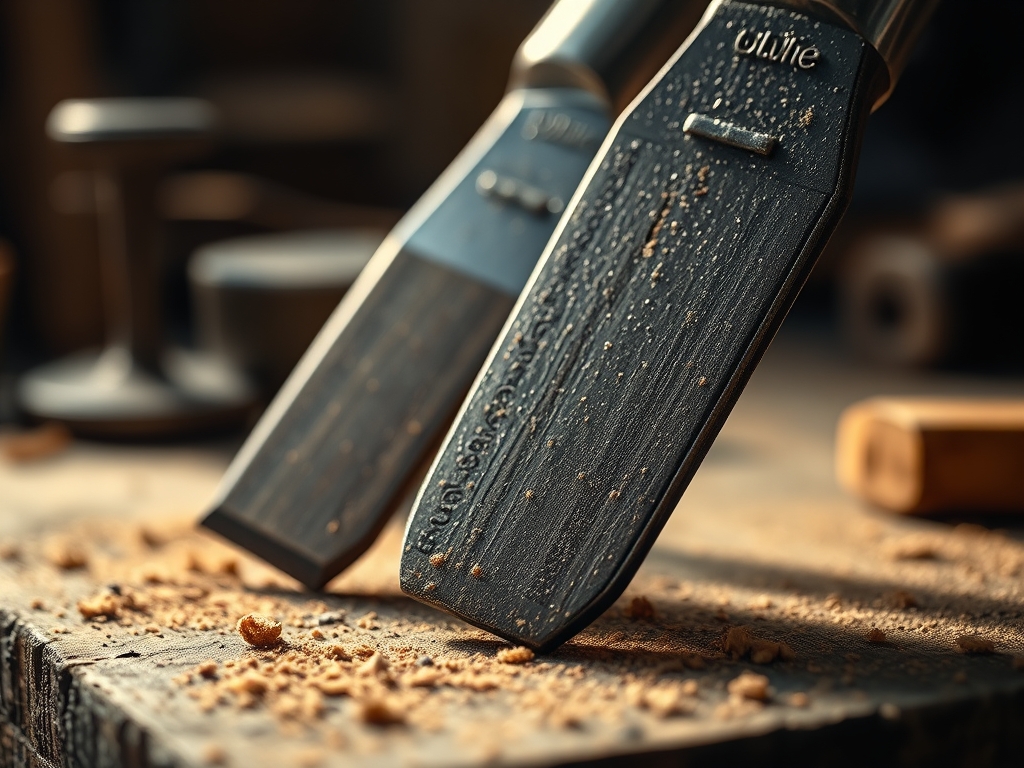
We start by using a precision straightedge to identify high spots on the steel billet. Use your angle grinder with a 40-grit disc to aggressively remove material until the surface is flat within a 0.005-inch tolerance.
Mastery Tip: This step relies on understanding surface flatness. If the face is even slightly convex, your hammer blows will cause the workpiece to "skate" across the anvil, wasting kinetic energy and potentially causing injury.
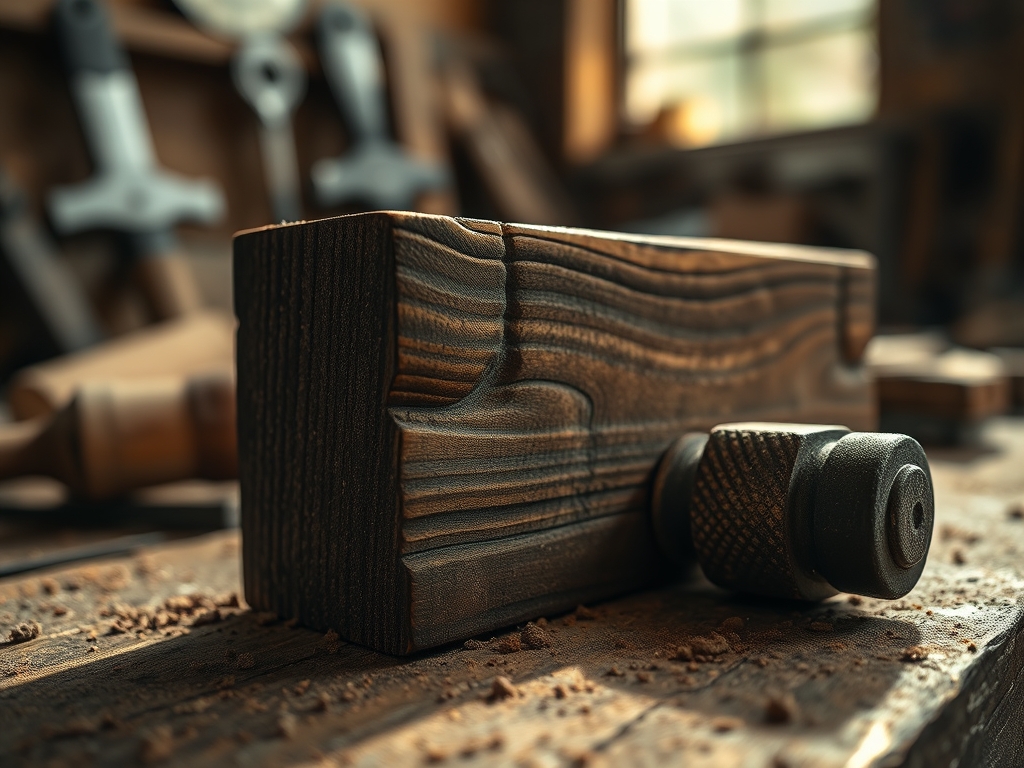
2. Shaping the Horn
The horn is used for creating curves and rings. Use an oscillating tool or a specialized grinding attachment to taper one end of your block into a smooth, conical shape.
Mastery Tip: Focus on the geometric transition between the flat face and the curved horn. A seamless transition prevents "cold shuts" or stress risers in your forged pieces, ensuring the structural integrity of your future projects.
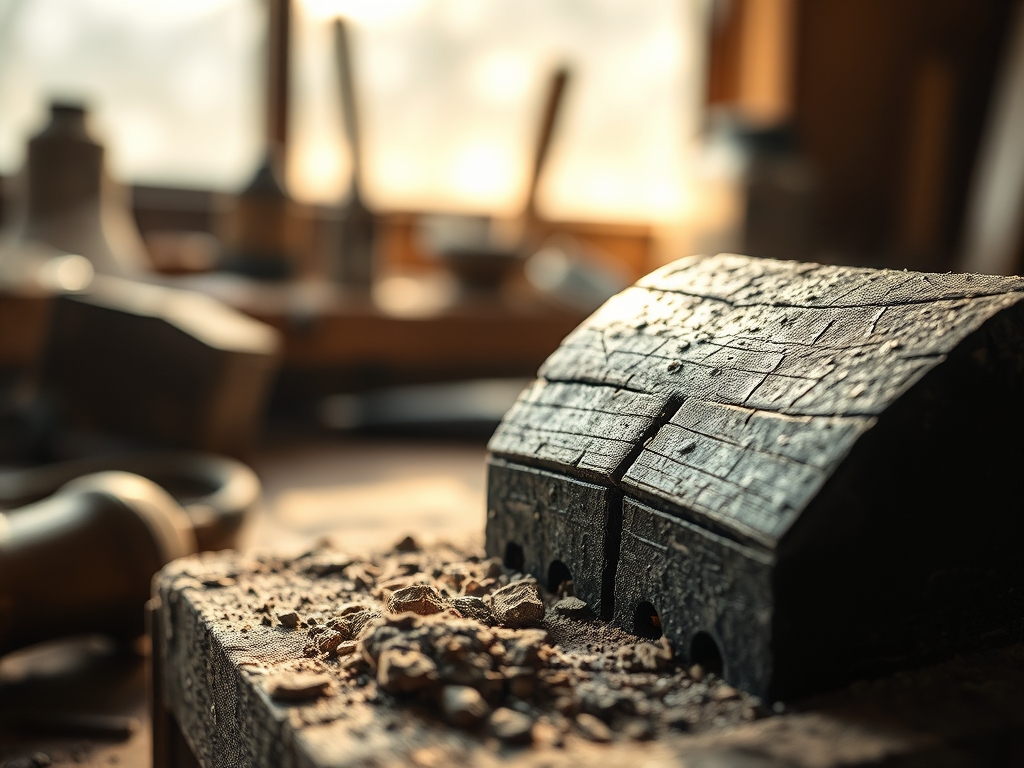
3. Hardening the Steel
Heat the entire anvil face using your forge until it reaches a cherry red glow, approximately 1,500 degrees Fahrenheit. Quickly quench the surface in a large volume of agitated salt water or specialized quenching oil.
Mastery Tip: This process triggers a martensitic transformation in the steel. Rapid cooling locks the carbon atoms into a needle-like crystal structure, which increases the hardness and allows the anvil to resist deformation from heavy hammer strikes.
4. Tempering for Toughness
After hardening, the steel is brittle like glass. Place the anvil in a controlled oven at 400 degrees Fahrenheit for two hours. This "draws back" some hardness in exchange for impact toughness.
Mastery Tip: Tempering relies on diffusional transformation. By slightly reheating the metal, you allow the internal stresses to relax, preventing the anvil from shattering when you hit it with a sledgehammer.
5. Dressing the Edges
Use a rotary cutter or a fine-grit flap disc to round over the sharp edges of the anvil face to various radii. This prevents the edges from "chipping" and allows you to forge smooth transitions.
Mastery Tip: The radius of curvature on your edges determines how much "bite" the anvil has. Sharp edges are notorious for creating stress fractures in your workpieces, so a gradual radius is essential for longevity.
THE TECHNICAL LEDGER
Maintenance & Longevity: Steel is porous at a microscopic level and prone to oxidation. After every session, wipe the face with a thin layer of boiled linseed oil. This creates a polymer barrier that prevents moisture from inducing rust.
Material Variations:
- Sustainable: Reclaimed forklift tines are often made of high-quality 4340 steel.
- Premium: Sourcing a pre-cast H13 tool steel block provides superior red-hardness for high-volume work.
The Correction:
- The Swayback: If you grind too much in the center, the face becomes concave. Fix this by "draw filing" the ends down to match the center depth.
- Soft Spots: If a file bites into the face after quenching, the heat was uneven. Re-heat the block and ensure even thermal distribution before the second quench.
- Ring Fatigue: If the anvil "screams" when hit, the base connection is loose. Apply a bead of silicone caulk between the anvil and the stump to act as a vibration dampener.
Studio Organization: Store your anvil in a dry, temperature-controlled zone. If your shop is humid, use a heavy canvas cover treated with wax to prevent atmospheric moisture from reaching the polished face.
THE FINAL REVEAL
Stepping back to look at a finished anvil is an incredible rush. The surface should have a soft, satin sheen that reflects the light of your studio. When you drop a steel bearing ball onto the face, it should bounce back at least 80 percent of the height; this is the ultimate test of elasticity and energy return. My first anvil feels like a living part of the shop. It is heavy, grounded, and ready to absorb a lifetime of creative energy. There is a profound sense of pride in knowing that the tool you are using to shape metal was shaped by your own hands first.
STUDIO QUESTIONS
What is the best steel for a DIY anvil?
High-carbon tool steels like 4140 or 4340 are ideal. They offer the perfect balance of tensile strength and hardness, ensuring the face does not dent under heavy use while maintaining excellent energy return for the smith.
How do I stop my anvil from ringing?
Mount the anvil on a bed of silicone or heavy chain. This disrupts the acoustic frequency of the metal. Securing it tightly to a heavy wooden base also helps absorb the vibrations that cause high-pitched ringing.
Why is my anvil face chipping?
Chipping occurs when the steel is too hard and brittle. This usually means the tempering process was skipped or done at too low a temperature. Re-tempering the steel will increase its toughness and prevent future fractures.
Can I use a piece of scrap iron?
Cast iron is too brittle and lacks the ductility required for an anvil. It will eventually crack or "mushroom" under the hammer. Always opt for forged or cast steel to ensure a safe and effective striking surface.