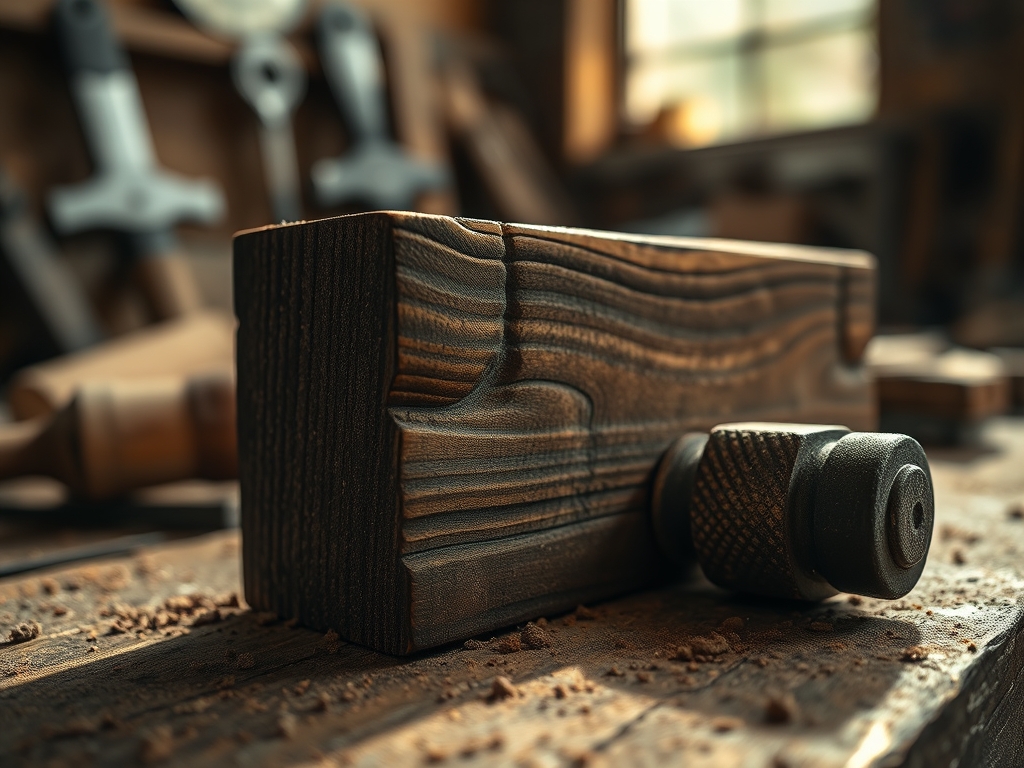
The air in the studio smells like a mix of sharp cedar and the sweet, heavy scent of boiled linseed oil. It is a scent that hits you right in the chest; it is the smell of legacy. When you run your hand over a raw slab of white oak, you are not just feeling wood. You are feeling a complex network of cellulose and lignin fibers that have spent eighty years resisting the wind. To master the art of Old School Wood Joinery, you have to stop thinking like a consumer and start thinking like an engineer with a soul. My grandfather did not believe in screws; he called them a "crutch for the impatient." Instead, we rely on the mechanical interlock of the wood itself. We are looking for that perfect, piston-fit friction where the air is squeezed out of the joint as it slides together. It is about the tensile strength of the grain and the way wood cells expand when they meet a water-based adhesive. This is not just furniture; it is a living, breathing structural puzzle.
THE STUDIO KIT
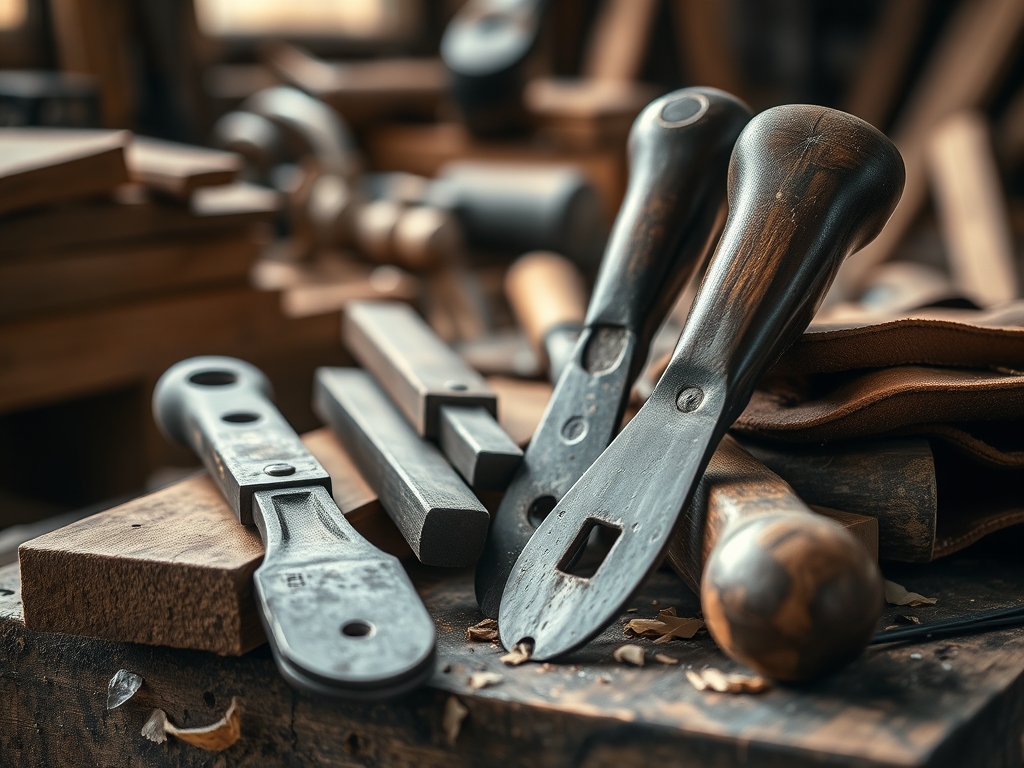
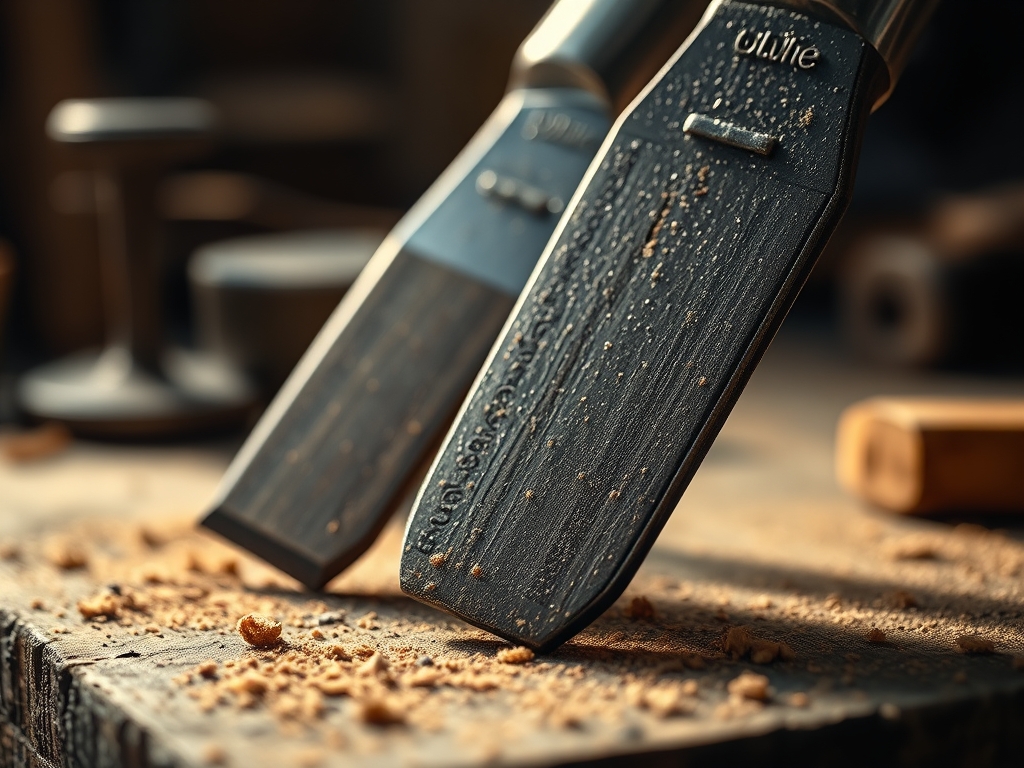
To execute these heirloom techniques, your toolbox needs to be an extension of your own nervous system. Forget the power drills for a second. We are starting with a marking gauge and a high-carbon steel marking knife. A pencil line is a suggestion; a knife wall is a physical boundary that prevents grain tear-out. You will need a set of beveled-edge chisels, kept so sharp they can shave the hair off your forearm. This level of sharpness is required to slice through the lignin without crushing the surrounding fibers.
For the heavy lifting, we use a tenon saw with a high TPI (teeth per inch) count to ensure the kerf is narrow and precise. You should also have digital calipers on hand to measure the thickness of your tenons down to the thousandth of an inch. As for materials, we are hunting for quarter-sawn hardwoods like walnut or cherry because their grain is more stable and less prone to warping.
Material Substitutions: If you cannot source premium air-dried lumber, kiln-dried stock works, but you must let it acclimate to your studio's humidity for two weeks. If you lack a traditional mallet, a heavy piece of scrap lignum vitae or any high-density offcut will serve as a "commander" to drive your chisels without mushrooming the handles.
THE TEMPO
The "Maker's Rhythm" is a biological clock that governs the workshop. You cannot rush the hygroscopic nature of wood.
- The Acclimation Phase (72 Hours): This is the "quiet time" where your lumber sits in the studio to reach equilibrium moisture content. If you skip this, your joints will shrink and rattle by next winter.
- The Layout Phase (3 Hours): This is the most mentally taxing part. We use an awl to prick our reference points. It requires total focus; one wrong mark means the entire geometry of the piece is compromised.
- The Extraction Phase (5-8 Hours): This is where the physical work happens. Chiseling out mortises and sawing tenons. It is a rhythmic, percussive process.
- The Curing Phase (24 Hours): Once the hide glue is applied, the piece must stay in the clamps. This allows the protein chains in the glue to bond with the porous structure of the wood.
THE CORE METHOD
1. The Knife Wall and Shoulder Cut
We begin by establishing a deep physical score line using the marking knife. This creates a "track" for the saw to follow. By removing a tiny sliver of wood on the waste side of the line, you create a "V" groove that prevents the saw from jumping.
Mastery Tip: This technique utilizes the structural integrity of the wood fibers. By severing the long-grain fibers on the surface, you ensure that the saw teeth do not pull or "fuzz" the edge of your joint.
2. Mortise Excavation
Using a mortising chisel, we drive straight down into the grain. We work from the center out toward the ends of the hole. You are essentially creating a negative space that must be perfectly plumb.
Mastery Tip: Pay attention to capillary action. When you eventually apply glue, the end-grain inside the mortise will drink up the liquid rapidly. You must "size" the joint by applying a thin layer of glue first, letting it dry for five minutes, and then applying the final coat.
3. The Tenon Precision Trim
The tenon is the "tongue" that fits into the mortise. We use a shoulder plane to shave off curls of wood that are thinner than a human hair. We are looking for a "slide-fit" where the joint holds together under its own weight but can be pulled apart with one hand.
Mastery Tip: This is about friction coefficients. If the fit is too tight, you will starve the joint of glue and potentially split the mortise. If it is too loose, the mechanical bond fails.
4. The Drawbore Pinning
This is the "old school" secret. We drill a hole through the mortise, then a slightly offset hole through the tenon. When we drive a wooden peg through, it pulls the joint together with massive force.
Mastery Tip: This creates a permanent mechanical tension. Even if the glue fails in a hundred years, the offset geometry of the peg ensures the joint can never physically pull apart.
THE TECHNICAL LEDGER
Maintenance & Longevity: To keep these joints tight, avoid silicone-based polishes. Use a high-quality microcrystalline wax. This creates a moisture barrier without interfering with the wood's ability to "breathe" through its pores.
Material Variations:
- Sustainable: Reclaimed heart pine offers incredible density but requires frequent tool sharpening due to old resin.
- Premium: African Blackwood is nearly metal-hard and allows for thread-like precision in joinery.
The Correction:
- The Gap: If your joint has a visible gap, do not use wood filler. Instead, glue in a thin veneer shaving of the same species. It disappears into the grain.
- The Split: If a peg splits the wood, use a syringe to inject glue deep into the crack and clamp it immediately.
- The Out-of-Square: If the frame is "racked," use a diagonal clamp to apply pressure to the long corner while the glue is still viscous.
Studio Organization: Store your unfinished components flat and "stickered" (with small spacers between them). This allows airflow to all sides, preventing differential drying which leads to cupping.
THE FINAL REVEAL
Look at that! When you pull the clamps off, you are looking at a piece of engineering that defies the modern "throwaway" culture. The light catches the burnished edges of the walnut, and those hand-cut dovetails look like a row of perfect, interlocking teeth. There is no wobble, no metal, and no compromise. You can feel the ergonomic weight of the piece; it feels solid because it is a singular, unified structure. This is the "grandfather" standard. It is beautiful, it is functional, and it is built to outlive us both.
STUDIO QUESTIONS
Why use a marking knife instead of a pencil?
A marking knife severs the wood fibers, creating a physical "track" for your saw or chisel. This prevents grain tear-out and ensures a level of precision that a blunt pencil lead simply cannot achieve for Old School Wood Joinery.
What is the best glue for traditional furniture?
Liquid hide glue is superior for heirloom pieces. It has a long "open time," allowing for complex assemblies, and it is reversible with heat. This means the furniture can be repaired easily even a century from now.
How do I know if my chisel is sharp enough?
A truly sharp chisel should slice through end-grain with minimal pressure, leaving a shiny, "burnished" surface. If the wood looks crushed or fuzzy after a cut, your tool is dull and requires honing on a high-grit whetstone.
What does "quarter-sawn" mean and why does it matter?
Quarter-sawn wood is cut so the growth rings are perpendicular to the face. This orientation minimizes seasonal expansion and contraction, which is critical for keeping complex joints tight and preventing the wood from cracking over time.