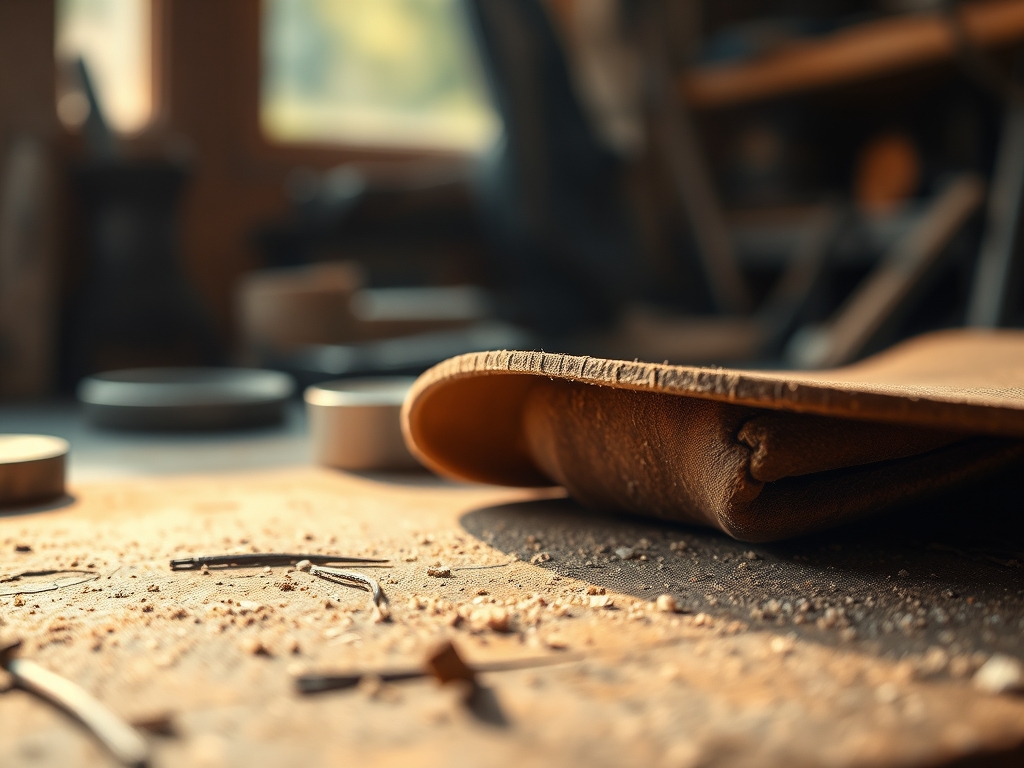
Imagine walking into a sun-drenched studio where the air smells like oak bark and ancient libraries. That is the scent of potential. When you are Working Raw Veg Tan Leather, you are not just handling a material; you are interacting with a collagen matrix that has been preserved through tannins found in tree bark. It feels firm, almost like a heavy cardstock, but with a hidden suppleness that responds to the heat of your palms. This is the "naked" state of leather. It is pale, sensitive to light, and incredibly thirsty for moisture. If you run your fingernail across the surface, it leaves a permanent mark because the fibers are compressed. That sensitivity is exactly why we love it. We are looking for that perfect balance between structural integrity and tactile grace. Every hide has a story written in its grain direction, and our job is to translate that story into something functional. Grab your coffee and clear your workbench; we are about to turn this raw, pale canvas into a masterpiece of grit and glamour.
THE STUDIO KIT
THE STUDIO KIT
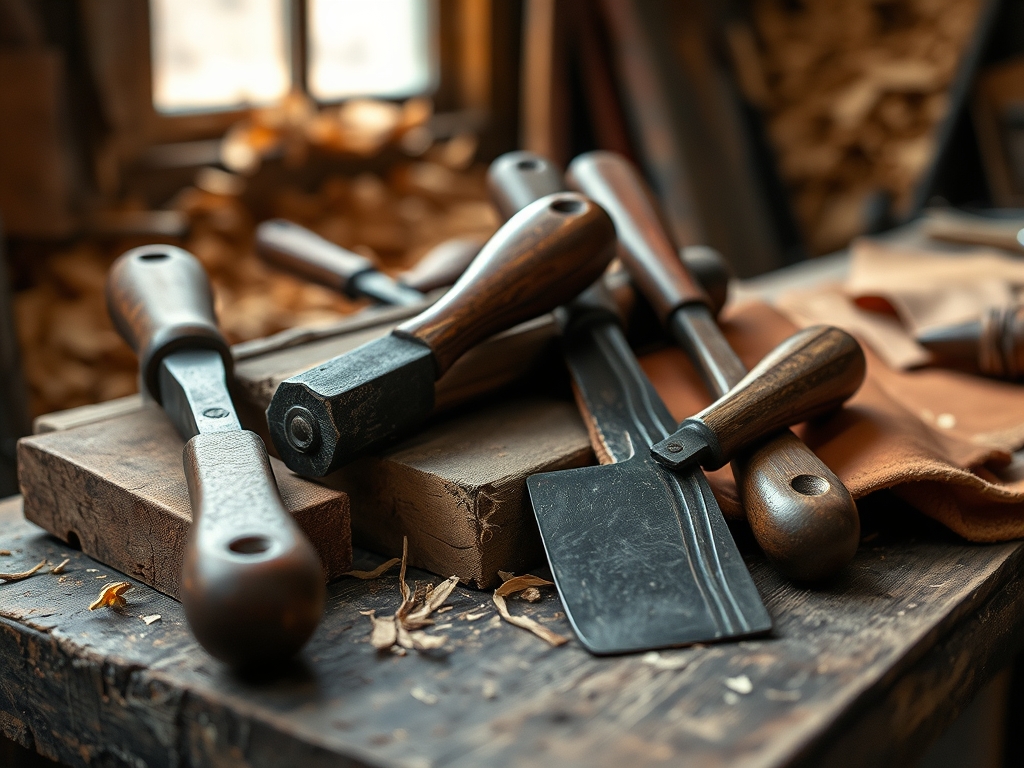
To master this craft, you need tools that respect the tensile strength of the hide. Your primary weapon is a high-carbon steel rotary cutter or a specialized head knife. Because veg tan is tanned with organic matter, it is denser than chrome-tanned leathers, requiring a blade that can slice through the corium layer without dragging. You will also need a set of calipers to ensure consistent thickness across your pieces; even a half-millimeter variance can throw off your stitch tension. For the edges, a wood slicker or bone folder is non-negotiable. These tools use friction to generate heat, which fuses the loose protein fibers together during the burnishing process.
Material Substitutions: If you cannot find a traditional bone folder, a smooth glass burnisher works beautifully to compress the grain. Instead of expensive chemical stiffeners, a simple mixture of water and tragacanth gum acts as a natural binder. For marking your stitch lines, a wing divider is superior to a ruler because it locks in a set width, ensuring your seams are perfectly parallel to the edge. We also utilize poly mallets rather than metal hammers to strike our punches; metal on metal creates a rebound effect that can blur your tooling marks, whereas poly absorbs the shock and delivers a clean, vertical force.
THE TEMPO
The "Maker's Rhythm" is all about respecting the moisture content of the hide. You cannot rush raw leather. The initial phase of "casing" (hydrating the leather) takes about twenty to thirty minutes of saturation followed by a few hours of resting in a sealed bag. This allows the water to penetrate the interstitial spaces between the fibers. The actual carving and tooling phase usually spans two to four hours depending on the complexity of your design. Once the tooling is complete, the leather must dry slowly over twelve to twenty-four hours to "set" the impressions. If you dry it too fast with a heat gun, you risk making the fibers brittle. Finally, finishing and assembly add another three to five hours. Total project time usually lands around two days of active and passive work. It is a slow-burn process that rewards patience with a finish that lasts a lifetime.
THE CORE METHOD
1. Casing for Plasticity
Before a single tool touches the surface, we must achieve the "leather-hard" state. This involves sponging room-temperature distilled water onto the grain side until the color darkens uniformly. You are looking for the leather to return nearly to its original color while still feeling cool to the touch. This indicates the water has moved from the surface into the internal fibers.
Mastery Tip: This process utilizes capillary action. By allowing the water to migrate deep into the hide, you soften the tannins, making the leather "plastic." If the surface is too wet, your tools will leave mushy, shallow marks. If it is too dry, the fibers will resist, causing your blade to jump.
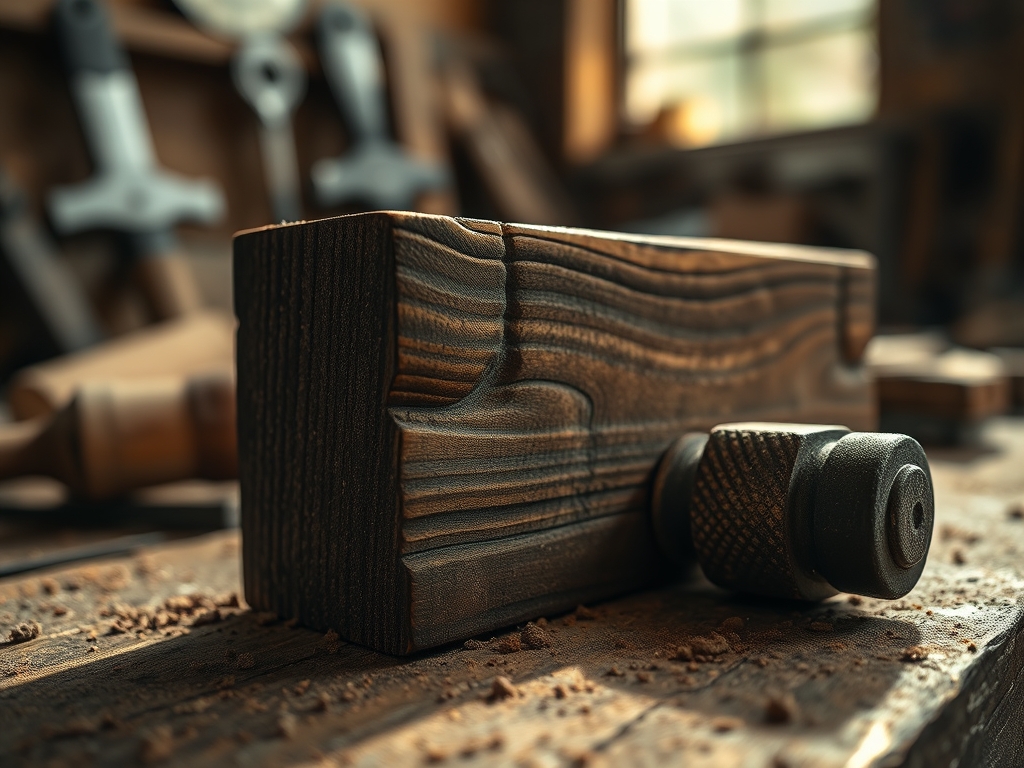
2. Precision Cutting and Skiving
Using your rotary cutter, follow your pattern lines with a steady, downward pressure. For areas where the leather needs to fold, like a wallet spine, use a skiving knife to thin the flesh side. This reduces the bulk density of the leather at the hinge point, allowing for a tight, professional fold without the leather bunching or cracking.
Mastery Tip: Always cut with the grain direction. Leather has a "stretch" similar to fabric bias. Cutting parallel to the spine of the hide provides the highest structural integrity, while cutting across the belly offers more elasticity but less durability.
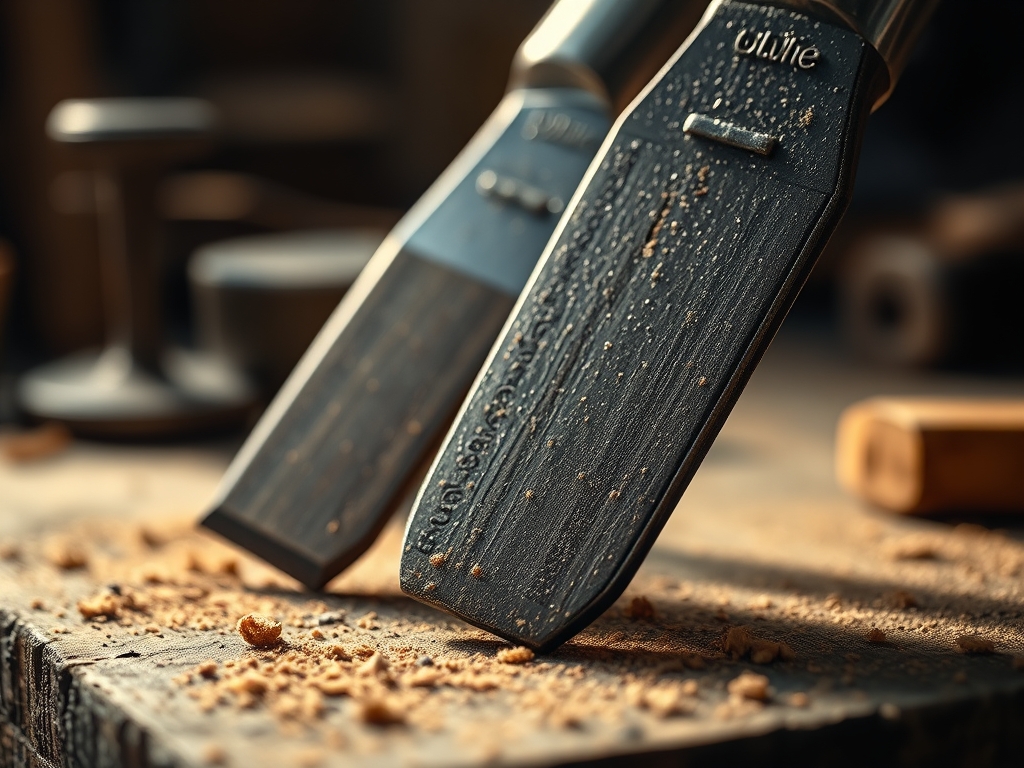
3. Edge Beveling and Burnishing
Once your pieces are cut, use an edge beveler to remove the sharp 90-degree corner of the leather. This creates a rounded profile that is less likely to fray. Apply a small amount of water or burnishing compound and rub the edge vigorously with your wood slicker.
Mastery Tip: This is a physics game involving frictional heat. The heat generated by the wood slicker melts the natural waxes and proteins within the veg tan, creating a "glassed" edge. This process seals the porous edge against moisture and prevents the layers from delaminating over time.
4. Punching and Stitching
Mark your stitch line with the wing divider, then use a stitching chisel and a poly mallet to create your holes. We use a saddle stitch with two needles and waxed linen thread. This creates an interlocking mechanical bond that will not unravel even if one thread is cut.
Mastery Tip: Pay attention to hole alignment. Because veg tan is so rigid, any misalignment will be amplified. Ensure your chisel is perfectly vertical; a tilted punch creates a slanted stitch on the backside, compromising the shear strength of the seam.
THE TECHNICAL LEDGER
Maintenance & Longevity
Raw veg tan is a living material. To maintain its ergonomic flexibility, it requires periodic conditioning with neatsfoot oil or beeswax-based creams. This replaces the oils that evaporate over time, preventing the collagen fibers from snapping under tension. Store your finished pieces in a cool, dry place away from direct UV light, as sunlight will accelerate the "patina" process, darkening the leather prematurely.
Material Variations
- Premium Grade: Full-grain hides with minimal scarring and high fiber density.
- Sustainable: Pit-tanned leathers that use recycled water systems and organic mimosa or chestnut extracts.
- Recycled: Bonded leather scraps, though these lack the tensile strength required for heavy tooling.
The Correction: Three Common Mistakes
- The Ghost Mark: If you drop a tool and leave a dent, do not panic. Apply a drop of water to the dent and use the back of a spoon to gently burnish the fibers back into place. The moisture swells the cells, "healing" the impression.
- Over-Saturating: If the leather becomes soggy, it will lose its shape. Fix this by placing it between two pieces of clean plywood and clamping it lightly. This forces the leather to dry flat and restores its structural integrity.
- Burnishing Burn: If you rub too hard without enough lubricant, you can scorch the leather. Lightly sand the edge with 800-grit sandpaper and start the burnishing process again with more tragacanth gum.
Studio Organization
Store your raw hides rolled, never folded, with the grain side facing inward. Folds create permanent "fatigue lines" in the fiber matrix. Use acid-free paper between layers if you are stacking different colors to prevent dye migration.
THE FINAL REVEAL
Look at that! The finished piece should have a satisfying weight and a surface that glows with a soft, matte luster. The edges are slick and hard, sounding like wood when tapped against a table. This is the hallmark of high-quality leatherwork. As you use this item, your skin oils and the environment will deepen the color to a rich, mahogany tan. You have successfully manipulated a biological material into a mechanical triumph. It is rugged, it is elegant, and it is entirely yours.
STUDIO QUESTIONS
Why does my leather turn dark when I touch it?
Raw veg tan is highly porous and reactive. The oils from your skin are absorbed immediately into the grain, causing a localized oxidation. This is the beginning of the "patina," a natural aging process that adds character and protection.
Can I use a metal hammer for tooling?
It is not recommended. Metal hammers create a "shockwave" that can bounce the tool, leading to double-stamped images. A poly mallet or rawhide maul absorbs the vibration, ensuring the energy is transferred directly and cleanly into the leather fibers.
How do I know if the leather is "cased" correctly?
The leather should feel cold to the back of your hand but look like its original pale color. If you press a fingernail into a scrap and the mark stays sharp without looking damp, the moisture equilibrium is perfect for carving.
What is the best way to fix a crooked stitch?
If the stitch is already set, use a fine-tipped awl to gently pull the thread back through the holes. If the hole itself is crooked, you may need to "massage" the leather with a bone folder to close the gap before re-punching.
Is veg tan leather waterproof?
In its raw state, no. It is actually quite hydrophilic. To make it water-resistant, you must apply a final finish like resolene or a heavy wax buffing to seal the surface tension and prevent water from penetrating the fiber core.