

Smell that? That is the scent of freshly shaved black walnut and aromatic cedar hitting the studio floor. There is something primal about holding a raw block of wood and knowing that a king, a queen, and a whole battalion of pawns are trapped inside just waiting for you to find them. Carving a Chess Set is not just a weekend hobby; it is a masterclass in patience and material physics. When I first gripped my detail knife, I realized that wood is not just a solid mass. It is a bundle of cellulose straws held together by lignin. If you respect that grain, you create art. If you fight it, you get a face full of splinters and a ruined project. Every single chip that falls away from the blade represents a decision made between my hands and the fibers. This process transformed my understanding of tactile resistance and structural integrity. It taught me that speed is the enemy of precision; you have to feel the wood speak back to you through the steel.
THE STUDIO KIT
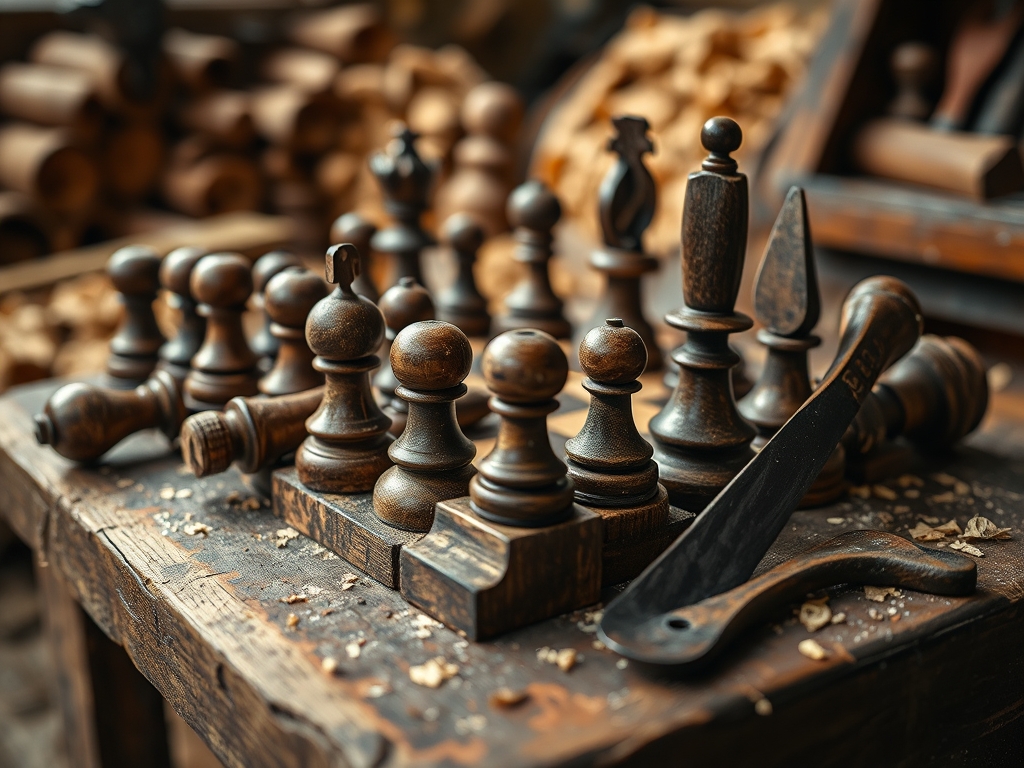
To master this craft, you need more than just a sharp edge. You need a curated selection of tools that respect the tensile strength of your timber. My go-to kit starts with a set of high-carbon steel bench knives and a variety of palm gouges for those intricate curves on the knight. I always keep a pair of digital calipers on hand because symmetry is the difference between a professional set and a wobbly mess. You will also need a honing strop loaded with green chromium oxide paste to keep your blades "scary sharp." A dull blade requires more force, which leads to slips and hospital visits.
For materials, I recommend starting with basswood for its tight, even grain and low density, which makes it incredibly forgiving for beginners. If you want a premium look, go for black walnut for the dark pieces and hard maple for the light ones. Material Substitutions: If you cannot find high-quality hardwoods, you can use high-density polyethylene (HDPE) blocks for a modern, industrial feel, though the shaving physics will differ significantly as plastic tends to curl rather than chip.
THE TEMPO
The "Maker's Rhythm" is a real psychological state where time dilates. You cannot rush the molecular bonding of a finish or the delicate removal of wood around a pawn's collar. Expect to spend approximately two hours per pawn once you find your flow. The royalty (Kings and Queens) will demand at least four to six hours each due to their complex geometry and higher surface area.
The first phase is the "Rough-Out," which takes about 20 percent of your time. This is high-energy, high-impact work. The middle phase is "Refinement," taking up 60 percent of the clock. This is where the ergonomic shape of each piece is born. Finally, the "Finishing" phase takes the remaining 20 percent, involving sanding and burnishing to achieve that professional luster. Respecting this tempo prevents "maker's fatigue," which is when most technical errors occur.
THE CORE METHOD
1. Squaring the Blanks
Before a single curve is cut, you must ensure your wood blanks are perfectly square using a try square and a marking gauge. This provides a reliable reference plane for your measurements. If your base is not perpendicular to the vertical axis, your pieces will lean like the Tower of Pisa.
Mastery Tip: Wood is anisotropic, meaning its strength varies depending on the direction of the grain. Always mark your grain direction on the top of the blank to avoid "tear-out" when you start your heavy cuts.
2. The Rough-Out Phase
Using a large V-tool or a heavy-duty roughing knife, remove the corners of the blank to create a cylinder. Focus on the "massing" of the piece. Do not worry about the crown of the King yet; just find the general shoulder height and base width.
Mastery Tip: Use the lever principle by bracing your thumb against the wood or the back of the blade. This increases control and prevents the blade from burying too deep into the porous end grain.
3. Defining the Silhouette
Switch to your detail knife to carve the specific features. For the Rook, use a jeweler's saw to create the crenellations at the top. For the Knight, use a small U-gouge to suggest the musculature of the neck and the flow of the mane.
Mastery Tip: Pay attention to structural integrity. Ensure the "neck" of your pieces is thick enough to withstand the shear stress of being dropped on a floor. A thin neck is a snap point.
4. Sanding and Surface Prep
Start with 120-grit sandpaper and work your way up to 400-grit. Always sand with the grain to avoid micro-scratches that will be magnified once the oil is applied. Use a compressed air canister to blow out dust from the deep crevices.
Mastery Tip: Capillary action will pull your finish deep into the wood. If you do not sand thoroughly, the finish will pool in the scratches, creating dark, ugly streaks that ruin the visual "read" of the piece.
5. The Final Burnish
Once sanded, use a piece of hard bone or a dedicated burnishing tool to rub the surface of the wood. This compresses the surface fibers, creating a natural sheen and hardening the exterior against moisture.
Mastery Tip: Burnishing increases the surface density of the wood, making it more resistant to the natural oils on a player's hands, which can cause discoloration over decades of use.
THE TECHNICAL LEDGER
Maintenance & Longevity: To keep your set in tournament condition, apply a thin coat of paste wax every six months. This creates a sacrificial barrier against humidity fluctuations that cause wood to expand and contract.
Material Variations:
- Sustainable: Use reclaimed bamboo plywood; it has a unique "edge grain" look but requires very sharp tools to avoid splintering the laminated layers.
- Premium: Exotic woods like Ebony or Pink Ivory offer incredible density but are very hard on tool edges.
The Correction:
- The Overcut: If you slice off too much, do not use wood filler; it looks fake. Instead, use a "Dutchman" patch by carving a small mortise and gluing in a matching piece of scrap wood.
- The Grain Pop: If the grain lifts, stop immediately. Apply a drop of cyanoacrylate (CA) glue, sand it flush, and carve from the opposite direction.
- Asymmetry: If one side of a Bishop's miter is lower than the other, use dividers to re-mark the center line and gradually take down the high side. Never try to fix it in one cut.
Studio Organization: Store your unfinished pieces in a sealed polyethylene bag with a small humidity pack. This prevents the wood from drying out too fast between sessions, which can lead to "checking" or internal cracks.
THE FINAL REVEAL
There is nothing quite like the weight of a finished, weighted chess piece in the palm of your hand. When you finally line up all thirty-two pieces on a matching board, the visual rhythm of the repeating shapes is breathtaking. You will notice how the light catches the burnished edges of the Queen's crown and how the dark walnut grain flows seamlessly around the curves of the Knights. This project is a marathon of focus, but the result is a legacy item that feels alive. You have taken raw, unyielding timber and turned it into a tactical battlefield. It is smart, it is beautiful, and it is entirely yours.
STUDIO QUESTIONS
What is the best wood for a beginner's chess set?
Basswood is the gold standard for beginners. It features a very fine, straight grain and low lignin density, making it exceptionally easy to carve without the blade wandering or the wood splitting unexpectedly during intricate detail work.
How do I make the pieces feel heavy and professional?
Drill a hole into the base using a Forstner bit and insert lead or tungsten weights. Seal the weight with epoxy and glue a piece of high-quality billiard felt over the bottom for a smooth, silent glide.
Why do my wood pieces keep cracking after I finish them?
This is usually caused by rapid changes in equilibrium moisture content. If the wood was not properly seasoned or if the studio is too dry, the internal tension causes "checking." Always use kiln-dried wood for stability.
What is the sharpest angle for a carving knife?
For most hardwoods, a bevel angle of 20 to 25 degrees is ideal. This provides a balance between a razor-sharp edge for slicing fibers and enough steel thickness to maintain edge retention without chipping.
Can I use a rotary tool instead of hand knives?
Yes, an oscillating tool or rotary carver with carbide burrs works well for "power carving." However, it generates significant heat and dust, which can scorch the wood fibers and requires constant vacuuming to maintain visibility.

