
Imagine the scent of fresh cut wood filling your kitchen on a crisp morning. There is something deeply primal about holding a raw piece of timber and realizing it holds the secret to the smoothest breakfast you have ever tasted. We are diving deep into the physics of breakfast today. Carving a Spurtle for the Kitchen is not just a weekend hobby; it is a masterclass in fluid dynamics and wood grain orientation. While a standard spoon creates drag and pockets of trapped air, the cylindrical profile of a spurtle allows oats to glide without clumping. You are about to transform a rough branch into a sleek, functional tool that defies the sticky resistance of boiling starch.
THE STUDIO KIT
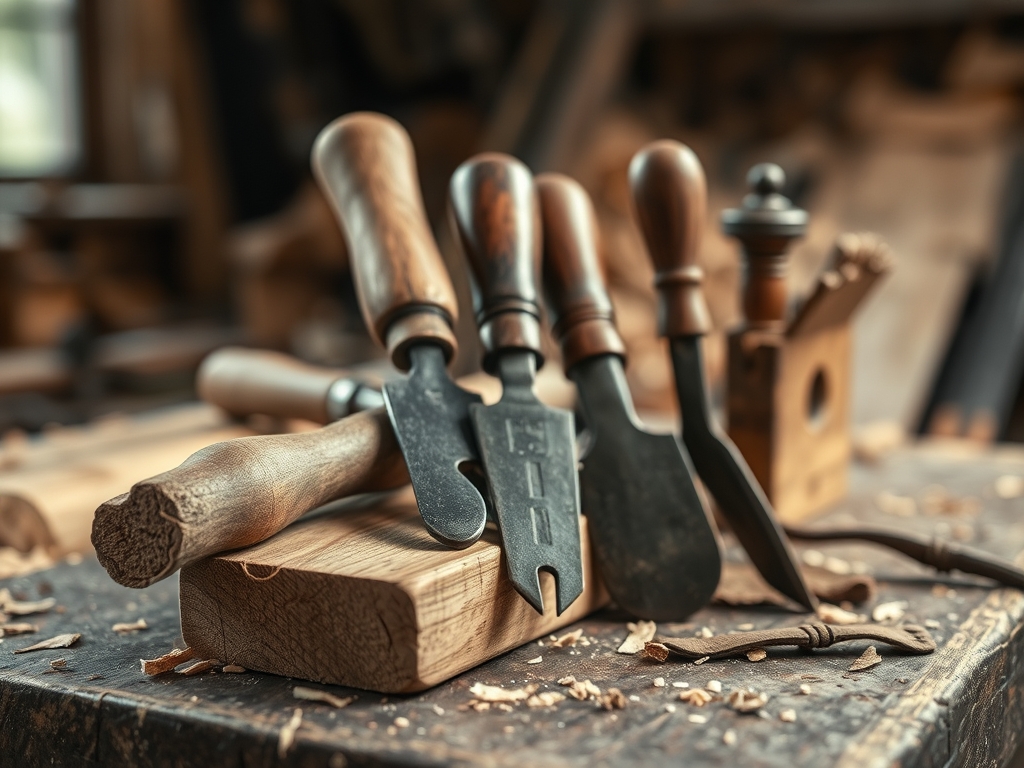
To begin, you need a hardwood blank with high tensile strength and low porosity. I recommend Beech, Maple, or Cherry. Avoid softwoods like Pine; their resinous nature will leach bitter flavors into your food. You will need a sharp sloyd knife for the primary shaping and a hook knife if you decide to add a decorative finial. Grab your digital calipers to ensure the diameter remains consistent across the shaft. For the finishing touches, keep a variety of sandpaper grits (120 through 400) and a bottle of food grade mineral oil or beeswax.
Material Substitutions: If you cannot source a fresh hardwood branch, a thick dowel of kiln dried Oak works beautifully. If you lack a professional carving bench, a simple C-clamp and a sturdy kitchen table will provide the necessary stability. Just remember that kiln dried wood has a higher hygroscopic resistance, meaning it will be harder to carve than green wood but less likely to warp over time.
THE TEMPO
The "Maker's Rhythm" is all about respecting the wood. Do not rush the grain. Total active time is roughly three hours, but the process spans a full day if you include the drying and oiling cycles.
- The Rough Out (45 Minutes): This is the high energy phase where you remove the bulk of the material.
- The Refinement (60 Minutes): Here, we slow down. You will use the calipers to check for symmetry and smooth out any "facets" left by the knife.
- The Sanding & Burnishing (45 Minutes): This is a meditative cycle of smoothing the fibers.
- The Curing (Overnight): The wood needs time to absorb the oil and stabilize its internal moisture content.
THE CORE METHOD
1. Selecting the Grain Orientation
Examine your wood blank to find the straightest grain possible. If the grain "runs off" the side of the stick, the spurtle will be prone to snapping under the pressure of thick porridge. We want the longitudinal fibers to run the entire length of the tool to maximize structural integrity.
Mastery Tip: Wood is essentially a bundle of straws. By aligning your tool with the grain, you ensure that the capillary action of the wood does not draw excess moisture into the center of the stick, which prevents rot and splitting.
2. The Rough Carve
Using your sloyd knife, begin removing the bark and the soft cambium layer. Work in long, sweeping strokes away from your body. Your goal is a cylinder roughly one inch in diameter. Do not worry about a perfect finish yet; focus on establishing the ergonomic weight of the handle.
Mastery Tip: Use a "thumb push" stroke for maximum control. This leverages the mechanical advantage of your hand muscles to prevent the blade from burying too deep into the lignin of the wood cells.
3. Shaping the Taper
The traditional spurtle has a slight taper toward the base. This reduces the surface area at the bottom of the pot, allowing you to stir with less resistance. Use your calipers to ensure the tip is about 15 percent narrower than the handle.
Mastery Tip: A tapered tip changes the vortex dynamics of the boiling liquid. It allows the oats to move in a laminar flow rather than a turbulent one, which is the secret to preventing those dreaded lumps.
4. Raising the Grain
Once the shape is perfect, sand it down to 220 grit. Now, wet the wood with a damp cloth. This will cause the severed wood fibers to stand up. Once dry, sand them off with 400 grit.
Mastery Tip: This process prevents the spurtle from feeling "fuzzy" the first time it hits hot water. By pre-raising the grain, you are creating a permanent hydrophobic smoothness that lasts for years.
5. The Final Burnish
Instead of just oiling, take a smooth stone or a bone folder and rub it vigorously over the wood surface. This compresses the outer cells and creates a natural sheen. Finish with a heavy coat of mineral oil.
Mastery Tip: Burnishing increases the surface density of the wood. It closes the pores mechanically, making it nearly impossible for food particles to lodge themselves inside the grain.
THE TECHNICAL LEDGER
Maintenance & Longevity: Never put your spurtle in the dishwasher. The high heat and harsh detergents will strip the natural oils and cause the wood to check. Hand wash with mild soap and re-oil every ten uses to maintain the tactile finish.
Material Variations:
- Sustainable: Bamboo is a great alternative; it has incredible tensile strength but requires specialized carbide tools because of its high silica content.
- Premium: Walnut offers a gorgeous dark aesthetic and naturally high tannin levels which act as a mild antimicrobial agent.
The Correction:
- Mistake: The wood feels "furry" after washing. Fix: Repeat the "Raise the Grain" step with 400 grit sandpaper.
- Mistake: A small crack appears at the tip. Fix: Sand the tip back past the crack and re-seal with beeswax to prevent further moisture migration.
- Mistake: The handle feels slippery. Fix: Use a small awl or carving knife to add a "cross-hatch" texture to the grip area.
Studio Organization: Store your carving tools in a dry, lined box. High humidity can cause the carbon steel of your sloyd knife to rust, which can transfer metallic stains to your light colored wood blanks.
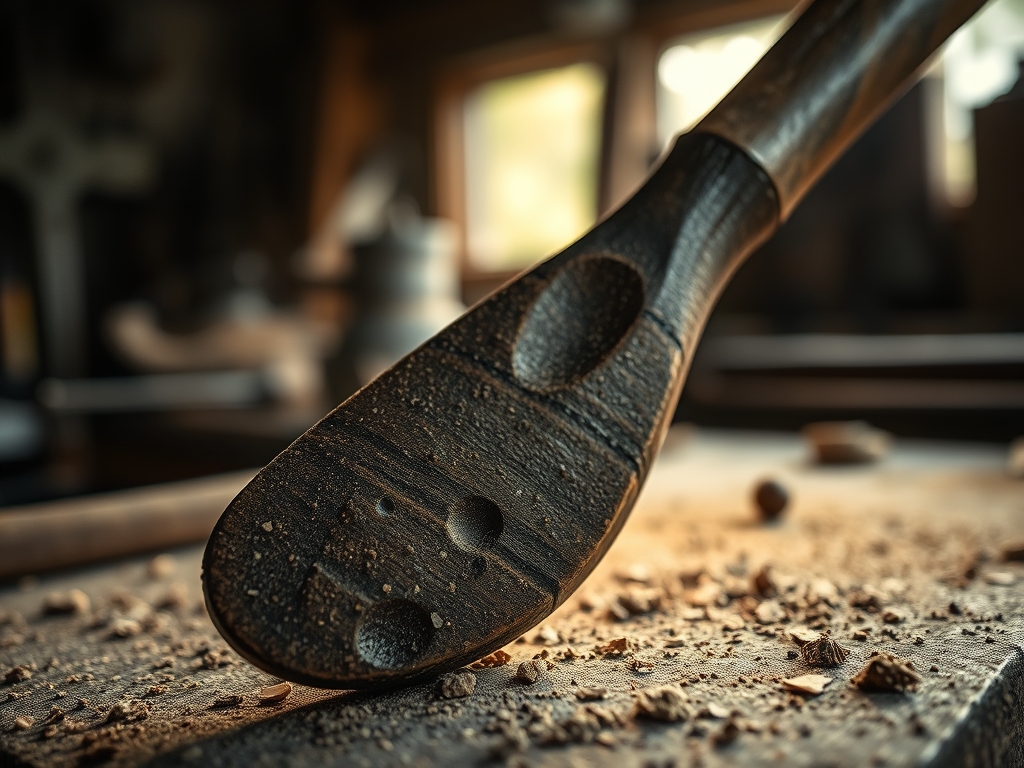
THE FINAL REVEAL
Look at that silhouette! Your finished spurtle should feel like an extension of your arm. It has a heavy, purposeful balance that makes a morning chore feel like a ritual. When you stir your next pot of oats, notice how the wood moves through the mixture with zero drag. The burnished surface will gleam under the kitchen lights, proving that the best tools are the ones we craft with our own hands. You have successfully blended physics, forestry, and culinary art into one perfect stick.
STUDIO QUESTIONS
What is the best wood for a spurtle?
Hardwoods like Maple, Beech, or Cherry are ideal. They have a tight grain structure and high tensile strength, which prevents the wood from splintering or absorbing food odors. Avoid softwoods like Pine or Cedar due to their bitter resins.
How do I stop my spurtle from cracking?
Cracking is usually caused by rapid moisture loss. Always air dry your tool away from direct heat sources. Regularly applying a food safe mineral oil will maintain the internal moisture balance and prevent the wood fibers from becoming brittle.
Why is a spurtle better than a spoon?
The cylindrical shape prevents the "dragging" effect of a spoon bowl. This allows you to stir without shearing the oats, which keeps the starch from becoming gummy. It provides better access to the corners of the pot.
Can I use a rotary tool for carving?
Yes, an oscillating tool or rotary carver can speed up the roughing process. However, be careful not to burn the wood. High speed friction can glaze the surface, making it difficult for the finishing oil to penetrate the pores.

