
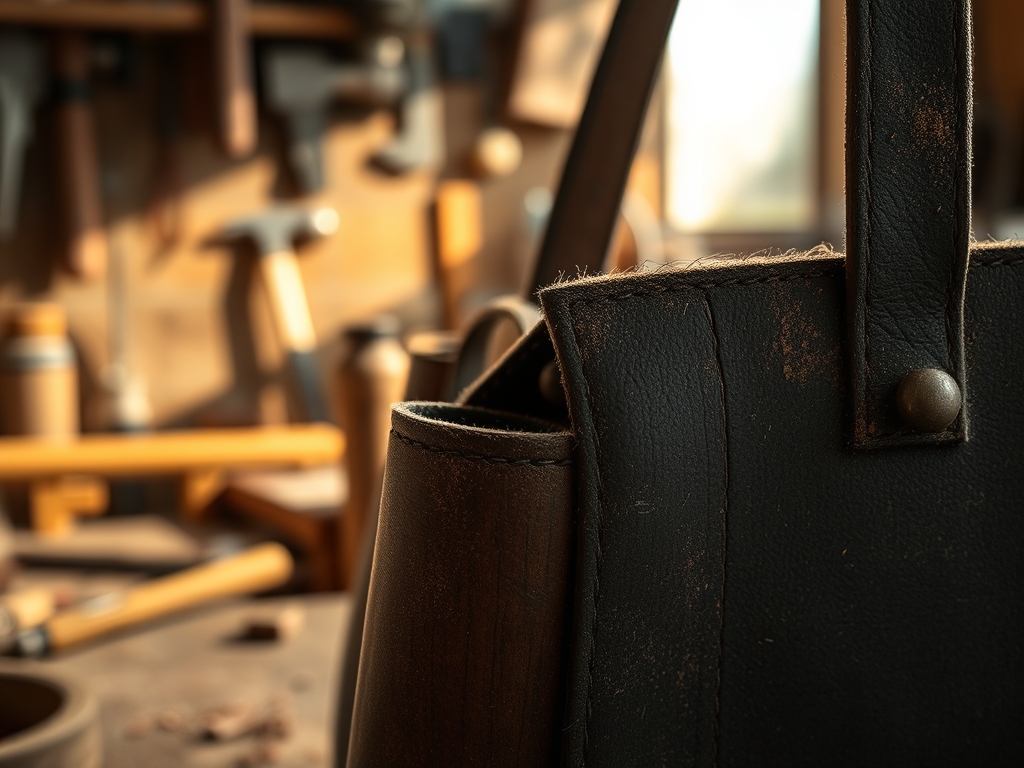
Close your eyes and listen to that specific, rhythmic snap of five-ounce vegetable tanned hide hitting a granite slab. It is the sound of pure potential. We are not just making a bag; we are engineering a vessel capable of defying gravity and the daily grind. When you begin Hand Stitching a Leather Tote, you are engaging in a tactile dialogue with organic fibers that have been cured to withstand incredible tensile stress. Feel that grain? It is dense, slightly oily, and possesses a porous structure that is just begging for a needle to marry two panels together forever. We are going for a heavy bag designed for serious gear hauling, which means we need to think like architects and act like artists. Forget those flimsy fast-fashion sacks that fall apart if you look at them sideways. We are building a legacy piece. This project requires a sharp eye for gauge and a steady hand for the awl. Grab your coffee, turn up the music, and let us dive into the glorious physics of leathercraft.
THE STUDIO KIT
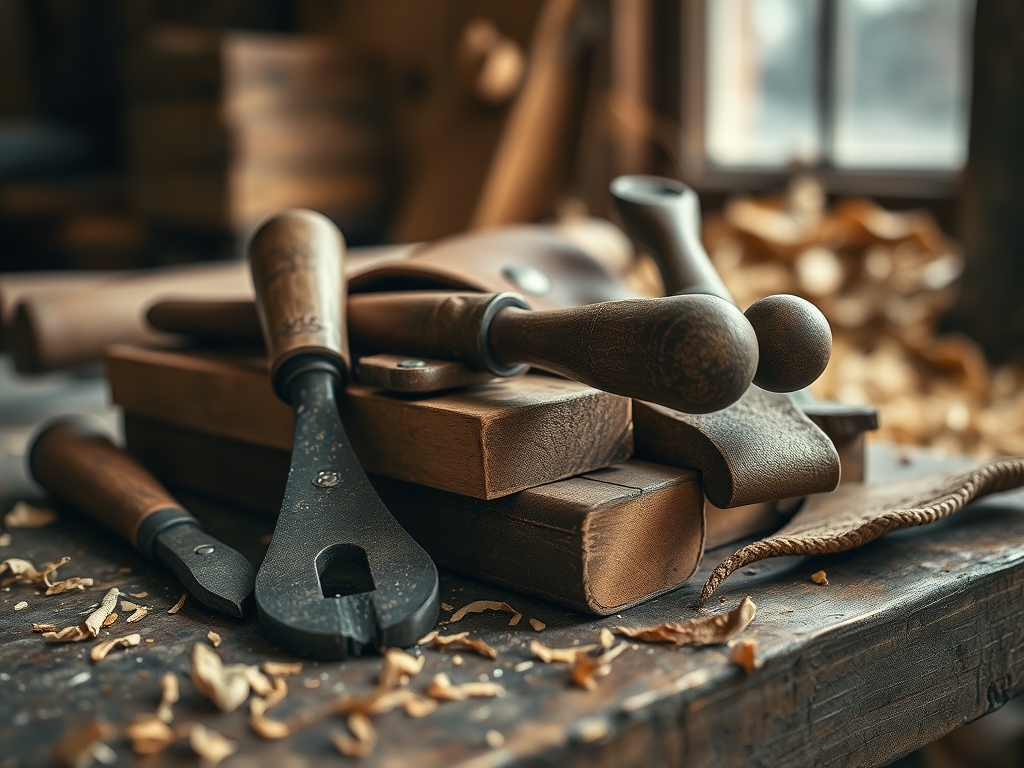
To survive the rigors of gear hauling, your material selection must be impeccable. I recommend a 5 to 6 oz vegetable tanned leather for the body and a beefier 8 oz strap leather for the handles. Vegetable tanning uses tannins from tree bark, resulting in a firm temper that develops a stunning patina over time while maintaining its structural integrity. You will need a rotary cutter for those long, sweeping straight lines and a pair of digital calipers to ensure your seam allowances are mathematically perfect to the millimeter.
For the assembly, we are using 0.8mm waxed polyester thread. The wax serves a dual purpose: it lubricates the thread as it passes through the hide and locks the fibers in place once the stitch is pulled taut. You will also need two John James harness needles (size 002) for the classic saddle stitch. If you cannot find high-end leather, a Material Substitution would be a heavy-duty 24 oz waxed canvas paired with leather accents; just ensure your needle gauge is adjusted to prevent shredding the fabric fibers. Finally, keep a bone folder nearby to crisp up those folds and a burnishing tool made of cocobolo wood to seal the edges against moisture.
THE TEMPO
Success in the studio is all about the Maker's Rhythm. This is not a sprint; it is a controlled burn of creative energy. Expect to spend about two hours on the "Drafting and Cutting" phase. Precision here prevents catastrophic alignment failures later. The "Edge Preparation" phase, where we bevel and sand, takes roughly ninety minutes but is essential for that professional, high-end feel.
The "Stitching Marathon" is the heart of the project. Depending on the size of your tote, plan for six to eight hours of active sewing. This is where the ergonomic setup of your stitching pony becomes vital to prevent hand fatigue. Finally, the "Finishing Touches" like oiling and buffing will take about one hour. By breaking the project into these distinct temporal blocks, you maintain a high level of focus and avoid the "fatigue-induced errors" that plague the final stages of a build.
THE CORE METHOD
1. The Precision Cut and Square
Use your rotary cutter and a heavy steel ruler to cut your main body panels. Ensure your grain direction is vertical to maximize the tensile strength of the bag when it is loaded with heavy gear. Check your corners with a machinist square to ensure every angle is exactly ninety degrees.
Mastery Tip: Leather has a "stretch" direction. By aligning the least stretchy axis vertically, you utilize the molecular alignment of the collagen fibers to prevent the bag from sagging or deforming under the weight of your tools.
2. Beveling the Edges
Take your edge beveler and remove the sharp 90-degree corner from the flesh and grain sides of your leather. This creates a rounded profile that is much more comfortable to handle and less likely to fray or delaminate over years of use.
Mastery Tip: This process reduces the surface area prone to friction. A beveled edge distributes contact force more evenly, which significantly increases the lifespan of the leather at high-stress points like the rim and handles.
3. The Saddle Stitch Synergy
Mark your stitch line with a wing divider and punch your holes using a diamond pricking iron. Thread your needles for a traditional saddle stitch, passing both needles through every hole in an alternating figure-eight pattern. Pull each stitch with consistent tension to lock it into the leather.
Mastery Tip: The saddle stitch is superior to a machine lockstitch because it creates an independent loop. If one thread breaks, the friction of the waxed thread against the leather prevents the entire seam from unraveling, maintaining the bag's structural integrity.
4. Burnishing for Weather Resistance
Apply a small amount of Tokonole or water to the edges and rub them vigorously with a wooden burnisher. The heat generated by the friction will fuse the leather fibers together, creating a smooth, glassy, and waterproof seal.
Mastery Tip: This is a localized application of thermodynamics. The heat and pressure cause the natural tannins and waxes to migrate to the surface, creating a "plasticized" edge that prevents capillary action from drawing moisture into the core of the hide.
THE TECHNICAL LEDGER
Maintenance & Longevity: To keep your tote in peak condition, apply a high-quality neatsfoot oil or beeswax cream every six months. This replenishes the internal lubricants in the leather, preventing the fibers from becoming brittle and snapping under load.
Material Variations: If you want a more sustainable approach, look into cork leather or recycled leather composites. While they offer different shear strength profiles, they provide a unique aesthetic. For a premium upgrade, use English Bridle leather, which is hot-stuffed with oils and waxes for maximum durability and weather resistance.
The Correction:
- The Wonky Stitch: If your thread looks staggered, check your needle entry angle. Fix it by ensuring the needle always enters the "top" of the diamond hole consistently.
- The Loose Handle: If a rivet or stitch feels weak, reinforce it with a copper burr and washer. This creates a permanent mechanical bond that cannot be pulled through the leather.
- The Scuffed Grain: Use a bone folder to gently massage out light scratches. The pressure redistributes the oils in the leather to "heal" the surface.
Studio Organization: Store your leather flat in a climate-controlled environment. Avoid direct sunlight, which can cause UV degradation and premature fading of the natural dyes. Keep your tools oiled and organized on a magnetic rack to prevent dulling the blades of your awls and punches.
THE FINAL REVEAL
Look at that masterpiece! You have successfully navigated the complex physics of Hand Stitching a Leather Tote. The way the light catches the burnished edges and the rhythmic precision of your saddle stitching proves that you are no longer just a hobbyist; you are a maker. This bag is ready to haul your heaviest gear, from laptop chargers to blacksmithing hammers, without breaking a sweat. It is heavy, it is durable, and it smells like pure accomplishment. Go ahead, give it a tug. That tensile strength is real, and it is all thanks to your hard work and technical precision.
STUDIO QUESTIONS
What is the best leather weight for a gear bag?
A weight of 5 to 6 oz (2.0 to 2.4mm) is ideal for the body. It provides enough tensile strength to hold heavy items while remaining flexible enough for comfortable daily carry and hand stitching.
Why use waxed thread instead of regular thread?
Waxed thread provides essential lubrication during the stitching process. It also creates a friction-lock within the leather, preventing the seam from unraveling if a single stitch is cut, which is vital for structural integrity.
How do I prevent my leather from cracking?
Regularly apply a leather conditioner to maintain the moisture balance of the fibers. This prevents the hide from becoming brittle and losing its elasticity, ensuring the bag can handle heavy loads without the grain splitting.
Can I use a sewing machine for this project?
While possible, a standard domestic machine cannot handle the gauge of heavy leather. A hand-sewn saddle stitch is significantly stronger and more durable for a heavy gear bag than a machine-made lockstitch.

