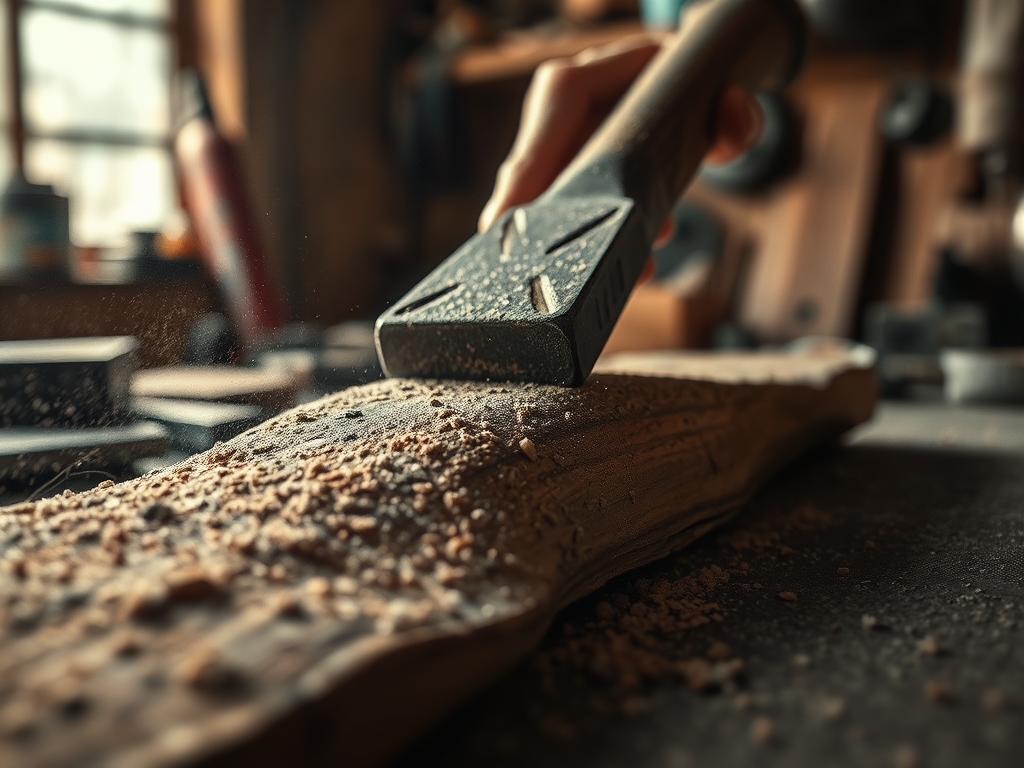
Imagine the smell of fresh-shaved white oak hitting your nostrils while the workshop air hums with the resonance of a heavy mallet. There is a specific, bone-deep satisfaction in driving a piece of wood into another piece of wood to create a bond that outlasts steel. We are talking about Traditional Timber Frame Pegs; the unsung heroes of structural integrity that turn a mere pile of lumber into a living, breathing monument. While modern builders reach for galvanized nails or heavy-duty lag bolts, I am still here in the studio, clutching a drawknife and obsessing over grain orientation. Why? Because metal is a foreign invader. Steel does not expand or contract with the seasons, but wood does. When you use a wooden peg, you are creating a dynamic, mechanical bond where the fastener and the beam breathe in unison. It is a tactile dance of friction and fiber density that ensures your joints actually get tighter over time rather than rusting from the inside out. Let us dive into why these humble cylinders are the ultimate flex in craftsmanship.
THE STUDIO KIT
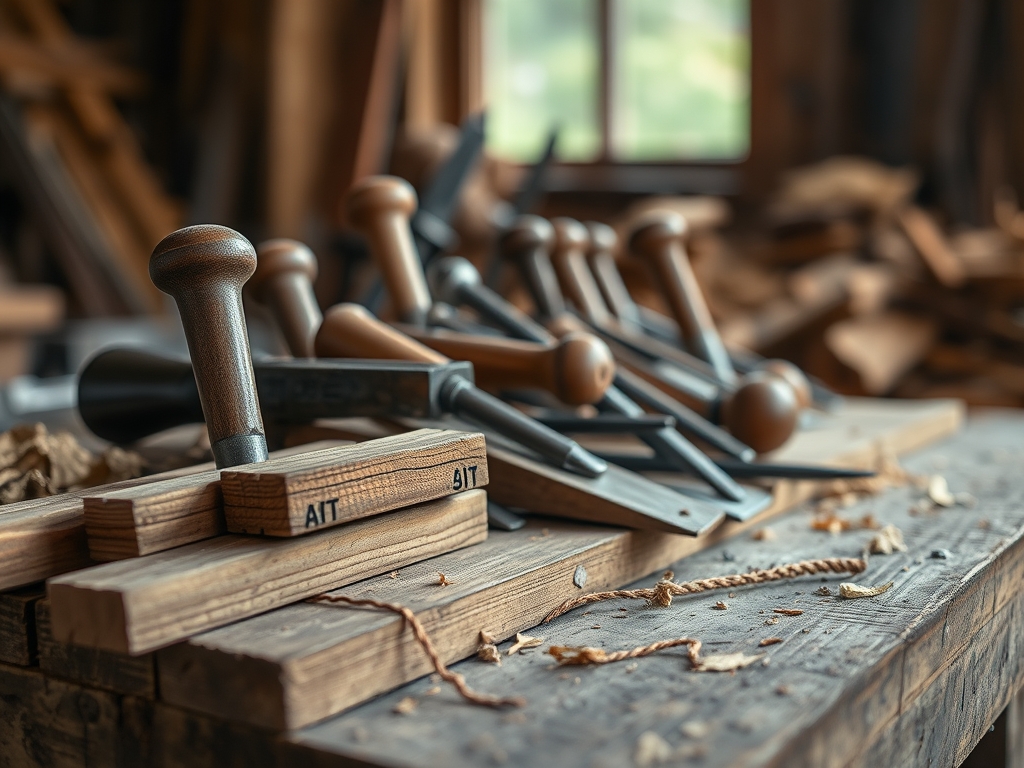
To master this craft, your bench needs to look like a blend of an 18th-century shipyard and a high-end physics lab. The primary material is straight-grained hardwood, typically green oak or locust, because their tensile strength is off the charts when dried in situ. You will need a shaving horse to secure your work and a drawknife with a razor-sharp edge to taper the shafts. For precision, keep a pair of calipers nearby; we are working to tolerances of a sixty-fourth of an inch here. You will also need a peg plate, which is a heavy steel die used to burnish the wood to its final diameter.
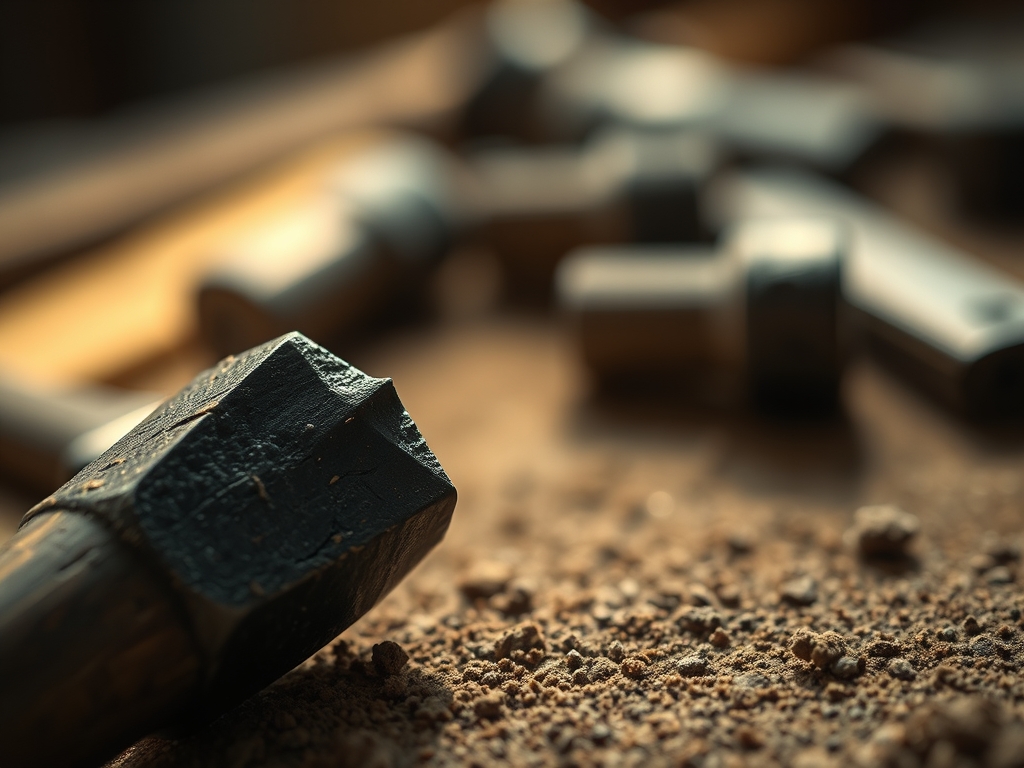
If you cannot source premium green oak, look into Material Substitutions like hickory or ash. Hickory offers incredible shock resistance, though it is prone to moisture degradation if not sealed. Avoid softwoods like pine for the pegs themselves; the fiber density is too low to withstand the shearing forces of a loaded mortise and tenon joint. For the final drive, a heavy wooden commander or a dead-blow mallet is essential to prevent mushrooming the head of your peg during installation.
THE TEMPO
The "Maker's Rhythm" in timber framing is less about speed and more about thermal and moisture management. Expect to spend approximately ten minutes per peg if you are hand-shaving from riven blanks. The process is broken into three distinct phases: the Riving Phase (20 percent of time), the Shaping Phase (60 percent of time), and the Seasoning Phase (20 percent of time).
In the studio, this rhythm feels like a workout. You are using your entire core to pull the drawknife, feeling the resistance of the wood grain as it dictates the path of the blade. It is a meditative cycle of measure, shave, and check. Do not rush the seasoning; if you drive a soaking wet peg into a dry beam, the capillary action will draw moisture into the heart of the joint, potentially inviting fungal decay before the building is even topped out.
THE CORE METHOD
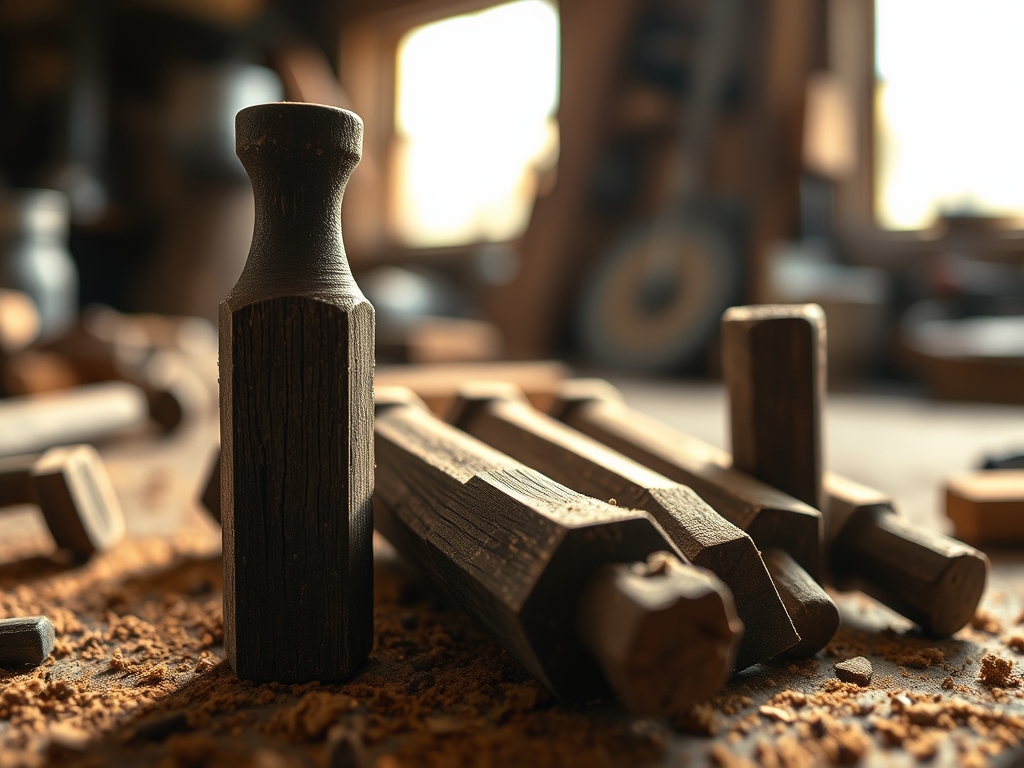
1. Riving the Blanks
We start by splitting, not sawing. Use a froe and a club to rive square blanks from a high-quality log. By following the natural longitudinal grain, we ensure that the fibers run unbroken from top to bottom. This maximizes the shearing strength of the peg. If you saw a peg, you risk "run-out," where the grain exits the side of the shaft, creating a structural weak point that can snap under pressure.
Mastery Tip: Always rive from the center of the log outward. This utilizes the radial symmetry of the wood, ensuring that the growth rings are perpendicular to the force of the split, which prevents the wood from twisting as it dries.
2. The Drawknife Taper
Secure the blank in your shaving horse and use the drawknife to transform the square into an octagon. You are aiming for a slight taper; the "nose" of the peg should be roughly 1/16th of an inch smaller than the "tail." This creates a wedge effect when driven, compressing the fibers of the tenon against the mortise walls.
Mastery Tip: Pay attention to the porous nature of the end grain. As you shave, you are closing off the vascular bundles of the wood. A smooth, burnished surface reduces friction during the drive, allowing for a deeper, tighter fit without fracturing the wood fibers.
3. Sizing Through the Plate
Drive the octagonal peg through a steel peg plate. This acts as a final gauge to ensure the diameter is consistent. The corners of the octagon will be crushed and burnished into a rounded shape, creating "flutes" that allow air and excess moisture to escape the hole as the peg is driven home.
Mastery Tip: This step utilizes mechanical compression. By forcing a slightly oversized peg through a fixed aperture, you increase the surface density of the wood, making it significantly harder and more resistant to the "crushing" forces it will encounter inside the timber joint.
4. Drawboring the Joint
This is the secret sauce. You do not just line up the holes; you offset them. Drill the hole through the mortise, then mark the tenon and drill its hole about 1/8th of an inch closer to the shoulder. When you drive the peg, it acts as a cam, pulling the joint together with incredible tensile force.
Mastery Tip: The offset creates a permanent state of elastic deformation in the peg. It acts like a stiff spring, constantly pulling the shoulder of the tenon tight against the housing, which compensates for any future shrinkage in the main timbers.
THE TECHNICAL LEDGER
Maintenance & Longevity:
Traditional pegs require zero maintenance once installed, provided the structure is roofed. The tannic acid in woods like oak acts as a natural preservative. For exterior exposed pegs, a light coating of boiled linseed oil can prevent surface checking, but the real longevity comes from the "tightness" of the initial fit which prevents water ingress.
Material Variations:
- Premium: Black Locust. Known for being rot-resistant and nearly as hard as stone.
- Sustainable: Recycled hedge-apple (Osage Orange) from old fence rows.
- Utility: Kiln-dried Ash. Easy to work but must be kept dry.
The Correction:
- The Snap: If a peg snaps during the drive, it usually means your offset was too aggressive. The Fix: Back the peg out using a drift punch and slightly ream the tenon hole with a tapered reamer.
- Mushrooming: The head of the peg flattens out. The Fix: Use a sharper taper on the leading edge and ensure you are using a wooden mallet rather than a metal hammer to distribute the impact force.
- Spinning: The peg feels loose. The Fix: This is a failure of the gauge. You must rive a new, slightly larger blank. Never "shim" a peg; it compromises the structural integrity.
Studio Organization:
Store your finished pegs in a breathable canvas bag or a wooden crate. Avoid plastic bins, as trapped moisture can trigger mold growth. Keep them in a "conditioned" part of the studio where the humidity matches the environment of the final build site to prevent hygroscopic shock.
THE FINAL REVEAL
There is nothing quite like the "thud" of a final blow when a peg seats perfectly. Look at the alignment; the way the peg head sits proud of the timber, casting a shadow that highlights the hand-carved facets. The joint is now a single, unified organism. It is strong, it is flexible, and it is beautiful in its technical simplicity. You have bypassed the hardware store and tapped into a thousand years of engineering. That is the power of the peg.
STUDIO QUESTIONS
Why is green wood preferred for making pegs?
Green wood is more malleable and easier to rive without splintering. As the peg dries inside the seasoned timber, it shrinks less than the surrounding beam, creating a permanent, high-pressure friction lock that increases the joint's overall structural stability.
Can I use a power lathe to make my pegs?
You can, but you lose the benefit of continuous grain. A lathe cuts across the wood fibers, creating potential shear planes. Riven and hand-shaved pegs follow the natural fiber path, offering significantly higher tensile strength and resistance to breaking.
What is the ideal offset for drawboring?
For most hardwoods, an offset of 1/8th of an inch is standard. If the wood is extremely dense or brittle, reduce the offset to 1/16th of an inch to prevent the peg from snapping or the tenon from "blowing out" the end grain.
How do I know if the peg is seated correctly?
Listen to the pitch of the mallet strikes. As the peg reaches maximum compression and seats against the far side of the mortise, the sound will shift from a hollow "thwack" to a sharp, high-frequency "crack." This signals a total friction bond.