Imagine the smell of fresh-cut white oak hitting your lungs like a shot of espresso on a rainy morning. It is crisp, slightly acidic, and smells exactly like the potential energy of a tool that does not exist yet. You know that feeling when you are holding a plastic-handled hammer and it just feels wrong? It vibrates back into your elbow like a bad breakup. We are fixing that today. Carving a Wooden Mallet is not just a weekend hobby; it is a fundamental rite of passage for anyone who wants to actually understand the physics of impact. We are looking for something with a specific gravity that can drive a chisel through a knot without breaking a sweat. It is about the weight in your palm and the way the grain lines up to resist splitting under pressure. We are building a legacy item that will still be hitting things long after we have moved on to the great workshop in the sky. Grab your safety glasses and let us get into the grit of it.
THE STUDIO KIT
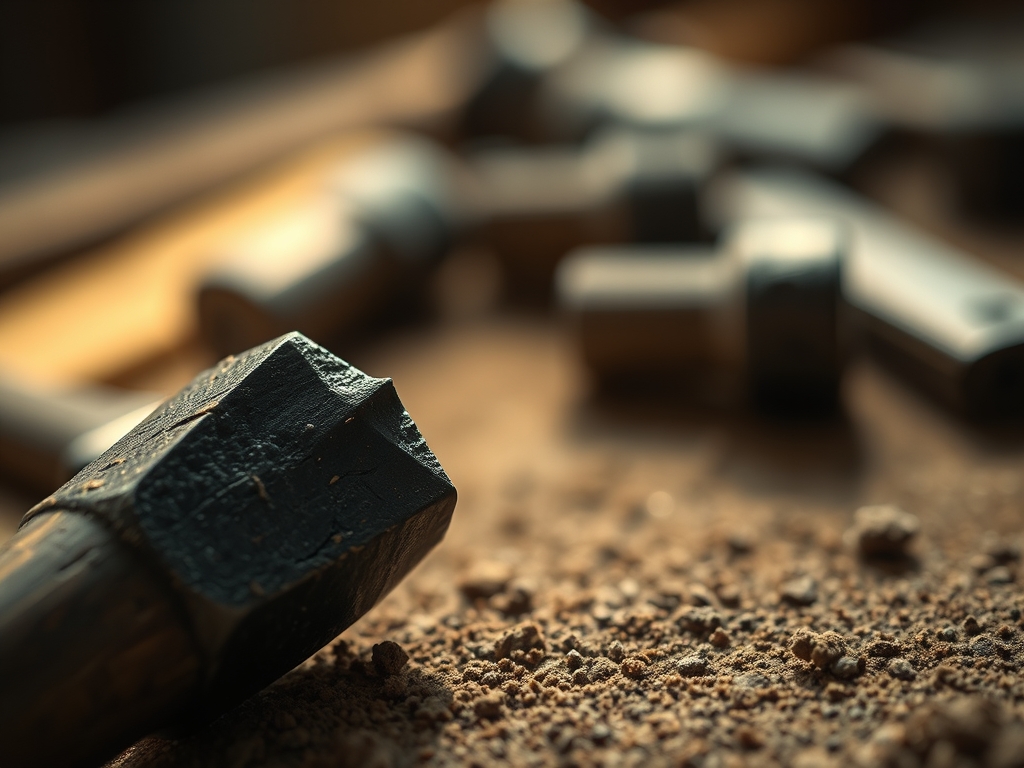
To build a tool that defies the laws of wear and tear, we need high-density hardwoods. My top pick is White Oak or Hickory because of their incredible tensile strength and interlocking grain patterns. You will need a solid block for the head, roughly four inches by five inches, and a straight-grained piece for the handle.
For the precision work, reach for your digital calipers to ensure the tenon is a perfect friction fit. You will also need a marking awl for scoring lines that do not bleed like pencil marks do. A rip saw and a crosscut saw are essential for the initial dimensions, while a mortise chisel will do the heavy lifting in the center of the mallet head. If you want a professional finish, keep a cabinet scraper nearby to remove tool marks without clogging the wood pores.
Material Substitutions: If you cannot find kiln-dried oak, look for Hard Maple. It is dense and has a high Janka hardness rating, though it can be a bit more brittle. Avoid softwoods like pine or cedar; their compressive strength is too low for a striking tool, and they will deform after just a few hits.
THE TEMPO
Every project has a heartbeat, and the "Maker's Rhythm" for a mallet is all about controlled aggression. Expect to spend about six to eight hours on this build. The first two hours are the Geometric Phase, where you square your stock and layout the joinery. This requires high mental focus.
The middle four hours are the Subtractive Phase. This is the most physically demanding part, involving heavy chiseling and shaping. Finally, the last two hours are the Refinement Phase. This is where you burnish the wood and apply a finish. The rhythm should move from loud, heavy strikes to the quiet, rhythmic sound of a scraper peeling off translucent ribbons of wood. Do not rush the mortise. If you force the fit, you risk internal stress fractures that will split the head during its first real workout.
THE CORE METHOD
1. Squaring the Stock and Layout
Start by ensuring your mallet head block is perfectly square on all six sides. Use a try square and your marking awl to scribe the location of the mortise. We are aiming for a tapered mortise, which is wider at the top than the bottom. This mechanical design ensures that every time you swing the mallet, centrifugal force actually wedges the handle tighter into the head rather than flinging it across the room.
Mastery Tip: The science here is all about wedging action. By creating a three-degree taper, you are utilizing the wood's natural elasticity. As the handle is driven in, the wood fibers compress slightly and then exert outward pressure, creating a bond that is stronger than most chemical adhesives.
2. Clearing the Mortise
Drill out the bulk of the waste using a forstner bit on a drill press. This reduces the physical strain on your arms and prevents the wood from splintering. Once the majority of the material is gone, use your mortise chisel to square up the sides. Work from both ends toward the middle to prevent "blowout" on the exit side of the wood.
Mastery Tip: Pay attention to capillary action if you use any lubricant on your tools. Excess oil can seep into the end grain of the mortise, which will interfere with the friction coefficient needed to keep the handle stable. Keep the interior surfaces bone dry and slightly textured for maximum grip.
3. Shaping the Handle Tenon
The handle needs to be shaped to match the taper of your mortise exactly. Use a spokeshave or a rasp to refine the shape. This is where your calipers become your best friend. Frequently test the fit. The handle should slide through the bottom and stop about two-thirds of the way up before requiring a light tap to seat fully.
Mastery Tip: Align the grain direction of the handle so the growth rings run parallel to the direction of the strike. This utilizes the wood's highest longitudinal stiffness, ensuring the handle absorbs vibration rather than snapping under the shear stress of a heavy blow.
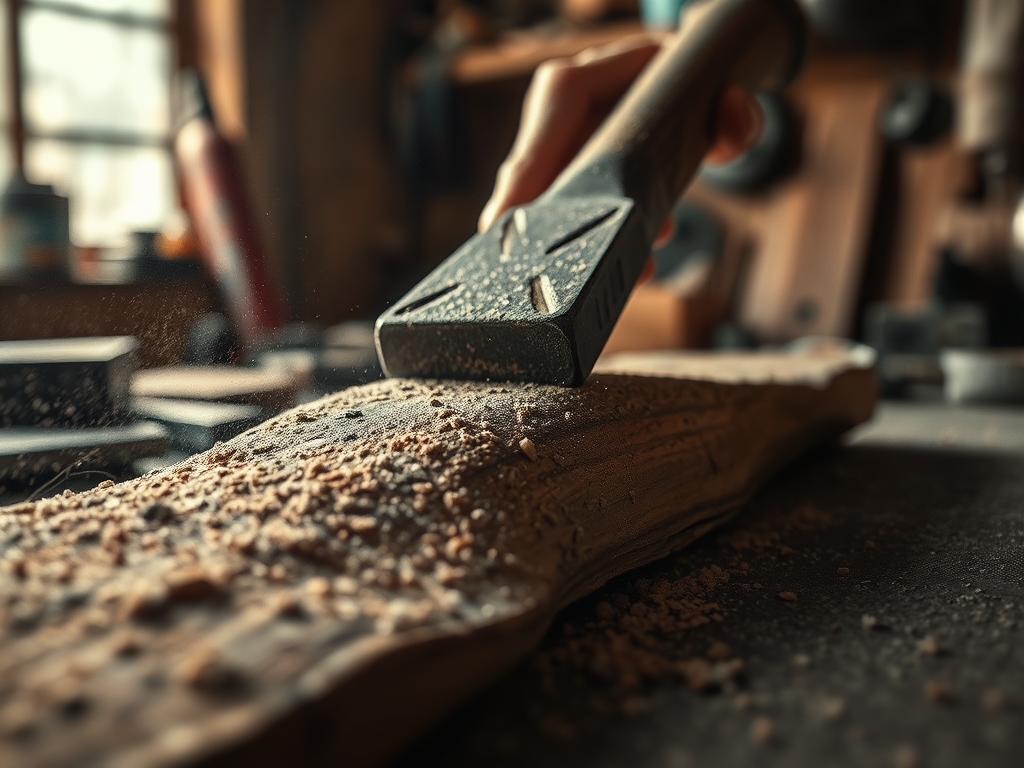
4. Refining the Ergonomics
Once the head and handle are mated, it is time to shape the grip. Use an oscillating tool or a drawknife to create a "waist" on the handle. It should feel intuitive in your hand. Round over the edges of the mallet faces to prevent the wood from "mushrooming" or chipping when you hit a sharp chisel handle.
Mastery Tip: We are looking for ergonomic neutrality. By thinning the handle slightly just below the head, you create a "flex point" that protects your wrist from the peak deceleration forces of the impact. This prevents long-term repetitive strain injuries.
THE TECHNICAL LEDGER
Maintenance & Longevity: Never use polyurethane on a mallet handle. It creates a slick surface that leads to "death grip" fatigue. Instead, use boiled linseed oil. It penetrates the porous structure of the wood, hardening the fibers from the inside out while maintaining a tactile, non-slip grip. Re-apply once a year.
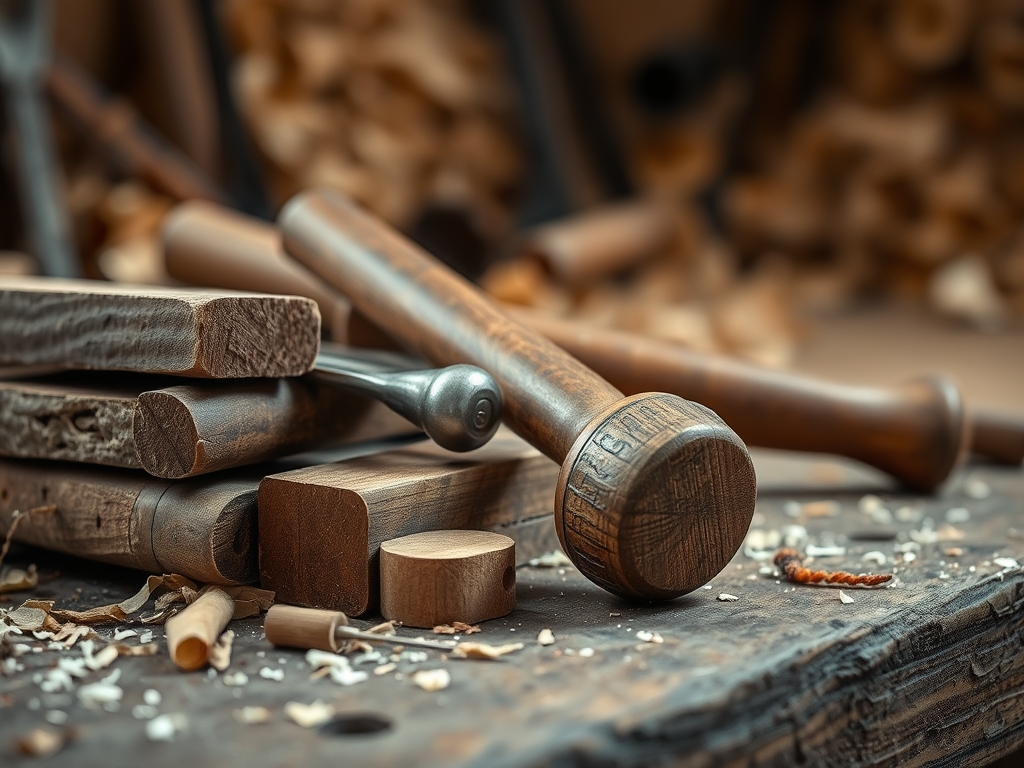
Material Variations: For a "Premium" version, inlay a piece of Lignum Vitae into the striking faces. It is one of the heaviest woods on earth and is self-lubricating due to its high oil content. For a "Sustainable" version, use reclaimed Black Locust from old fence posts; it is rot-resistant and incredibly hard.
The Correction:
- The Loose Head: If the mortise is too wide, do not just glue it. Cut a thin veneer shim from the same wood species and glue it to the tenon to rebuild the thickness.
- The Split Face: If the head cracks, it is usually due to "checking" from uneven drying. Stabilize it by injecting cyanoacrylate glue into the crack and clamping it overnight.
- The Vibration Sting: If the mallet hurts to use, the handle is likely too thick and rigid. Thin the neck of the handle to allow for more "whip" and shock absorption.
Studio Organization: Store your mallet by hanging it from a pegboard by the head or resting it on its face. Never store it on its side on a concrete floor. Concrete acts as a desiccant, sucking moisture out of the wood unevenly, which can lead to warping or a loose handle fit.
THE FINAL REVEAL
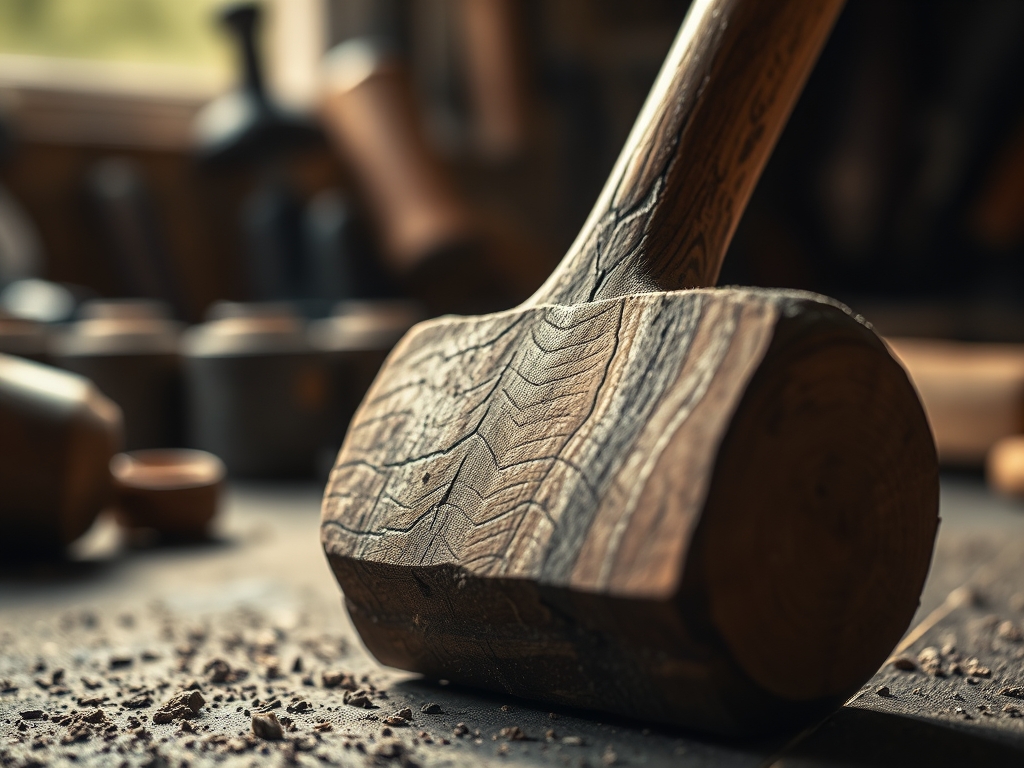
Look at that beauty. The grain is tight, the weight is perfectly balanced just forward of your knuckles, and the finish has that soft, matte glow that only comes from real friction and oil. When you tap this against a workpiece, you will hear a solid, low-frequency "thud" instead of a high-pitched "crack." That is the sound of perfect kinetic energy transfer. You have built more than a tool; you have built an extension of your own arm. This mallet will grow a patina over the years, recording every project you ever finish in its dents and scars. It is heavy, it is honest, and it is officially the last mallet your shop will ever need.
STUDIO QUESTIONS
What is the best wood for a mallet?
White Oak, Hickory, and Hard Maple are the gold standards. These species offer the high density and compressive strength required to withstand repeated impacts without fracturing or deforming over time.
Do I need to use glue for the handle?
No, a properly executed tapered mortise and tenon uses mechanical friction. Centrifugal force seats the handle tighter with every swing, making glue unnecessary and allowing for handle replacement if it ever breaks.
How do I prevent the mallet head from splitting?
Ensure you use straight-grained timber and chamfer the edges of the striking faces. This prevents the wood fibers from "mushrooming" out and splitting away from the main body under high stress.
Why is my mallet vibrating too much?
Vibration is usually caused by a handle that is too stiff or a loose joint. Thinning the handle neck creates a vibration dampener, while ensuring a perfect friction fit eliminates the "chatter" of a loose head.