Imagine the feeling of a freshly cut piece of vegetable tanned leather. It is raw; it is fibrous; it is full of untapped potential. But let's be honest, those fuzzy, frayed edges are the only thing standing between your handmade wallet and a high-end luxury masterpiece. We are diving deep into the science of friction and heat to reveal my Leather Edge Burnishing Secrets for that coveted mirror shine. When you run your thumb along a perfectly finished edge, it should feel like polished stone rather than organic skin. We are not just smoothing the surface; we are fundamentally altering the structural integrity of the collagen fibers at a microscopic level. It is a tactile transformation that turns a porous material into a sealed, glassy barrier. Grab your coffee and clear your workbench, because we are about to turn friction into fine art.
THE STUDIO KIT
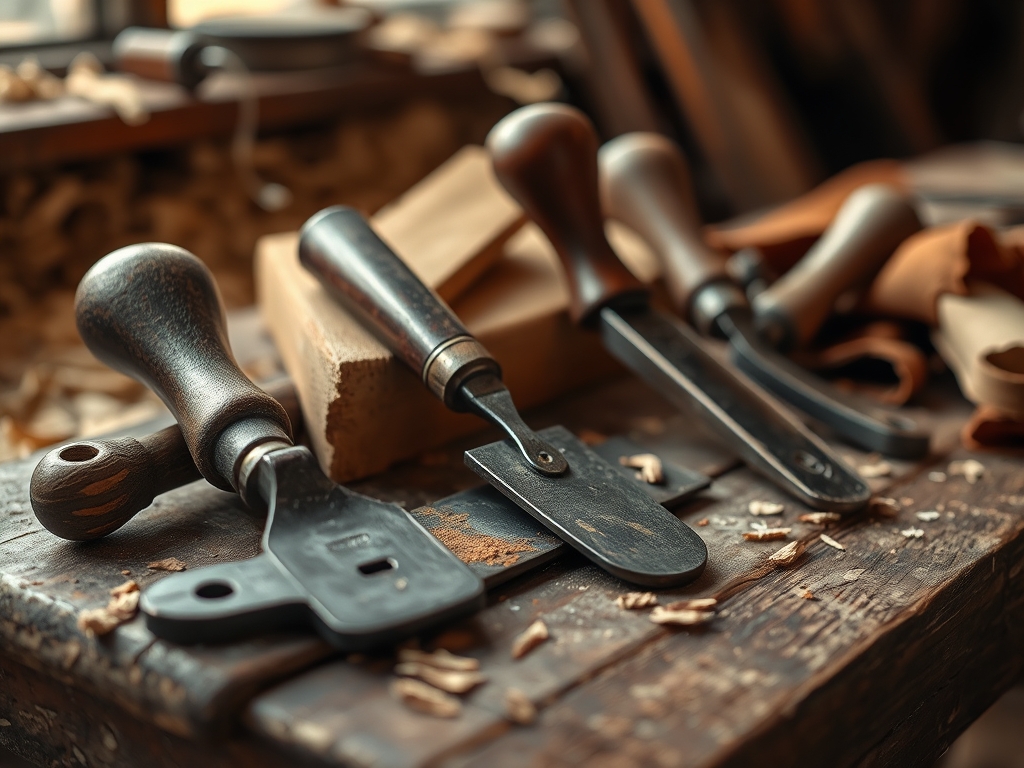
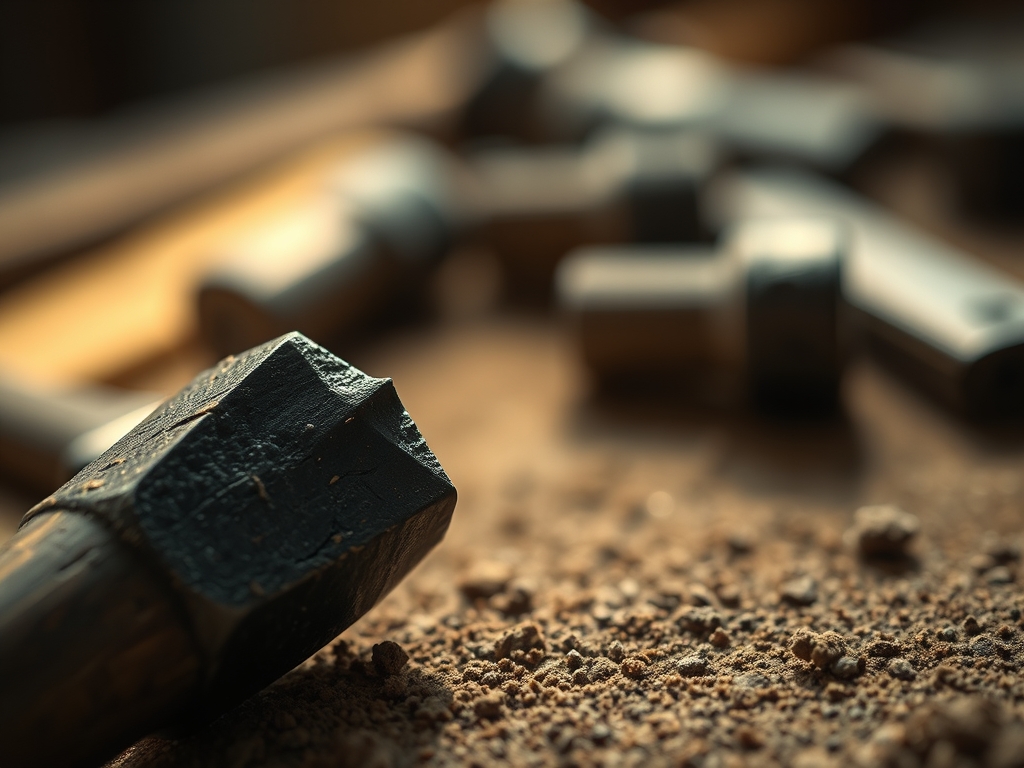
To achieve professional results, you need tools that respect the tensile strength of your hide. I start with a high carbon steel rotary cutter or a Japanese skiving knife to ensure the initial cut is as clean as possible. You will also need a set of calipers to mark your stitch lines and edge distances with mathematical precision. For the heavy lifting, a solid wood slicker made of cocobolo or ebony is essential; the high density of these woods allows for better heat transfer during the rubbing process.
You will also need various grits of sandpaper, ranging from a coarse 220 grit for shaping to a superfine 1500 grit for that final polish. For the liquid element, Tokonole is the industry gold standard because it contains natural waxes that penetrate the porous fibers without making them brittle. If you are looking for Material Substitutions, you can use saddle soap or even plain distilled water, though the "glass" effect will require significantly more elbow grease. I also keep an oscillating tool with a wood bit nearby for long straps, though manual slicking offers more control for delicate curves.
THE TEMPO
The "Maker's Rhythm" is all about patience and incremental progress. You cannot rush physics. The initial shaping phase usually takes about fifteen minutes per six inches of edge. This is where you establish the ergonomic profile of the piece. The sanding cycles are the most time consuming, often requiring thirty to forty minutes of repetitive, meditative motion. Once you reach the burnishing stage, the pace quickens as the heat builds up. Total time for a standard cardholder edge is roughly one hour. If you try to skip a grit or rush the drying time, the fibers will remain proud of the surface, and you will never reach that level of reflection we are aiming for.
THE CORE METHOD
1. The Precision Trim
Before we even think about a slicker, the edges must be perfectly flush. If you are working with multiple plies of leather, use your calipers to ensure the thickness is uniform across the entire seam. A sharp rotary cutter is your best friend here. If the edges are even slightly misaligned, the light will catch the imperfections, and the "glass" look will be ruined.
Mastery Tip: This step relies on structural integrity. By cutting through all layers simultaneously, you ensure the grain direction of each piece is compressed in unison, preventing the layers from "mushrooming" outward when pressure is applied later.
2. The Beveling Arc
Using a sharp edge beveler, remove the sharp 90 degree corners of the leather. This creates a rounded profile that is more comfortable to the touch and less likely to fray over time. The goal is to create a consistent gauge of curvature along the entire perimeter.
Mastery Tip: Beveling reduces the surface area that requires high pressure friction. By rounding the corner, you allow the wood slicker to make more consistent contact with the fibers, facilitating a more even distribution of heat.
3. The Sanding Progression
Start with 220 grit sandpaper and sand in one direction only. Never go back and forth; this just rips the fibers. Move up to 400, then 600, then 800. Between each grit, wipe the edge with a damp cloth to remove leather dust. By the time you hit 800 grit, the edge should already feel somewhat smooth and look slightly darkened.
Mastery Tip: This is about capillary action. By sanding the fibers down to a uniform height, you create a surface that allows the burnishing agent to sit on top rather than soaking unevenly into the internal gaps of the hide.
4. The Chemical Bond
Apply a thin, even layer of Tokonole or burnishing gum using a small applicator or your finger. Let it sit for about thirty seconds until it becomes slightly tacky. This is the "sweet spot" where the moisture has lubricated the fibers but hasn't fully evaporated.
Mastery Tip: The gum acts as a binder for the collagen bundles. It coats the individual protein strands, allowing them to slide past each other and compress tightly without snapping under the heat of the slicker.
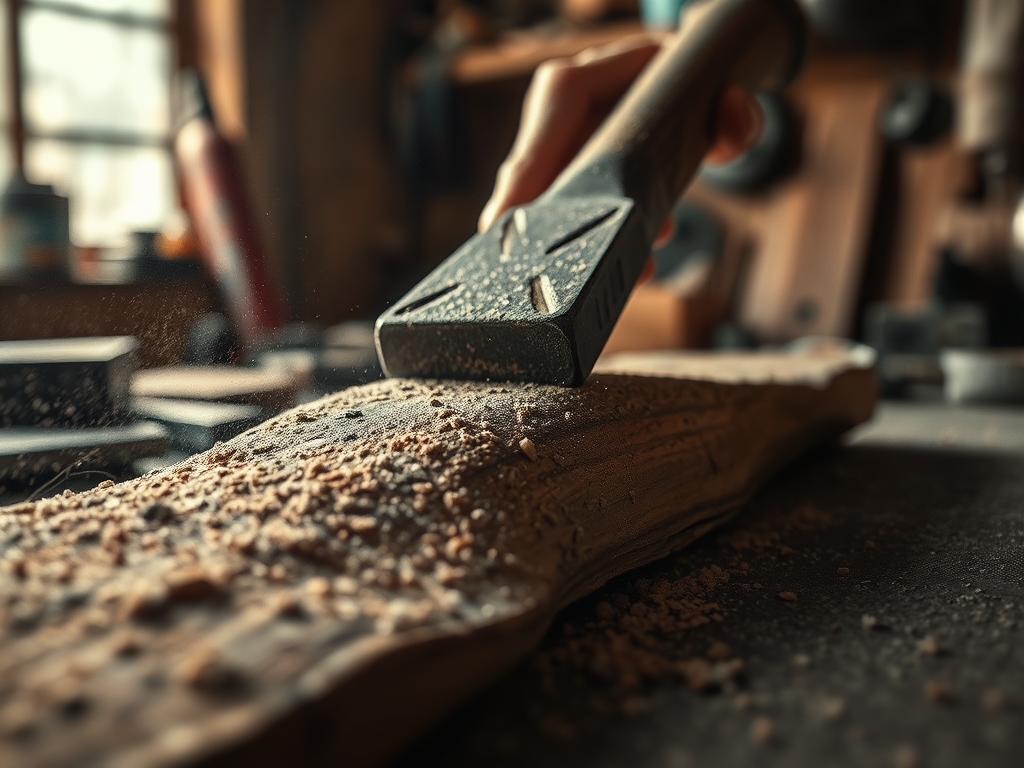
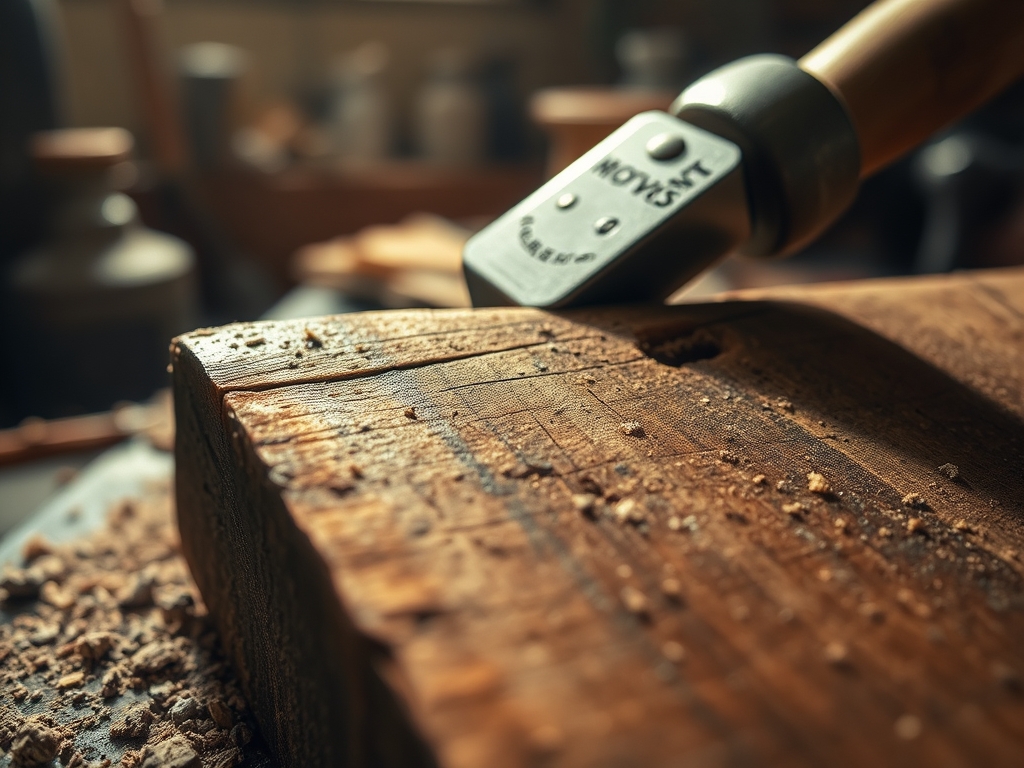
5. The Friction Flash
Take your wooden slicker and find the groove that best fits your edge thickness. Rub vigorously but with moderate pressure. You are looking for a "chirping" sound; that is the sound of the fibers laying down and the wax setting. Keep going until the edge is dry and shiny.
Mastery Tip: This process utilizes thermodynamics. The friction generates localized heat which melts the natural fats and waxes in the leather and the burnishing agent, fusing them into a solid, plastic like state.
THE TECHNICAL LEDGER
Maintenance & Longevity: To keep that glass finish, avoid exposing the edges to harsh chemicals or extreme heat, which can dry out the waxes. A quick buff with a canvas cloth once a month will maintain the luster.
Material Variations:
- Premium: Shell Cordovan requires almost no gum; its high density allows it to shine with just water and friction.
- Sustainable: For recycled leather, you may need a heavier application of wax to compensate for the shorter fiber lengths.
- Chrome Tanned: This leather is much softer; you will likely need an edge paint rather than a traditional burnish, as the chemical tanning process makes the fibers less responsive to friction.
The Correction:
- The Fuzz: If fibers are still sticking up, you didn't sand enough at the lower grits. Go back to 400 and start over.
- The Bleed: If your burnishing agent is staining the face of the leather, you used too much. Use a bone folder to scrape off excess before it dries.
- The Flat Edge: If the edge looks squashed, you applied too much downward pressure. Lighten your touch; let the speed of the friction do the work.
Studio Organization: Store your burnishing agents in airtight containers to prevent evaporation. Keep your wooden slickers clean; any dried gum in the grooves will scratch your next project. I store my sandpaper in a labeled accordion file by grit to prevent cross contamination of particles.
THE FINAL REVEAL
Look at that reflection! When you hold your piece up to the light, the edge should look like a solid piece of dark amber or polished obsidian. There should be no visible transition between the layers of leather. It feels cool, smooth, and incredibly expensive. This level of finish is what separates a hobbyist from a master crafter. You have successfully manipulated the organic chemistry of the hide to create something permanent and beautiful. Your "glass" edge is not just a cosmetic feature; it is a seal that protects the heart of the leather for decades to come.
STUDIO QUESTIONS
What is the best wood for a manual burnisher?
High density hardwoods like Cocobolo, Ebony, or Rosewood are best. These woods have natural oils and a tight grain that resists splintering. The density allows for maximum heat transfer during the friction process to seal the leather fibers effectively.
Can I burnish chrome tanned leather?
Generally, no. Chrome tanned leather is chemically processed to be soft and heat resistant, meaning the fibers will not "mushroom" or fuse under friction. For these materials, it is better to use an edge paint or a folded edge technique.
Why does my edge look dull after it dries?
This usually happens if you didn't sand to a high enough grit or if the leather was too dry. Ensure you reach at least 1000 grit and that your burnishing agent is still tacky when you start slicking.
Do I really need Tokonole for a glass finish?
While you can use saddle soap or beeswax, Tokonole contains specific synthetic resins that provide a superior bond. It fills the gaps between fibers more efficiently than water, resulting in a more durable and reflective "glass" finish with less effort.
How do I fix a scratch on a burnished edge?
Lightly sand the scratched area with 800 or 1000 grit sandpaper to level the surface. Reapply a tiny amount of burnishing gum and re-slick the area with a canvas cloth. The friction will quickly restore the original shine and seal.