Wet earth under your fingernails is a specific kind of magic; it is the tactile bridge between raw geology and functional art. We are moving beyond the electric kiln today. We are going back to the foundational physics of heat and earth with a Primitive Pottery Pit Firing that will transform your fragile, bone-dry clay into stone. This process is not just about burning wood; it is about managing the thermal expansion of the silica particles within your clay body. If we move too fast, the trapped moisture turns to steam and shatters your hard work. If we move too slow, the chemical bond never vitrifies. You need to feel the grit of the sand in your clay and understand how that porosity allows the piece to breathe during the initial temperature spike. We are building a thermal chamber directly into the ground, turning a simple hole into a high-performance atmospheric furnace. Grab your shovel and your spirit of adventure; we are about to play with fire and physics.
THE STUDIO KIT
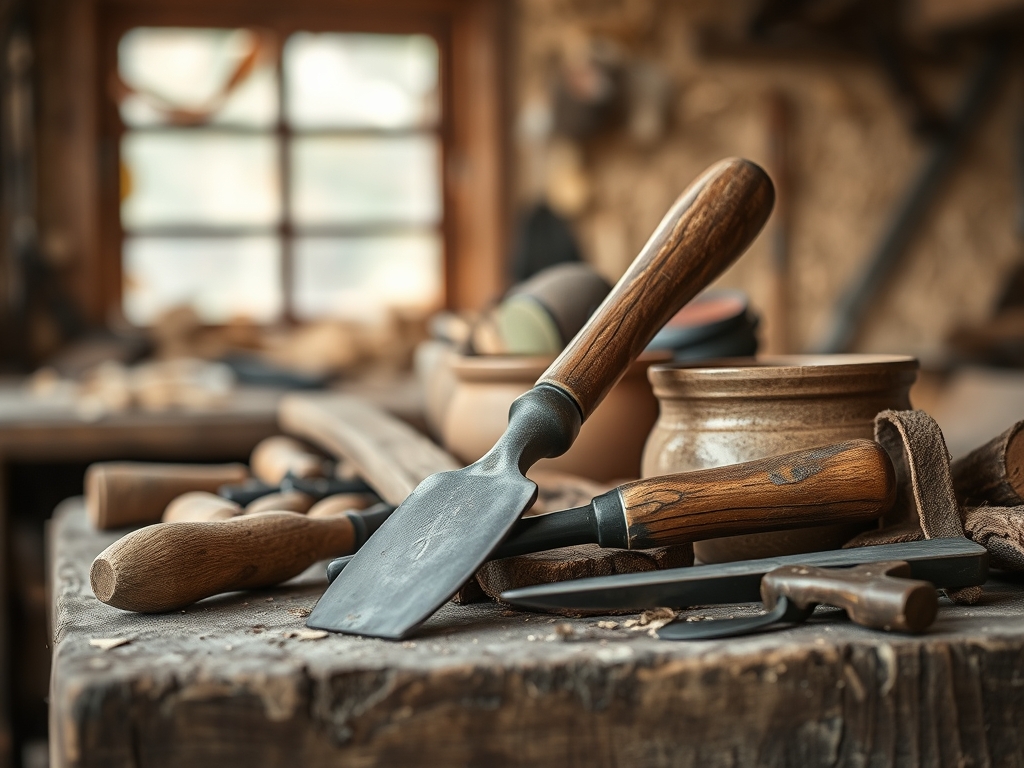
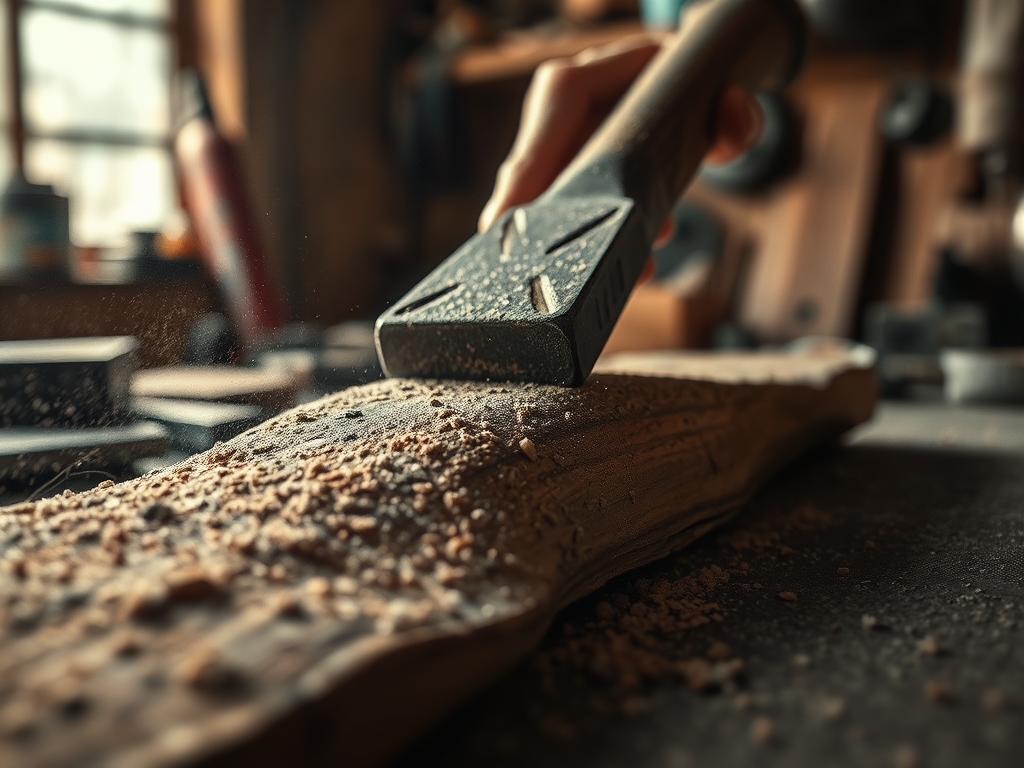
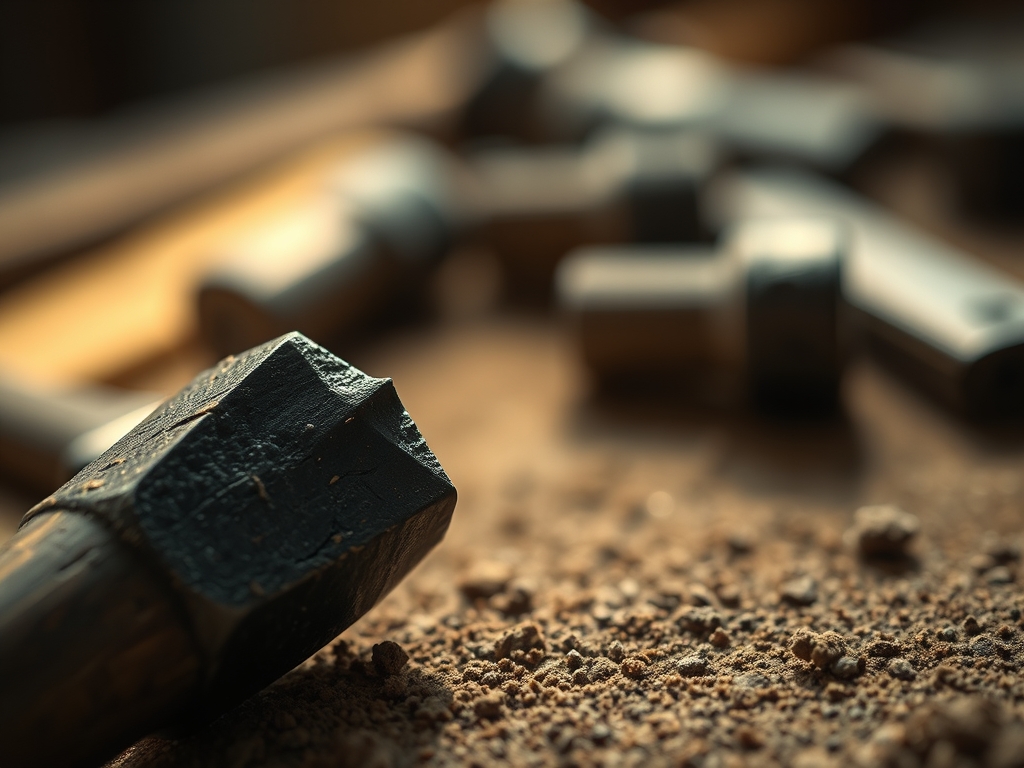
To execute a successful pit firing, you need a kit that balances raw materials with precision monitoring. Your primary tool is a pointed digging shovel to excavate the pit, ensuring the walls are sloped at a specific angle to facilitate convective airflow. You will also need a digital infrared thermometer or an analog pyrometer to track the climb toward the 1,000 degree Fahrenheit mark. For the pottery itself, ensure you have used a burnishing tool or a smooth river stone to compress the surface particles; this increases the tensile strength of the exterior wall.
Your fuel source is critical. You need hardwood logs for a sustained, deep coal bed and softwood kindling for the initial rapid heat climb. I also recommend a bag of sawdust and dried organic matter like banana peels or copper carbonate for chemical fuming. If you lack a natural pit site, a Material Substitution would be a galvanized steel washbasin or a ring of firebricks. While the steel lacks the insulative mass of the earth, it provides a controlled environment for smaller batches. Always keep a welding glove and a pair of long-handled steel tongs nearby to manipulate the pots within the embers without compromising your safety or the integrity of the vessels.
THE TEMPO
The "Maker's Rhythm" for a pit firing is dictated by the evaporation rate of residual moisture. This is not a project you can rush in an hour. You must account for a three-hour "pre-heat" phase where the pots sit near the edge of the fire to drive off the last molecules of chemically bound water. The actual firing cycle takes between six to ten hours depending on the thermal mass of your fuel. Finally, the cooling phase is a slow, overnight descent. If you uncover the pots while they are still above 300 degrees, the thermal shock will cause immediate structural failure. Patience is your most valuable tool here; the rhythm is slow, steady, and elemental.
THE CORE METHOD
1. Excavating the Combustion Chamber
Start by digging a pit approximately three feet wide and two feet deep. The depth is vital because it creates a heat sink effect, trapping the infrared radiation within the soil walls rather than letting it dissipate into the wind. Use your shovel to pack the sides firmly; loose soil can collapse and smother your oxygen supply.
Mastery Tip: The capillary action of the soil can draw moisture into your pit if it rained recently. Line the bottom with a layer of dry sand or pebbles to create a moisture barrier that protects your pots from rising dampness during the early stages of the fire.
2. The Pre-Heat Ritual
Place your bone-dry pots in a circle around the perimeter of the pit. Light a small "scout fire" in the center. The goal is to raise the temperature of the clay gradually. Use an infrared thermometer to ensure the pots reach at least 212 degrees Fahrenheit slowly. This prevents the "pop" caused by rapid steam expansion within the porous clay walls.
Mastery Tip: Observe the surface tension of the clay. If you see "sweating" or dark spots appearing, the temperature is rising too quickly. Move the pots back six inches to slow the heat transfer and prevent micro-fractures.
3. Layering the Fuel Bed
Once the pots are hot to the touch, lay a thick bed of sawdust or fine wood shavings at the bottom of the pit. This creates a reducing atmosphere where oxygen is limited, allowing carbon to soak into the clay. Carefully nestle your pots into this bed, ensuring they do not touch each other. This prevents "kiss marks" where the heat cannot circulate evenly between vessels.
Mastery Tip: Use an awl or a small stick to poke air channels through the sawdust. This maintains laminar flow, ensuring that the fire can breathe even when buried under heavier logs.
4. The Big Burn
Cover the pots with a lattice of kindling, followed by heavy hardwood logs. Light the fire from the top down. This "top-down" method ensures that the heat builds gradually and the heavy coals eventually settle around the pots. The structural integrity of your stack is key; you do not want a heavy log shifting and crushing a delicate rim as the wood turns to ash.
Mastery Tip: Monitor the flame color. A bright orange flame indicates a clean combustion, while a heavy black smoke suggests a carbon-rich reduction. Adjust your log placement to control the oxygen intake and achieve the desired finish.
5. Sealing and Cooling
After the fire has burned down to a thick bed of glowing coals, cover the entire pit with a large piece of scrap sheet metal or a layer of damp earth. This traps the heat and the smoke. The pots will now undergo a chemical transformation as the minerals in the clay react with the fumes from the organic materials you added earlier.
Mastery Tip: This is the "soaking" period. The thermal inertia of the earth allows the pots to stay at a high temperature for hours, which deepens the color saturation and ensures the clay is fully "baked" through its entire cross-section.
THE TECHNICAL LEDGER
Maintenance & Longevity
Pit-fired pottery is "low-fire" and remains somewhat porous. To increase longevity, avoid using these pieces for liquids unless you apply a post-firing wax sealant. Store them in a dry environment; if they absorb moisture and freeze, the expansion-contraction cycle will cause the surface to flake or "spall."
Material Variations
- Sustainable: Use fallen timber and dried agricultural waste like corn husks.
- Recycled: Incorporate crushed glass (cullet) into the pit for localized melting effects.
- Premium: Add copper carbonate or cobalt sulfates to the sawdust bed to achieve vivid blues and greens through fuming.
The Correction: Common Pitfalls
- The Exploding Pot: Caused by trapped moisture. Fix: Use a "candling" phase where pots stay at 200 degrees for two hours before the main fire.
- Dull Surfaces: Caused by lack of compression. Fix: Use a bone folder or polished stone to burnish the clay to a mirror finish while it is leather-hard.
- Cracked Rims: Caused by uneven cooling. Fix: Ensure the rim is the same gauge (thickness) as the base to allow for even thermal contraction.
Studio Organization
Store your pit-firing supplies in airtight bins to keep sawdust and kindling bone-dry. Label your organic additives by their chemical reaction (e.g., "Salt = Orange/Yellow") to ensure repeatable results in future firings.
THE FINAL REVEAL
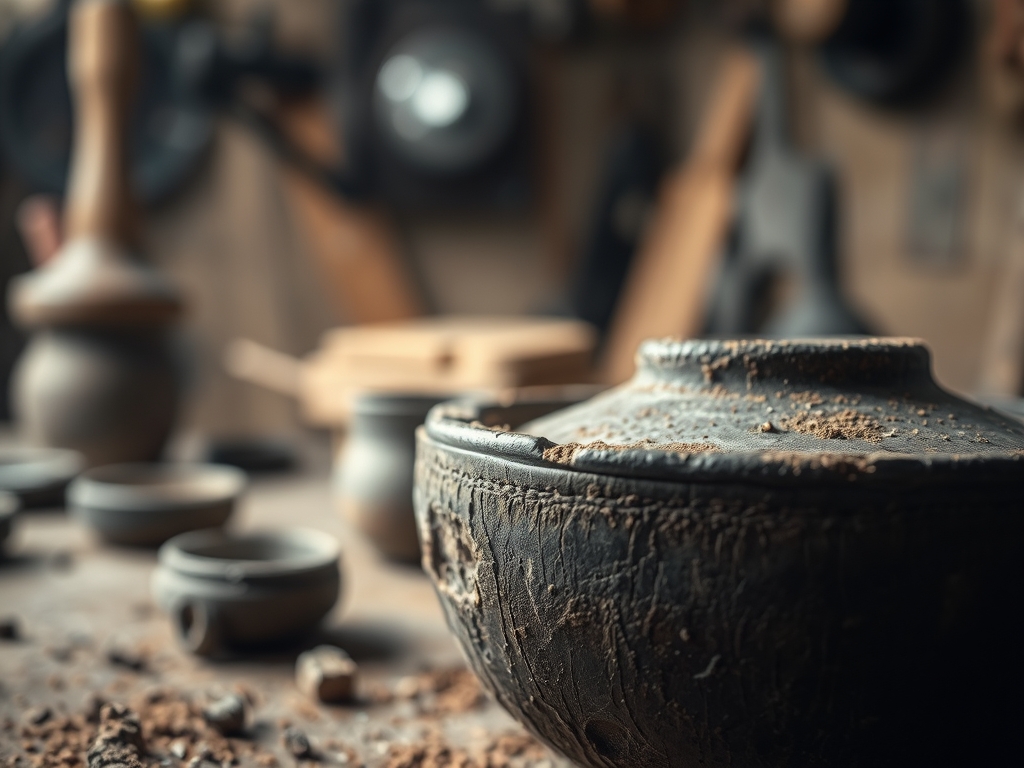
There is nothing quite like the moment you peel back the ash to find a vessel that has survived the inferno. The finish is a chaotic, beautiful map of the fire itself; smoky blacks, earthy reds, and flashes of metallic grey. Your pot is no longer just mud; it is a permanent record of a specific moment in time and temperature. It feels heavy, resonant, and incredibly smooth where you burnished the surface. This is the ultimate "maker high," where science meets the raw power of the elements.
STUDIO QUESTIONS
How do I know if my clay is dry enough?
Hold the pot to your cheek; if it feels cold, it still contains interstitial water. It should feel room temperature and look significantly lighter in color before it ever touches a flame to prevent catastrophic thermal shock.
Can I do this in a backyard fire pit?
Yes, provided you have a deep enough coal bed. Use firebricks to create a thermal chimney effect, which focuses the heat toward the center where your pots are located, ensuring they reach the necessary vitrification temperature.
Why did my pot turn black instead of red?
This is a result of carbonization. If the pot was smothered in sawdust without enough oxygen, the carbon molecules became trapped in the porous surface of the clay. This is a classic, highly sought-after primitive finish.
What is the best clay for pit firing?
Look for a "heavy-grit" stoneware or a clay body with a high percentage of grog (pre-fired clay). The grog acts as a structural skeleton, reducing the overall shrinkage rate and helping the piece withstand rapid temperature shifts.