Standing in my studio with a heavy slab of white oak feels like holding a dormant volcano. There is a specific, weighted silence to high density hardwoods that just begs for a bit of creative chaos. Today, we are not just staining or sanding. We are leaning into the primal chemistry of heat. Burning Wood for Texture is an ancient technique known as Shou Sugi Ban; it is the process of carbonizing the surface to create a protective, sculptural layer. As I run my hand over the grain, I can feel the earlywood and latewood alternating in density. The softer earlywood is ready to retreat under the flame, while the dense, lignin rich latewood will stand its ground. This creates a topographical map you can actually feel. The smell of toasted tannins is already filling the air, and the tactile contrast between the raw, pale cellulose and the impending deep charcoal is intoxicating. We are about to use thermal degradation to turn a flat board into a three dimensional masterpiece of organic architecture.
THE STUDIO KIT
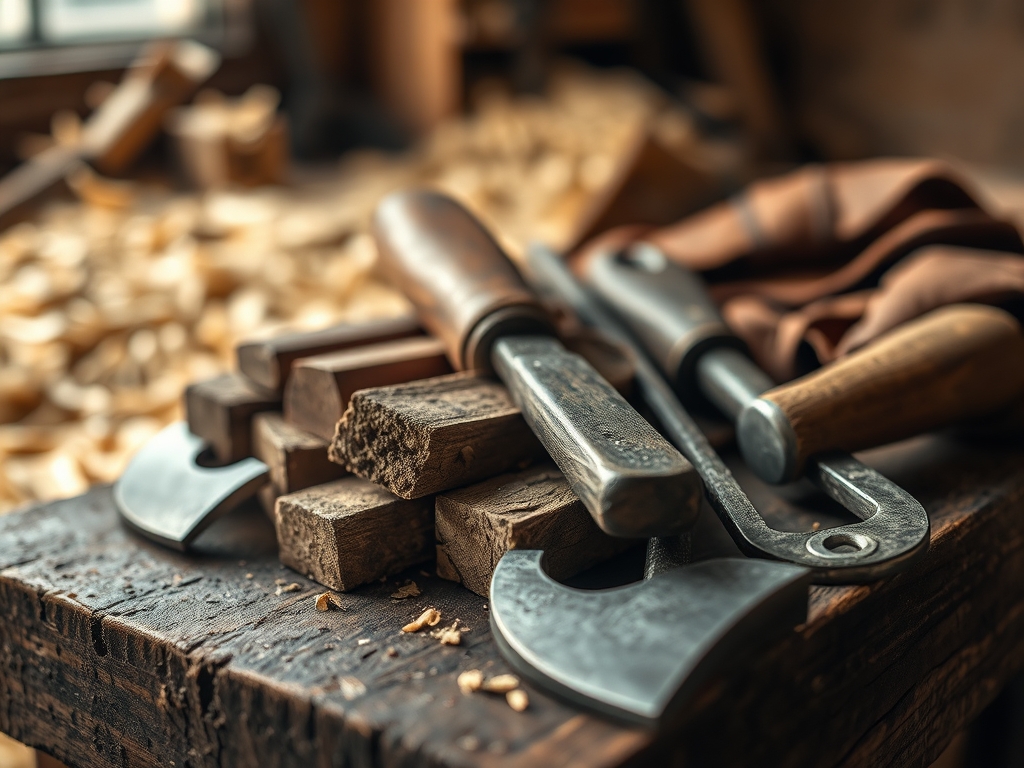
To master this, you need a kit that respects the tensile strength of your timber while managing the aggressive nature of the flame. I start with a high output propane torch equipped with an adjustable flame nozzle. This allows for precise control over the heat cone. For the abrasion phase, you will need a stiff wire brush; stainless steel is preferred over brass to avoid color transfer. I also keep a set of calipers nearby to measure any slight warping, as intense heat can cause the moisture inside the cellular structure to migrate rapidly. You will also need a natural bristle duster and a high quality finishing oil, like tung or linseed, to stabilize the carbon.
Material Substitutions: If you cannot source white oak, reach for cedar or larch. These species have a lower specific gravity, meaning they char faster and deeper than hardwoods. Avoid treated lumber or plywood. The glues in plywood can delaminate under high heat, and the chemicals in pressure treated wood release toxic fumes when vaporized. If you are working on a smaller scale, a jeweler's saw can be used beforehand to create relief cuts that the fire will later emphasize.
THE TEMPO
The "Maker's Rhythm" for burning is all about the thermal lag. You cannot rush the carbonization process without risking structural failure. The initial charring phase for a standard six foot board takes about thirty minutes of focused, steady movement. Think of it like a slow dance; if you linger too long, you create a "check" or a deep crack in the grain. If you move too fast, the texture remains shallow. Following the burn, you must allow for a cooling period of twenty minutes to let the internal vapor pressure stabilize. The brushing and finishing stages take another hour. Total active time is roughly two hours, but the mental tempo is high energy and high focus. You are balancing the destruction of the surface with the preservation of the core.
THE CORE METHOD
1. The Surface Preparation
Before the flame touches the wood, the surface must be clear of all mill marks and oils. I use a cabinet scraper to ensure the porous structure of the oak is open and ready. If the wood is too smooth, the heat reflects; if it is too rough, the char becomes inconsistent.
Mastery Tip: This is about capillary action. By opening the pores, you ensure that the heat penetrates evenly, preventing the surface from "case hardening," which is where the outside dries so fast it traps moisture inside, leading to eventual structural cracks.
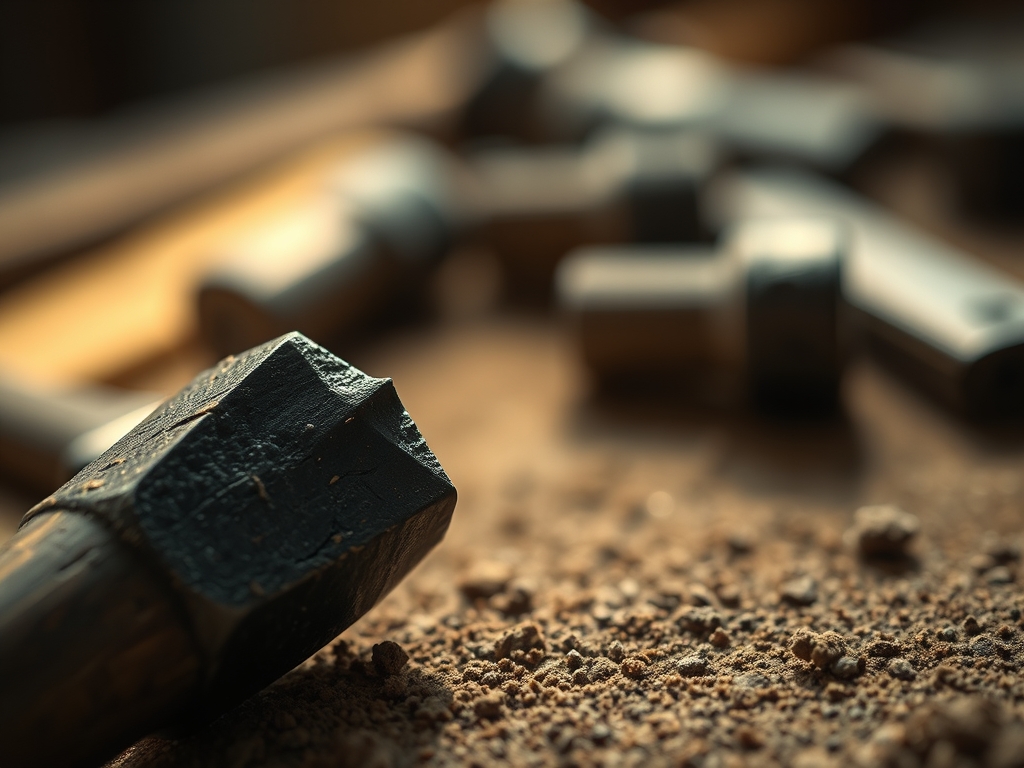
2. The Controlled Char
Ignite your torch and maintain a distance of about three inches. Move the flame in long, sweeping strokes following the grain direction. You want to see the wood turn a "crocodile skin" black. This is the stage where the cellulose fibers are actively pyrolyzing.
Mastery Tip: Observe the Leidenfrost effect in reverse. You are watching the moisture flash off. The science here is the degradation of hemicellulose at lower temperatures than lignin, which is why the texture "pops" as the softer parts of the wood shrink away first.
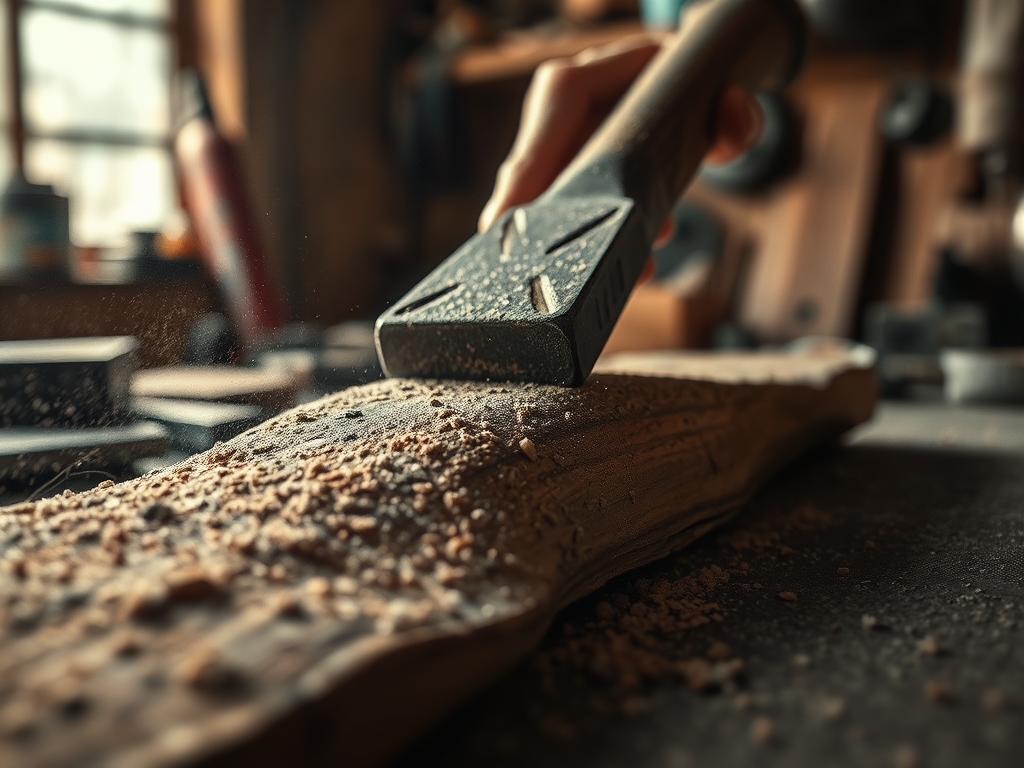
3. The Mechanical Abrasion
Once the board is cool to the touch, take your wire brush and scrub vigorously with the grain. This removes the soft, loose soot and reveals the hardened, toasted ridges of the latewood. Use an oscillating tool with a soft brush attachment if you are working on a large surface to maintain consistent pressure.
Mastery Tip: This process is essentially mechanical weathering. By removing the charred earlywood, you are increasing the surface area, which allows your final oil finish to bond more deeply with the remaining fibers through improved mechanical adhesion.
4. The Aqueous Rinse and Dry
Lightly mist the board with water to remove the microscopic carbon dust. Do not soak it; you only want to clear the debris. Wipe it down with a lint free cloth and let it air dry until the equilibrium moisture content is reached.
Mastery Tip: Water acts as a surfactant here. It breaks the surface tension of the fine soot particles, allowing them to be lifted away rather than smeared into the deeper grain pockets.
5. The Oil Stabilization
Apply a generous coat of finishing oil. The charred wood will drink this up. Use a bone folder or a smooth stone to burnish the edges if you want a polished, high contrast look. The oil reacts with the carbon to create a hydrophobic barrier.
Mastery Tip: This is a polymerization event. As the oil cures, it links the carbonized wood fibers together into a plastic-like matrix, significantly increasing the board's resistance to UV rot and moisture.
THE TECHNICAL LEDGER
Maintenance & Longevity: A charred oak board is surprisingly low maintenance. Because the surface is carbonized, it is no longer "food" for insects or fungi. To maintain the luster, simply re-apply a light coat of wax or oil every two years. The structural integrity of the oak remains intact because only the top 1/16th of an inch is altered.
Material Variations: For a premium look, use "Quartersawn" oak. The medullary rays in quartersawn timber create stunning, iridescent flakes when charred. For a sustainable approach, use reclaimed barn wood; the existing silver patina reacts beautifully with the flame to create a "ghosted" charcoal effect.
The Correction:
- The Deep Scorching: If you burn a hole too deep, use an awl to pick out the loose char and sand the surrounding area to a gradual slope before re-burning.
- Warping: If the board cups, lightly dampen the concave side and apply weight. The hygroscopic nature of wood means it will flatten as it rebalances its moisture.
- Soot Smearing: If the finish looks muddy, you didn't brush enough. Go back to the wire brush phase; you cannot fix a bad char with more oil.
Studio Organization: Store your charred boards vertically with spacers (stickers) between them. This allows for total airflow and prevents "ghosting" marks where boards touch, ensuring the chemical cure of the oil is uniform across the entire surface.
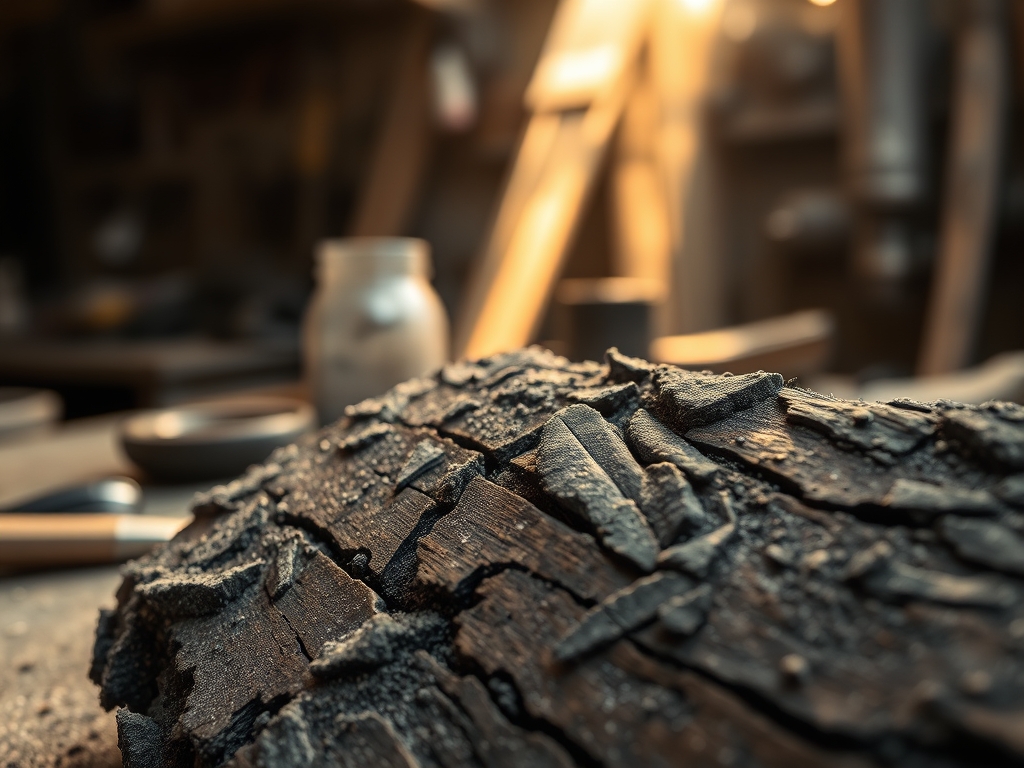
THE FINAL REVEAL
The transformation is nothing short of magical. What started as a standard piece of lumber is now a tactile, shimmering piece of art. The black is not just a color; it is a deep, multidimensional void that catches the light on every ridge. The ergonomic feel of the raised grain is satisfyingly rugged. When you run your fingers across it, you are feeling the history of the tree's growth rings, frozen in carbon. It feels expensive, ancient, and incredibly modern all at once. You have successfully used physics to turn fire into a paintbrush.
STUDIO QUESTIONS
Does burning wood make it waterproof?
Yes, the carbonization process creates a hydrophobic layer. This layer prevents water from penetrating the porous cellular structure. When sealed with oil, the wood becomes highly resistant to rot, decay, and moisture absorption in outdoor environments.
What is the best wood for Shou Sugi Ban?
Softwoods like Cedar and Larch are traditional due to their high resin content. However, hardwoods like Oak provide superior tensile strength and a more dramatic, high contrast texture when the softer earlywood is brushed away.
Can I use a heat gun instead of a torch?
A heat gun lacks the thermal intensity required for deep carbonization. It may brown the surface, but it won't create the "crocodile skin" texture. A propane torch is necessary to achieve the proper chemical degradation of the lignin.
Is charred wood messy to touch?
Only if it is not finished correctly. Once the loose soot is brushed away and the surface is sealed with a curing oil, the carbon is locked in place. The result is a clean, tactile surface that won't rub off.
How do I prevent the wood from catching fire?
Keep the torch moving constantly to prevent localized combustion. Always keep a spray bottle of water or a fire extinguisher nearby. The goal is pyrolysis, which is chemical decomposition via heat, not active flaming or total consumption.