Imagine the air vibrating with a low, rhythmic hum as the forge breathes fire. You are standing there, heart racing, holding a raw bar of high carbon steel that looks utterly unimpressed by your presence. This is where we start our journey into Forged Steel Knife Basics; it is a visceral, sweaty, and deeply satisfying dance with heat and physics. You can feel the thermal radiation hitting your skin before you even see the metal glow. We are not just hitting things with hammers; we are rearranging the very molecular structure of iron and carbon. The steel feels heavy and cold in your hand at first, possessing a high tensile strength that resists change. But once it hits that cherry-red state, the material becomes butter under your command. It is a transformation that feels like magic, yet it is governed by the strict laws of metallurgy. We are about to turn a stubborn industrial slab into a sleek, functional tool that carries your unique signature in every curve.
THE STUDIO KIT (H2)
To master the craft, your studio needs more than just enthusiasm. You need a curated selection of tools that can withstand extreme **thermal cycles**. Your primary material is 1084 high carbon steel; it is the gold standard for beginners because it has a simple heat treatment profile. You will need a **cross-peen hammer**, which allows you to move metal in specific directions based on the angle of the face. An anvil is your foundation; its mass provides the **rebound energy** necessary to move steel efficiently without exhausting your arm.
For precision, keep a pair of digital calipers nearby to monitor the thickness of your taper. You will also need a variety of tongs designed to grip different gauges of steel securely. If you cannot find a professional anvil, a thick section of railroad track serves as a viable material substitution. For the finish, you will use a jeweler's saw for fine handle adjustments and an oscillating tool with various sanding attachments to refine the profile. Always have a bucket of specialized quenching oil ready; water is too aggressive and can cause the steel to shatter due to extreme internal stress.
THE TEMPO (H2)
The "Maker's Rhythm" is a delicate balance between the speed of the forge and the cooling rate of your workpiece. Forging is not a sprint; it is a series of focused intervals. You have approximately thirty to forty-five seconds of "workable heat" once the steel leaves the forge before it drops below its critical temperature. If you strike the metal when it is too cold, you risk creating micro-fractures that compromise the structural integrity of the blade.
Expect to spend about two hours on the initial shaping, followed by three hours of "normalizing" cycles to relax the grain structure. The grinding and beveling phase is the most time-consuming, often taking four to six hours of meticulous work to ensure the geometry is symmetrical. Finally, the heat treat and tempering process requires a full day of patience. You are working with the heartbeat of the metal; rushing the cooling process will only lead to a warped or brittle disaster.
THE CORE METHOD (H2)
1. Profiling the Point
The first step is to create the "pre-form" by hammering the tip of your steel bar into a blunt triangle. You must compensate for the way the metal will spread. As you hammer the edge later, the spine will naturally curve backward. By starting with a slight downward "hook," the expansion of the metal will eventually push the blade into a straight, ergonomic profile.
Mastery Tip: Understand dislocation density. Every hammer blow moves atoms within the crystal lattice. By controlling the direction of your strikes, you are literally guiding the flow of the metal grains to follow the shape of the knife.
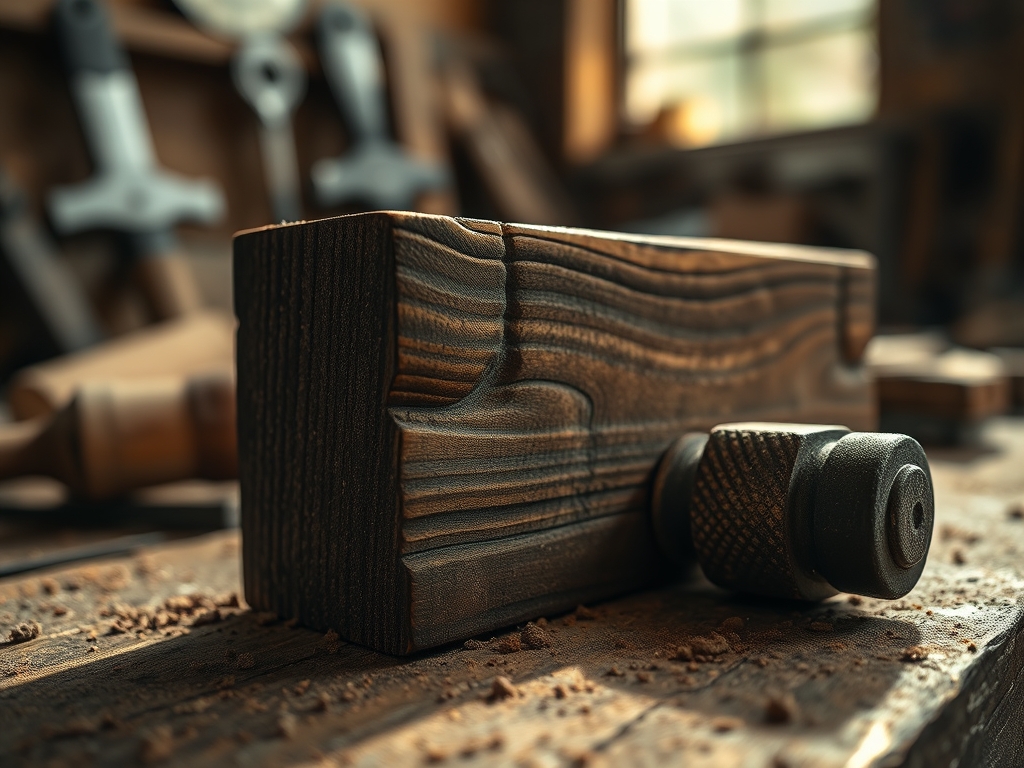
2. Drawing Out the Tang
Switch your focus to the opposite end of the bar to create the tang, which is the part of the knife that sits inside the handle. Use the horn of the anvil to "draw out" the steel, making it longer and thinner. This requires consistent rotational force to keep the tang centered with the blade.
Mastery Tip: This step relies on plastic deformation. Because the steel is at a yellow-orange heat, its yield strength is at its lowest, allowing you to stretch the material without tearing the fibers of the metal.
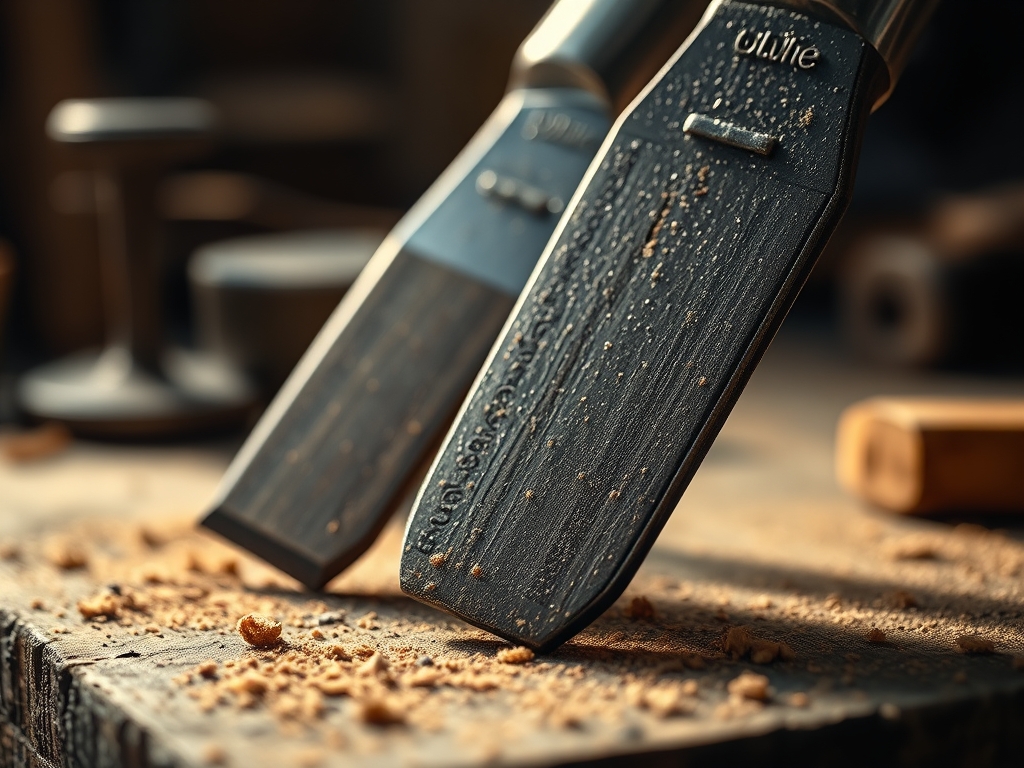
3. Setting the Bevels
This is the most critical stage. You will tilt the blade at a slight angle against the anvil and strike the edge to create a wedge shape. This moves the metal from the spine toward the cutting edge. Observe the alignment in the step-by-step photos below to ensure your hammer face is landing flat to avoid deep gouges.
Mastery Tip: Watch for surface tension changes in the scale. As the metal thins, it cools faster. You must stop hammering as soon as the color fades to a dull red to prevent "cold shuts," which are internal folds that ruin the blade.
4. Normalizing and Quenching
Once shaped, heat the blade until it is no longer magnetic, then let it air cool. Repeat this three times to refine the grain direction. Finally, heat it one last time and plunge it vertically into your oil bath. The rapid cooling "locks" the carbon atoms into a hard, brittle structure called martensite.
Mastery Tip: This is a phase change involving thermal conductivity. The oil carries heat away from the steel at a specific rate, preventing the formation of soft pearlite while minimizing the risk of the blade cracking under the pressure of the sudden contraction.
THE TECHNICAL LEDGER (H2)
Maintaining your forged blade is an ongoing commitment to chemistry. Since high carbon steel is porous at a microscopic level, it is susceptible to oxidation. Always burnish the surface with a high-grit abrasive and apply a thin layer of food-safe mineral oil to create a moisture barrier.
Material Variations:
- Sustainable: Repurposed leaf springs from old trucks (5160 steel) offer incredible toughness.
- Premium: Damascus steel, created by layering different plies of metal, provides a stunning visual contrast.
- Recycled: Old farrier files are excellent for small, high-hardness utility knives.
The Correction:
- The Warp: If the blade curves during the quench, immediately shim it in a vise while it is still warm to pull it back to center.
- The Scale Pit: If you hammer "fire scale" into the blade, use a heavy-duty grinding disc to remove the pits before they become deep structural flaws.
- The Brittle Snap: If the blade breaks, it was likely quenched too hot. The fix is to re-forge the pieces into a smaller "neck knife" and lower your forge temperature.
Studio Organization:
To prevent degradation, store your unfinished blades in a "dry box" with silica gel packets. Never leave raw steel on a concrete floor; the moisture wicking will cause flash rust within hours. Organize your hammers by weight on a vertical rack to maintain an ergonomic workflow.
THE FINAL REVEAL (H2)
There is nothing quite like the moment you wipe the oil off a freshly tempered blade and see that clean, grey steel staring back at you. It is sharp, it is resilient, and it is a physical manifestation of your willpower. Your first forged knife might have a few "character marks," but it represents a mastery over the elements. You have taken fire, air, and earth and turned them into a tool that could last for generations. Hold it in your hand, feel the balance, and appreciate the tactile feedback of a job well done. You are officially a maker of things that endure.
STUDIO QUESTIONS (H2)
What is the best steel for a total beginner?
1084 high carbon steel is ideal. It has a forgiving heat-treat range and minimal alloying elements, making it easy to harden in a basic forge without professional-grade atmospheric controls or complex soaking times.
Why did my blade crack during the quench?
Cracks usually happen because the steel was too hot or the quenching medium was too cold. This creates extreme internal stress that the metal cannot handle, causing the molecular structure to literally pull itself apart.
Do I really need a professional anvil?
No, but you need mass. A heavy block of scrap steel or a railroad track works. The key is having a surface that does not absorb your hammer's energy, allowing the force to transfer into the workpiece.
How do I know when the steel is ready to quench?
Use a magnet. When the steel reaches its critical temperature, it becomes non-magnetic. Once the magnet no longer sticks, give it a few more seconds of heat, then move quickly to the oil quench.