Grab your work gloves and clear the driveway because we are about to get intimate with the most fragrant wood on the planet. There is something absolutely primal about the scent of fresh western red cedar; it is a heady mix of citrus and deep forest floor that hits your sinuses the moment you start working. Today, we are tackling the raw, tactile process of Hand Peeling Cedar Logs to create a patio bench that looks like it grew right out of your pavers. This is not just about aesthetics. It is about the structural integrity of the wood. When you strip the bark, you are removing the moisture-wicking layer that invites rot and wood-boring insects. We are going for a finish that is smooth to the touch but retains those gorgeous, organic undulations that only nature can design. This project is a masterclass in material physics, requiring you to understand how the sapwood interacts with the inner phloem. We are going to peel, scrape, and burnish our way to a piece of furniture that will outlast the house itself.
THE STUDIO KIT
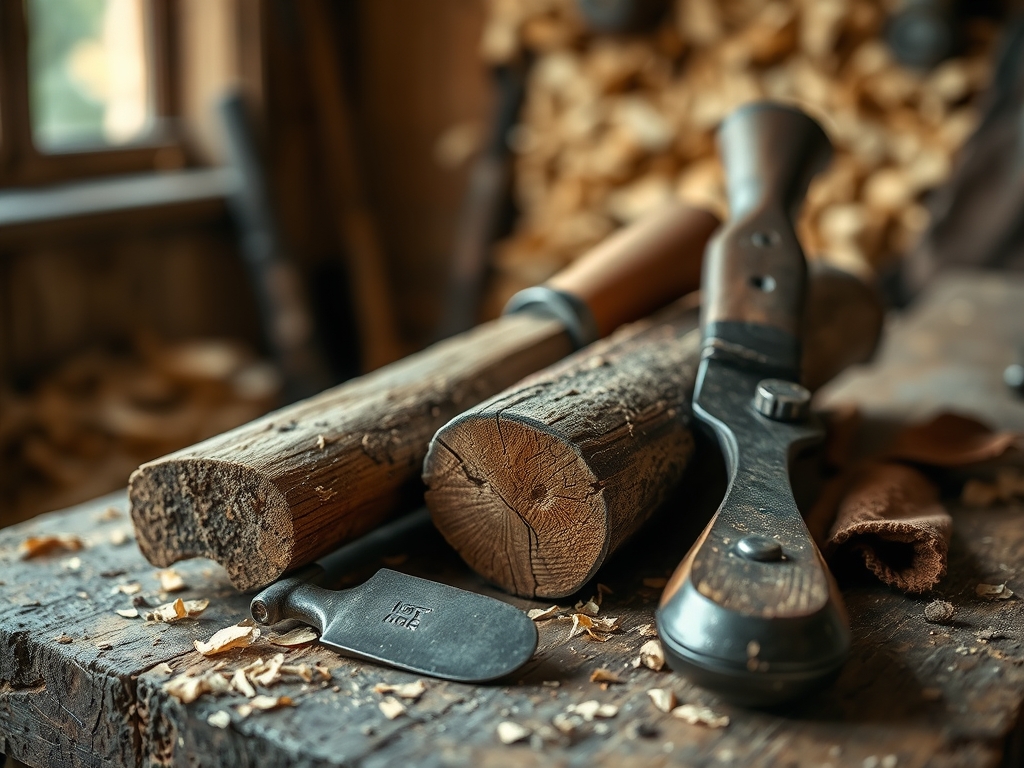
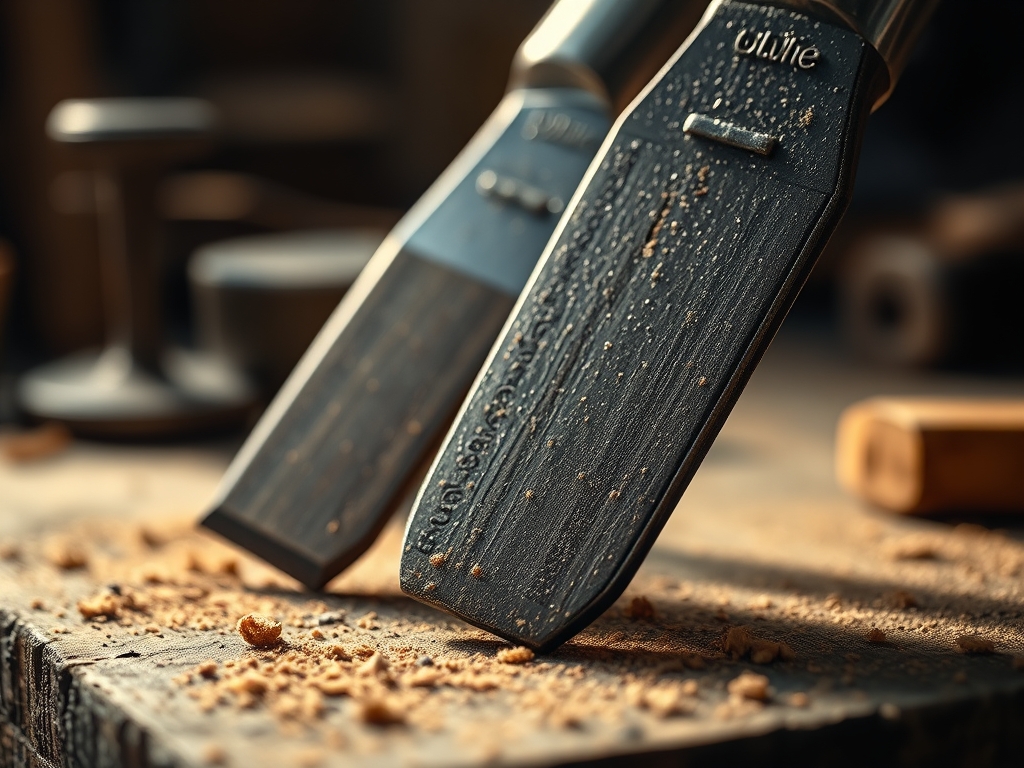
To master the art of the strip, you need tools that respect the tensile strength of the cedar fibers. You cannot just hack away at it; you need to glide. Your primary weapon is a straight-blade drawknife. This tool allows you to use your body weight to slice through the thick outer bark while maintaining a shallow enough angle to avoid gouging the heartwood. You will also need a bark spud, which is essentially a long-handled pry bar with a curved head designed to slip between the wood and the cambium layer. For the finer details around knots, grab a stiff-blade putty knife or even a heavy-gauge awl to pick out stubborn debris.
For the finishing touches, keep a random orbital sander nearby with 80, 120, and 220 grit pads. If you want to get fancy, an oscillating tool with a sanding attachment is perfect for those tight crevices where the branches once lived. If you cannot find fresh cedar, a Material Substitution would be black locust or white oak, though be warned: those hardwoods have a much higher density and will require significantly more elbow grease and sharper steel to debark.
THE TEMPO
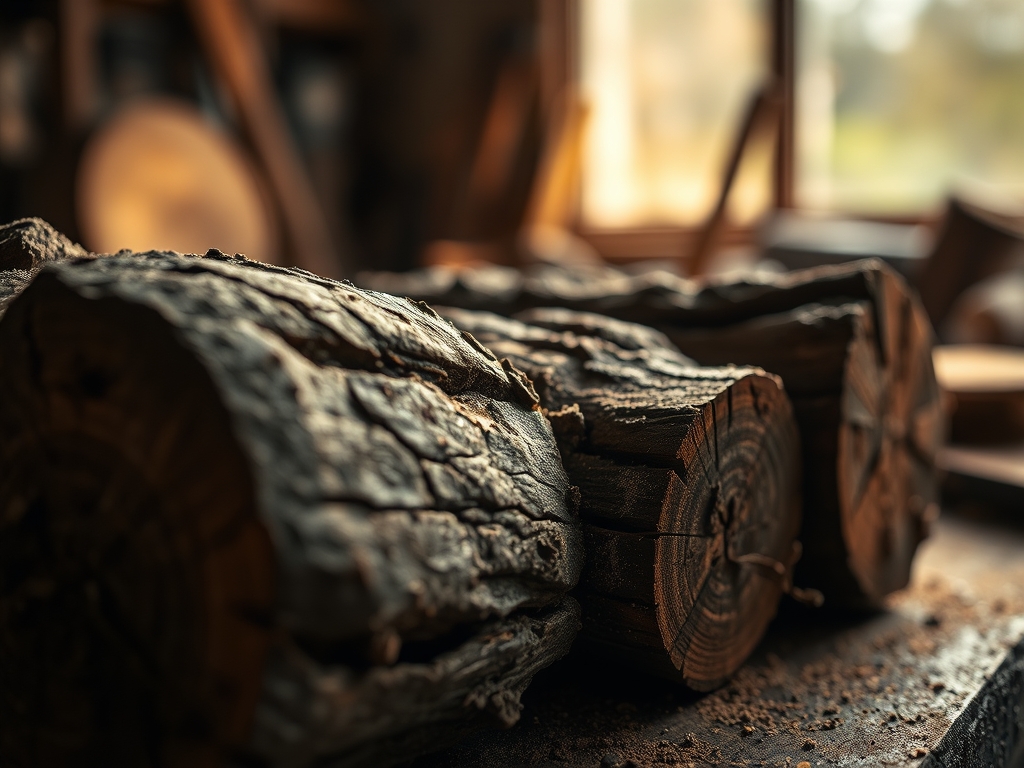
The "Maker's Rhythm" for this project is all about the season. If you are working with "spring wood," the sap is flowing, and the bark will practically fall off in long, satisfying ribbons. This is the peak efficiency window. In the heat of summer or the dead of winter, the bark enters a dormant state, bonding tightly to the wood. Expect to spend about two hours per six-foot log for the initial peel. The drying phase is the longest beat in the rhythm; you must allow the logs to "season" for at least two to four weeks in a low-humidity environment to prevent checking. Checking occurs when the outer layers dry faster than the core, causing the wood to split along the grain. We are aiming for a slow, controlled evaporation of internal moisture.
THE CORE METHOD
1. The Initial Breach
Position your log on a sturdy pair of sawhorses at a height that is ergonomically aligned with your hips. Use the bark spud to find a natural fissure in the bark. Drive the tool inward at a thirty-degree angle until you feel it hit the hard surface of the sapwood.
Mastery Tip: This step relies on mechanical advantage. By using the log itself as a fulcrum, you are using leverage to overcome the adhesive bond of the cambium layer. If the bark is "tight," a quick spray of water can increase the porosity of the fibers, making them more pliable and easier to lift.
2. The Drawknife Glide
Once you have a starting point, switch to the drawknife. Hold the tool with both hands, bevel side down for a shallower cut, and pull toward your torso in a long, fluid motion. Focus on the grain direction. If the knife starts to dive too deep, you are likely fighting a change in the wood's density around a knot.
Mastery Tip: Understanding surface tension is key here. As you remove the bark, you are exposing the "wet" wood to the air. If you work too slowly in direct sunlight, the surface will dry and crack before you finish. Work in the shade to maintain a uniform moisture gradient across the log.
3. Knot Refinement and Detailing
Knots are the densest part of the log because the grain is compressed into a tight, circular pattern. Use a sharp chisel or an oscillating tool to carefully shave away the bark remnants around these protrusions. You want to follow the natural flare of the wood where the branch met the trunk.
Mastery Tip: This is about structural integrity. Every time you deep-cut into a knot, you create a potential failure point. By "feathering" the edges of the knot, you ensure that the weight-bearing capacity of the bench remains intact while highlighting the beautiful, swirling figure of the wood.
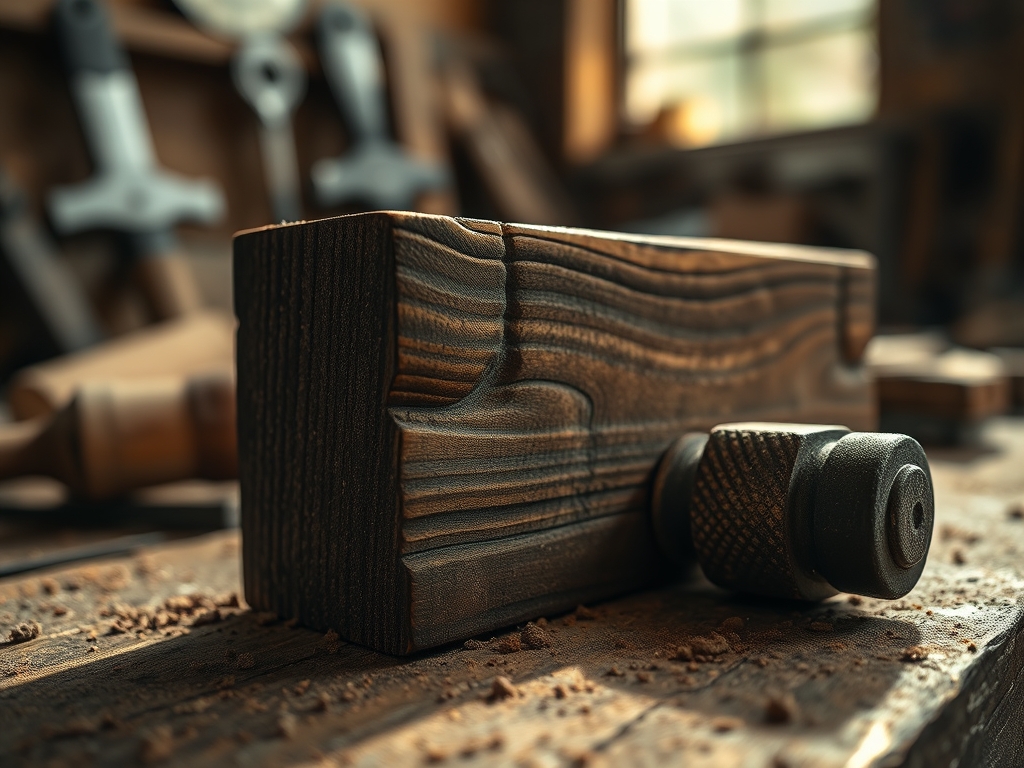
4. The Burnish and Sand
After the log has seasoned and the moisture content has dropped below 15 percent (check this with a moisture meter), it is time to sand. Start with a heavy 80-grit to remove the "fuzz" left behind by the drawknife. Finish with a 220-grit to create a surface that feels like polished stone.
Mastery Tip: To achieve a professional glow, use a piece of scrap hardwood to burnish the surface. By rubbing the hard wood against the softer cedar, you are compressing the surface fibers. This creates a natural luster and a harder "skin" that is more resistant to water penetration via capillary action.
THE TECHNICAL LEDGER
Maintenance & Longevity
Cedar is naturally rot-resistant due to its high concentration of thujaplicins, which act as natural fungicides. To maintain that silver-patina look, leave it raw. If you want to keep the warm red tones, apply a high-quality UV-rated penetrating oil every two years. Avoid film-forming finishes like polyurethane, which will eventually crack and peel when the wood naturally expands and contracts.
Material Variations
- Sustainable: Salvaged "deadfall" logs are the gold standard for eco-conscious makers.
- Recycled: Old cedar fence posts can be planed down and used for the bench legs.
- Premium: Clear-heart cedar with zero knots offers the highest tensile strength and a minimalist look.
The Correction: 3 Common Mistakes
- The Deep Gouge: If your drawknife bites too deep, do not try to sand it out. Use a wood file to blend the edges of the gouge into a soft "valley" that looks like a natural feature.
- Peeling Too Early: If the wood is frozen, the bark will shatter. Move the logs into a heated shop for 24 hours to thaw the sap.
- Ignoring the Underside: Many makers forget to peel the bottom of the log. This traps moisture against the ground and leads to premature rot. Always peel 360 degrees.
Studio Organization
Store your logs off the ground on "stickers" (small scrap wood strips). This allows for 360-degree airflow, preventing mold growth on the underside. Keep them in a cool, dry place away from direct heat sources like furnaces, which can cause the wood to warp or "bow" along its longitudinal axis.
THE FINAL REVEAL
Look at that transformation! What started as a rough, shaggy log is now a sleek, sculptural masterpiece. The way the light catches the burnished surface of the cedar is absolutely magical. This bench is not just a place to sit; it is a testament to your understanding of organic materials and precision tool work. You have successfully navigated the physics of the cambium layer and turned raw timber into a functional work of art. The texture is smooth, the scent is intoxicating, and the structural integrity is rock solid. Your patio just got a massive upgrade, and you did it all with the power of your own two hands.
STUDIO QUESTIONS
Why is spring the best time for hand peeling cedar logs?
During the spring, the tree is actively growing, and the "sap rise" creates a lubricated layer between the bark and the wood. This hydraulic pressure makes the bark release in large sheets with minimal physical effort or tool scarring.
Can I use a pressure washer to remove cedar bark?
While possible, it is not recommended for high-end furniture. High-pressure water can "fuzz" the wood fibers and inject moisture deep into the grain. This significantly increases your drying time and can cause the wood to grey prematurely or develop mold.
How do I prevent the logs from splitting while they dry?
Apply a wax-based end-grain sealer to the cut ends of the logs immediately after peeling. This forces moisture to evaporate slowly through the sides of the log rather than rushing out the ends, which prevents the dreaded "radial checking."
What is the best way to sharpen a drawknife?
Use a medium-grit diamond stone followed by a fine ceramic stone. Maintain a consistent twenty-five-degree bevel. A truly sharp drawknife should be able to shave the hair off your arm; this ensures it slices the fibers rather than tearing them.
How long will a hand-peeled cedar bench last outdoors?
If kept off direct soil and treated with a UV-protectant oil, a cedar bench can easily last twenty to thirty years. The natural oils in the wood provide an internal defense system against decay and insects that most other woods lack.