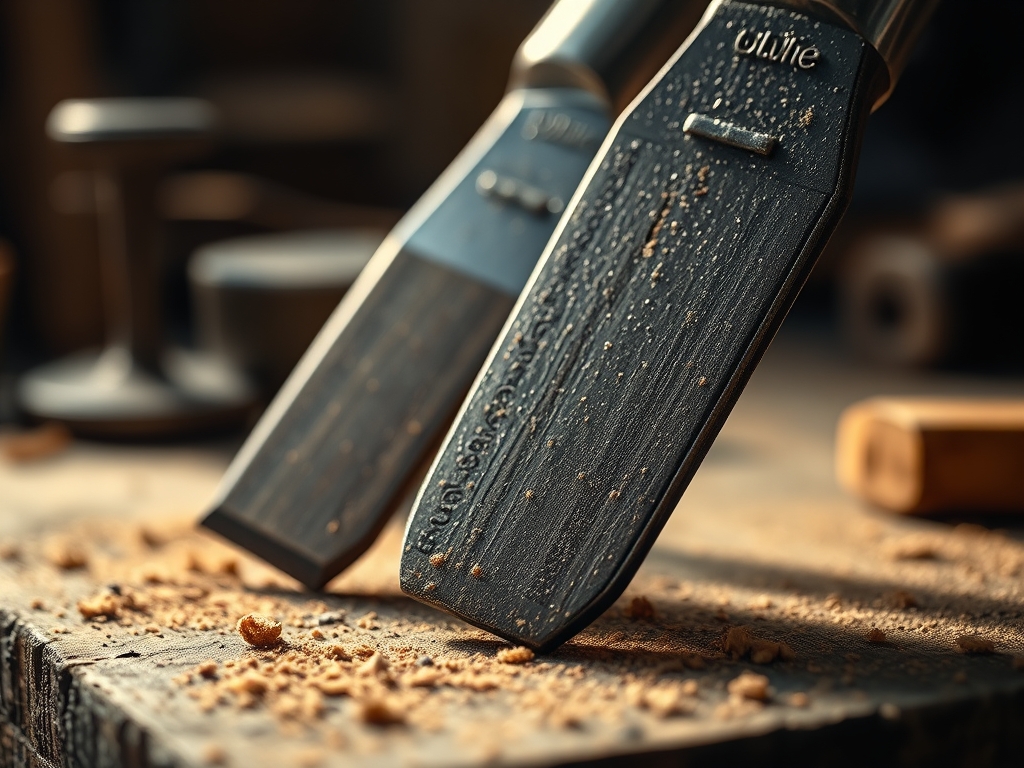
Picture the scent of fresh sap hitting the air as the steel edge bites into a raw log. There is a specific, electric vibration that travels through your forearms when the blade finds the sweet spot between the bark and the heartwood. Mastering the art of Using a Simple Drawknife is about more than just shaving wood; it is about a conversation with the internal tension of the tree. You are not just making a chair leg. You are uncovering the structural skeleton hidden beneath the rough exterior. The tactile resistance of the grain tells you exactly where the fibers are strongest. When you pull that blade toward your chest, you feel the density of the growth rings resisting the bevel. It is raw, it is rhythmic, and it is the most honest way to shape timber. We are going to take a piece of green wood and transform it into a sleek, ergonomic masterpiece by understanding the physics of the shave.
THE STUDIO KIT
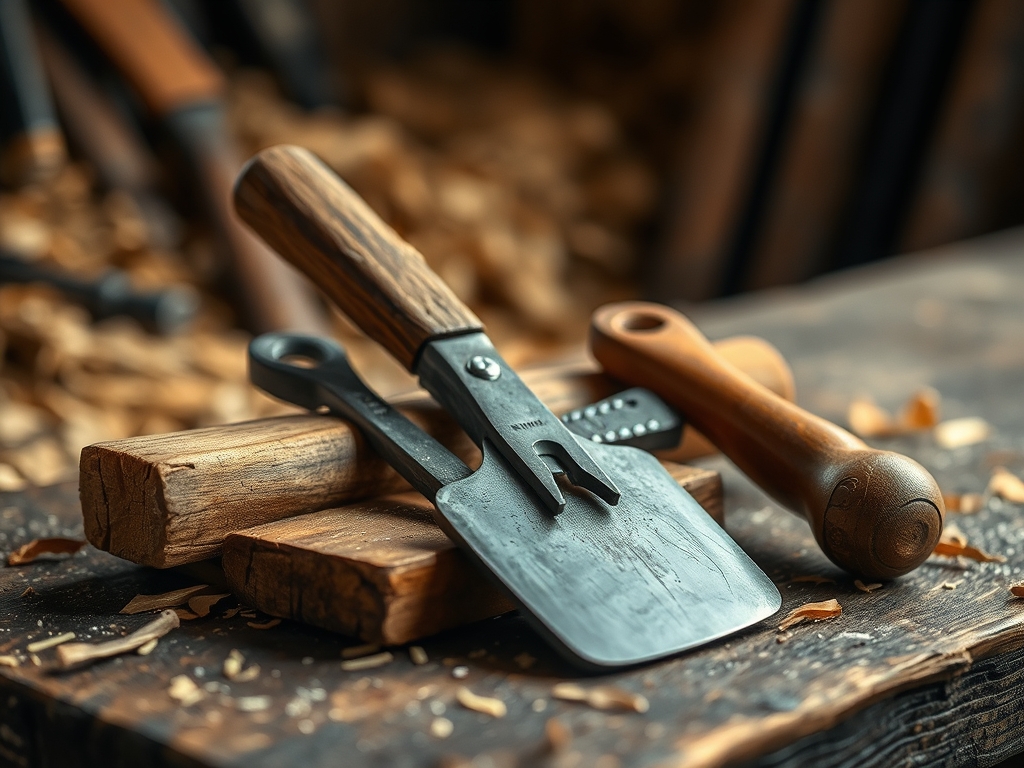
To execute this project with professional precision, your workbench needs to be a curated landscape of high-performance steel and organic fiber. The star of the show is your drawknife, a high-carbon steel blade with dual handles designed for high-leverage removal. You will also need a shaving horse or a heavy-duty woodworking vice to provide the necessary counter-pressure against your pulling force. For measurement, keep your digital calipers close; they are essential for ensuring the diameter of your furniture leg remains consistent across its entire length.
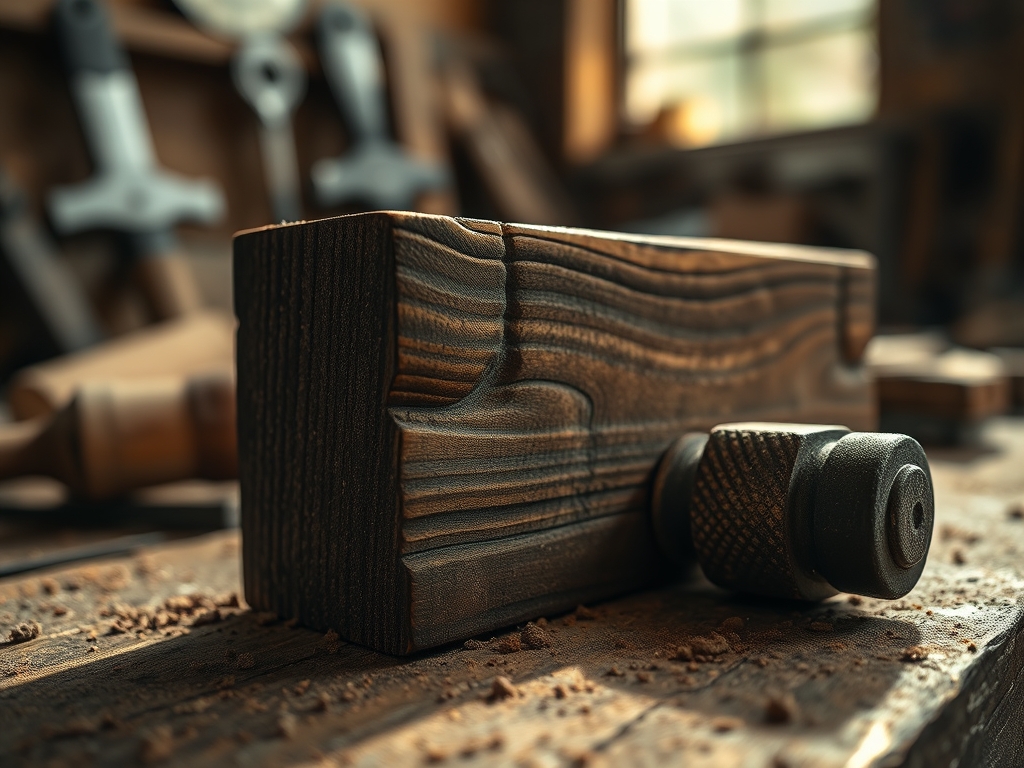
A spokeshave is your secondary tool for refining the surface after the bulk removal is complete. You will also need an awl for marking your center points on the end grain and a moisture gauge to check the hydration levels of your timber. If you cannot find a traditional shaving horse, a "Material Substitution" would be a heavy-duty pipe vice bolted to a sturdy timber frame, though you must use leather pads to prevent marring the wood. For the wood itself, choose a straight-grained hardwood like ash or hickory, as these species possess high tensile strength and are less likely to snap during the shaping process.
THE TEMPO
The "Maker's Rhythm" is a psychological state where your breathing syncs with the stroke of the blade. This project requires approximately four hours of active labor per leg, divided into distinct phases. The Initial Debarking Phase (30 minutes) is high-energy and focuses on removing the protective outer layers. The Rough Shaping Phase (90 minutes) is the most physically demanding, requiring deep, aggressive cuts to establish the basic geometry.
The Precision Refinement Phase (60 minutes) slows the tempo down. This is where you use your calipers every few minutes to check for symmetry. Finally, the Burnishing and Finishing Phase (60 minutes) involves the light, wispy shavings that leave the wood feeling like polished bone. Do not rush the middle phase. If you overheat the wood fibers through friction or force a dull blade through a knot, you risk tearing the grain, which creates a structural weakness that no amount of sanding can fix.
THE CORE METHOD
1. Securing the Blank and Mapping the Grain
Before the steel ever touches the wood, you must identify the pith and the direction of the grain. Secure your timber blank into the shaving horse so that the grain runs parallel to your pull. Use your awl to mark the desired diameter on both ends of the log.
Mastery Tip: Understanding grain direction is vital because wood is a bundle of microscopic tubes. If you pull against the grain, the blade will dive too deep, causing a "tear-out" that compromises the structural integrity of the leg. Always shave in the direction that the fibers are laying down.
2. The Initial Bevel Engagement
Hold the drawknife with the bevel facing down for aggressive removal or bevel up for fine control. Lean your body weight back, using your core muscles rather than just your biceps to pull the blade. Start at the far end of the piece and work your way back toward the center.
Mastery Tip: This step utilizes leveraged force. By engaging your legs and core, you maintain a steady velocity that prevents the blade from stuttering. This creates a smoother surface and reduces the "chatter" marks often seen in amateur work.
3. Tapering and Symmetry Control
As you approach the desired thickness, begin tapering the ends of the furniture leg. This is where the ergonomic design comes into play. Use your calipers to measure the circumference at three points: the top, the middle, and the base. Ensure the taper is gradual to distribute weight evenly when the furniture is in use.
Mastery Tip: Wood is porous, and as you remove the outer layers, the internal moisture begins to evaporate. By tapering slowly, you allow the wood to settle into its new shape without developing "check" cracks caused by rapid cellular collapse.
4. Final Surface Burnishing
Once the shape is perfect, flip your drawknife so the bevel is up and take paper-thin shavings. This acts as a mechanical polish. You can also use a smooth stone or a piece of hardwood to burnish the surface, compressing the fibers and creating a natural luster.
Mastery Tip: Burnishing works by collapsing the surface capillary action. By pressing the fibers down, you make the wood more resistant to moisture and spills, effectively sealing the leg without the immediate need for chemical resins.
THE TECHNICAL LEDGER
Maintenance & Longevity
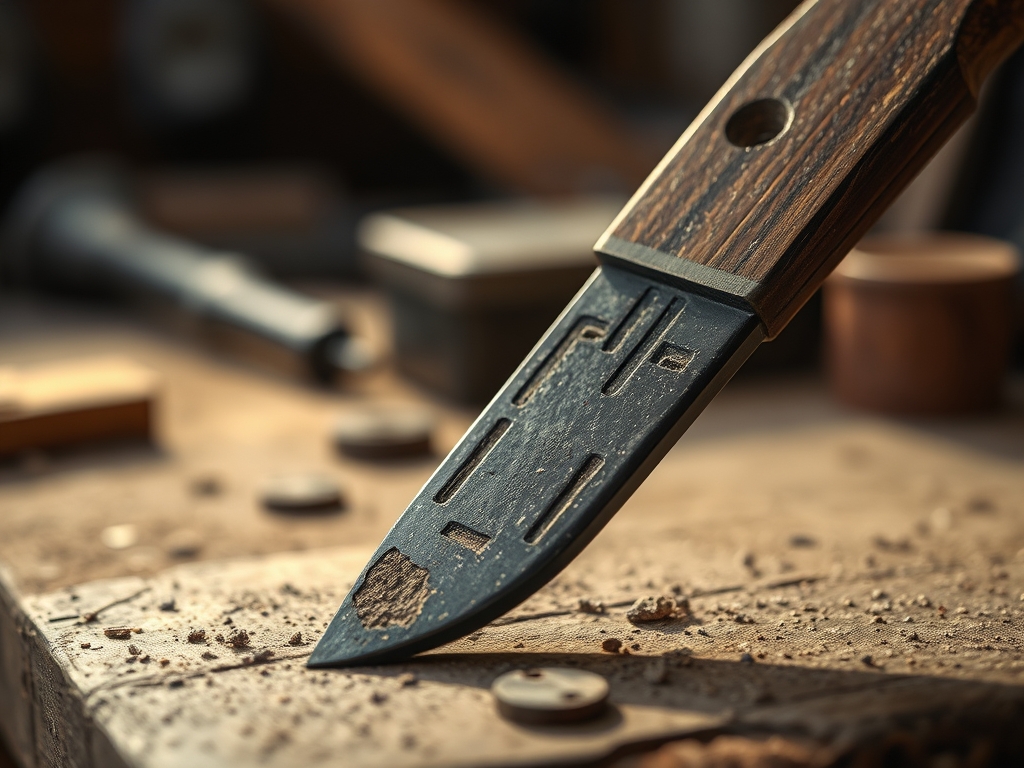
A drawknife is only as good as its edge. Use a diamond honing stone to maintain a 25-degree angle on the bevel. After every session, wipe the blade with camellia oil to prevent oxidation. Store the tool in a leather sheath to protect the "burr" from being nicked by other metal tools in your kit.
Material Variations
- Sustainable: Use "green" windfall branches from oak or maple. These are eco-friendly and easier to carve.
- Recycled: Reclaim old tool handles or structural beams, though be wary of hidden nails that can ruin your blade.
- Premium: Black Walnut offers a stunning dark aesthetic and a high density that finishes to a glass-like surface.
The Correction: 3 Common Mistakes
- The Dive: The blade digs too deep and gets stuck. Fix: Immediately stop, back the blade out, and approach the area from the opposite direction to "level" the grain.
- The Flat Spot: Shaving too much on one side creates an asymmetrical leg. Fix: Use a contour gauge to identify the high spots on the opposite side and remove material until the circular geometry is restored.
- End-Grain Splitting: The ends of the leg crack as they dry. Fix: Apply a wax-based end-sealer to the tips immediately after carving to slow the evaporation process.
Studio Organization
Store your unfinished legs in a cool, dry area away from direct sunlight. To prevent degradation or warping, stack them in a "criss-cross" pattern to allow for maximum airflow around each piece. This ensures the wood cures evenly over the next few weeks.
THE FINAL REVEAL
There is nothing quite like the moment you unclamp a finished leg from the shaving horse. It feels warm, substantial, and incredibly smooth. When you use a simple drawknife, you leave behind subtle facets that catch the light, proving that this piece was shaped by a human hand rather than a soulless lathe. The transition from the rugged, bark-covered log to this refined, tapered pillar is a testament to your skill and the physics of the tool. Your furniture now has a soul, built on a foundation of grain-alignment and hard-earned muscle memory.
STUDIO QUESTIONS
Why is my drawknife "chattering" or bouncing?
Chatter usually occurs because the blade is dull or the angle of attack is too steep. Sharpen your edge and try a shallower, slicing motion to engage the wood fibers more smoothly.
Can I use a drawknife on kiln-dried lumber?
Yes, but it is much more difficult. Dried wood has higher tensile resistance. You must take much smaller shavings and ensure your blade is "razor-sharp" to prevent the wood from splintering.
How do I know if I am cutting "against the grain"?
If the wood starts to tear or the blade dives uncontrollably into the piece, you are likely going against the grain. Flip the wood around and shave from the opposite direction for a cleaner finish.
Do I need to sand the leg after using a drawknife?
If your technique is precise, sanding is optional. A well-honed drawknife leaves a "burnished" finish that is often smoother and more durable than a sanded surface, which can look "muddy" or dull.