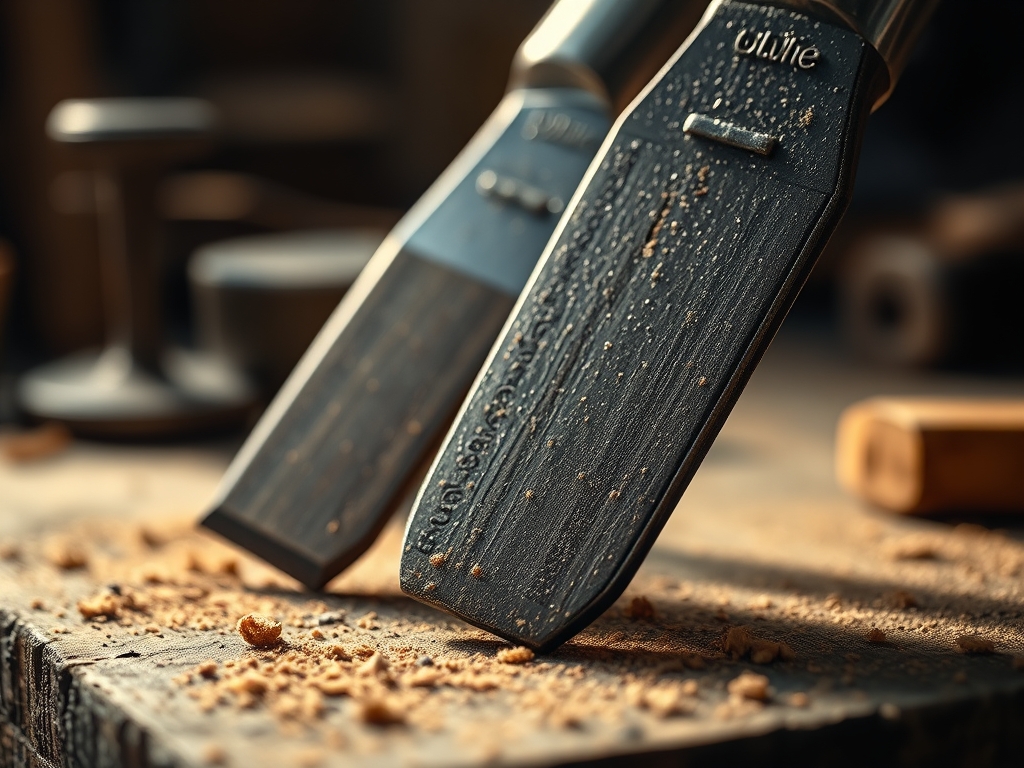
Imagine holding a heavy, cold brick of iron that feels like it was pulled from a shipwreck. The surface is gritty with oxidized scales; it is a crusty orange mess that hides a masterpiece of engineering underneath. We are talking about Restoring Vintage Hand Planes today, and honestly, there is nothing more satisfying than peeling back layers of neglect to find high carbon steel. You can feel the potential energy trapped in that frozen adjustment knob. When you run your finger over the pitted sole, you are sensing the history of thousands of board feet of timber. Our goal is to transform this derelict object back into a precision instrument capable of slicing wood shavings thinner than a human hair. It is not just about aesthetics; it is about restoring the structural integrity and the mechanical interface between the blade and the body. We are going to dive into the molecular level of rust removal and the physics of flat surfaces to make this tool sing again.
THE STUDIO KIT
To do this right, we need a mix of chemical agents and precision measuring tools. First, grab a container of Evapo-Rust or a similar chelation agent. Unlike acid, chelation selectively bonds to iron oxide without eating the healthy metal underneath. You will need a set of digital calipers to check the thickness of your iron and a machinist square to verify the frog alignment. For the abrasive stage, skip the cheap sandpaper. We need silicon carbide abrasive sheets in grits ranging from 80 to 2000.
For the mechanical components, keep a rotary tool with a brass wire wheel nearby; brass is softer than steel, so it removes grime without scratching the substrate. You will also need Jo-blocks or a thick piece of float glass to act as a perfectly flat reference surface.
Material Substitutions: If you cannot find a dedicated rust remover, a bath of white vinegar works, but you must neutralize it immediately with baking soda to prevent flash rusting. If you lack a granite surface plate, the side of a thick marble countertop remnant is a fantastic high-density substitute for flattening the sole.
THE TEMPO
Restoring a plane is a marathon, not a sprint. You need to respect the "Maker's Rhythm," which is the balance between chemical dwell time and manual labor. The initial soak usually takes 12 to 24 hours depending on the porous nature of the rust. The flattening phase is the most intense, often requiring two hours of consistent, rhythmic stroking against the abrasive. Do not rush the sharpening; that final 30 minutes of honing the primary bevel is where the magic happens. Total project time usually clocks in around 20 hours of active and passive work.
THE CORE METHOD
1. The Teardown and Degreasing
Start by stripping the plane down to its individual components. Use a properly sized screwdriver to avoid marring the screw heads. Every screw, the lever cap, the chip breaker, and the frog must be separated. Use a degreaser to remove old "japanning" flakes and grease.
Mastery Tip: This step relies on understanding torque and mechanical advantage. If a screw is frozen, do not force it. Apply a penetrating oil and let it travel via capillary action into the threads for an hour before trying again to avoid shearing the bolt.
2. The Chelation Bath
Submerge all iron and steel parts in your rust remover. Ensure there are no air bubbles trapped in the cavities of the casting. This is a chemical reaction where the chelating agent surrounds the iron oxide molecules and pulls them into solution.
Mastery Tip: Temperature affects the kinetic energy of the molecules. If your workshop is cold, the reaction will crawl. Keep the bath at a steady 70 degrees Fahrenheit to optimize the molecular exchange rate.
3. Flattening the Sole
This is the most critical part of Restoring Vintage Hand Planes. Secure your sandpaper to the float glass. Scribble a grid pattern on the bottom of the plane with a permanent marker. Rub the plane back and forth until the marker lines disappear uniformly.
Mastery Tip: This process is about coplanar alignment. If the toe, the area in front of the blade, and the heel are not on the exact same plane, the tool will "chatter" or dive into the wood grain rather than shearing it.
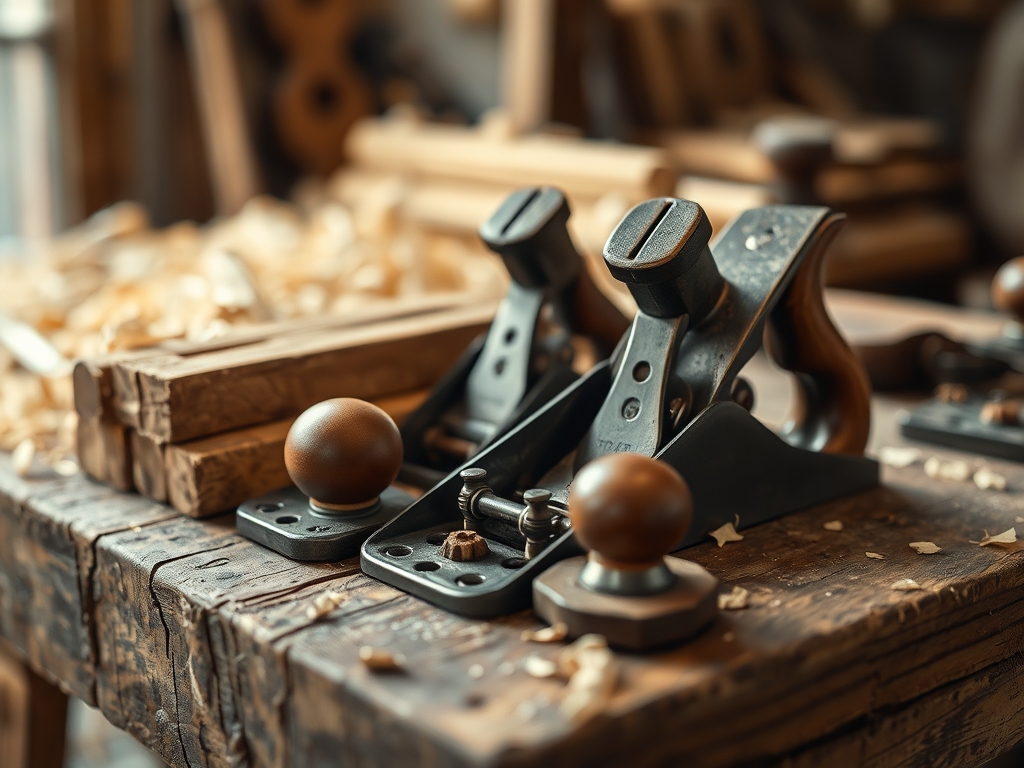
4. Tuning the Frog
The frog is the bed that holds the blade. It must be perfectly flat and seat firmly against the body. Use a small file to remove any burrs or paint drips from the mating surfaces.
Mastery Tip: We are managing vibration damping here. A loose frog allows the blade to flex under the high tensile stress of a heavy cut, leading to a poor surface finish on your lumber.
5. Grinding and Honing the Iron
Check the primary bevel. If it is nicked, regrind it to 25 degrees using a honing guide. Move through your grits up to 8000 for a mirror polish. The goal is to create an intersection of two planes that is molecularly thin.
Mastery Tip: Steel has a grain structure. By polishing the edge to a high grit, you are reducing the friction at the cutting interface, which prevents the steel from overheating and losing its "temper" or hardness.
THE TECHNICAL LEDGER
Maintenance & Longevity
To prevent your hard work from oxidizing again, apply a thin coat of paste wax or camellia oil to all bare metal surfaces. This creates a hydrophobic barrier that prevents oxygen from reaching the iron atoms. Check the flatness of your sole once a year, especially if you live in a high-humidity environment where the metal might move slightly.
Material Variations
- Sustainable: Use reclaimed walnut for replacement handles (totes) if the originals are cracked.
- Premium: Upgrade the factory iron to a cryogenically treated A2 steel blade for superior edge retention.
- Recycled: Use old denim scraps as "strops" loaded with polishing compound for the final edge.
The Correction: Common Pitfalls
- The Rounded Sole: If you press too hard on the ends while flattening, you will create a "rocker" shape. The Fix: Apply pressure only over the center of the tool and let the weight of the casting do the work.
- Flash Rust: If you rinse the tool in water and leave it to air dry, it will turn orange in minutes. The Fix: Immediately douse the part in 90 percent isopropyl alcohol to displace water, then oil it.
- Over-Tightening: Cranking the lever cap too hard can crack the cast iron body. The Fix: Tighten only until the blade does not move under finger pressure; the lever cap is a tensioner, not a clamp.
Studio Organization
Store your restored planes on a "cleat rack" with the blades retracted. Never rest the plane sole-down on a metal or stone surface; always place it on its side or on a wooden "plane strip" to protect the sharpened edge from micro-chipping.
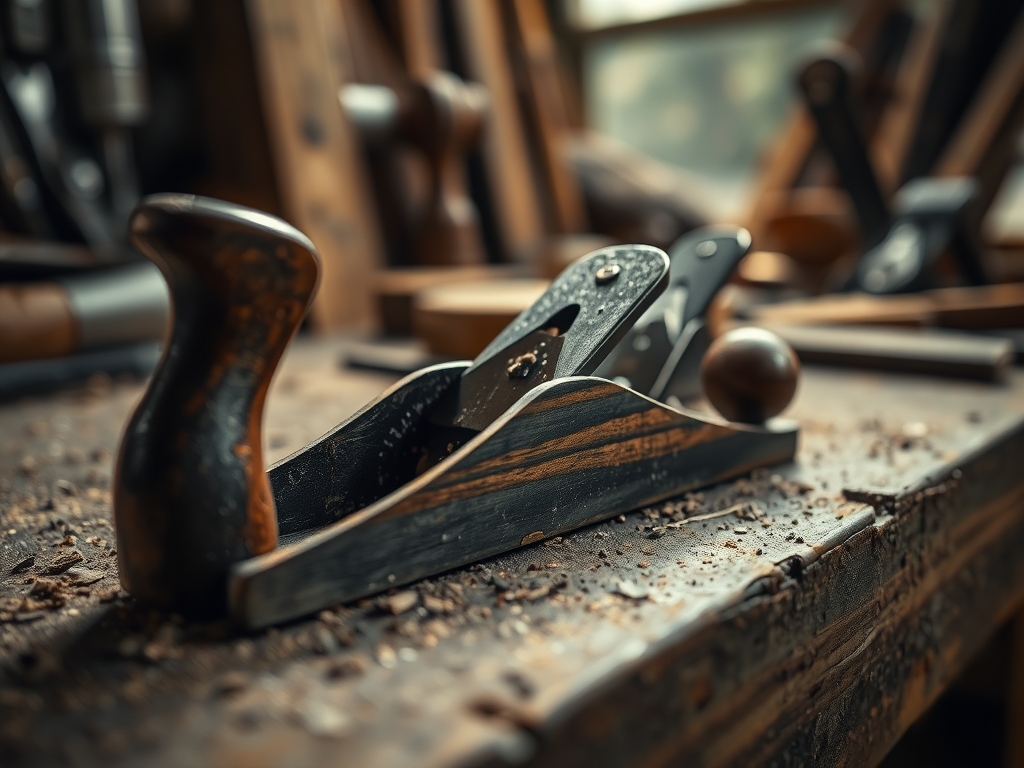
THE FINAL REVEAL
Look at that glow! Your once-rusted block plane now sports a dark, gunmetal patina and a sole so flat you could use it as a mirror. When you push it across a piece of cherry, it should produce a rhythmic "whisper" and a shaving that feels like silk ribbon. You have successfully navigated the physics of friction and the chemistry of oxidation. This tool is no longer junk; it is a high-performance instrument that will likely outlive us both if you keep it oiled. The weight in your hand now feels balanced and purposeful; it is a testament to the beauty of mechanical restoration.
STUDIO QUESTIONS
How do I know if my plane sole is truly flat?
Use a precision straightedge and a feeler gauge. If a 0.001-inch gauge cannot slide under the straightedge at the toe, mouth, or heel, your coplanar alignment is sufficient for high-level furniture making and edge jointing.
Can I use a wire wheel on the blade edge?
Never. A wire wheel will round over the micro-bevel and destroy the cutting geometry. Use only flat stones or sandpaper on the iron to maintain the structural integrity of the sharpened edge at the molecular level.
What is the best way to clean the brass adjustment knobs?
Soak them in a mild citric acid solution for fifteen minutes, then burnish them with a fine-grade steel wool or a jeweler's cloth. This removes the tarnish without stripping the underlying metal or damaging the knurled grip.
Is it worth restoring a plane with a cracked body?
Generally, no. A crack in the cast iron ruins the tensile strength and structural rigidity of the tool. Unless it is a rare heirloom, the mechanical failure will cause the tool to flex and chatter during use.