
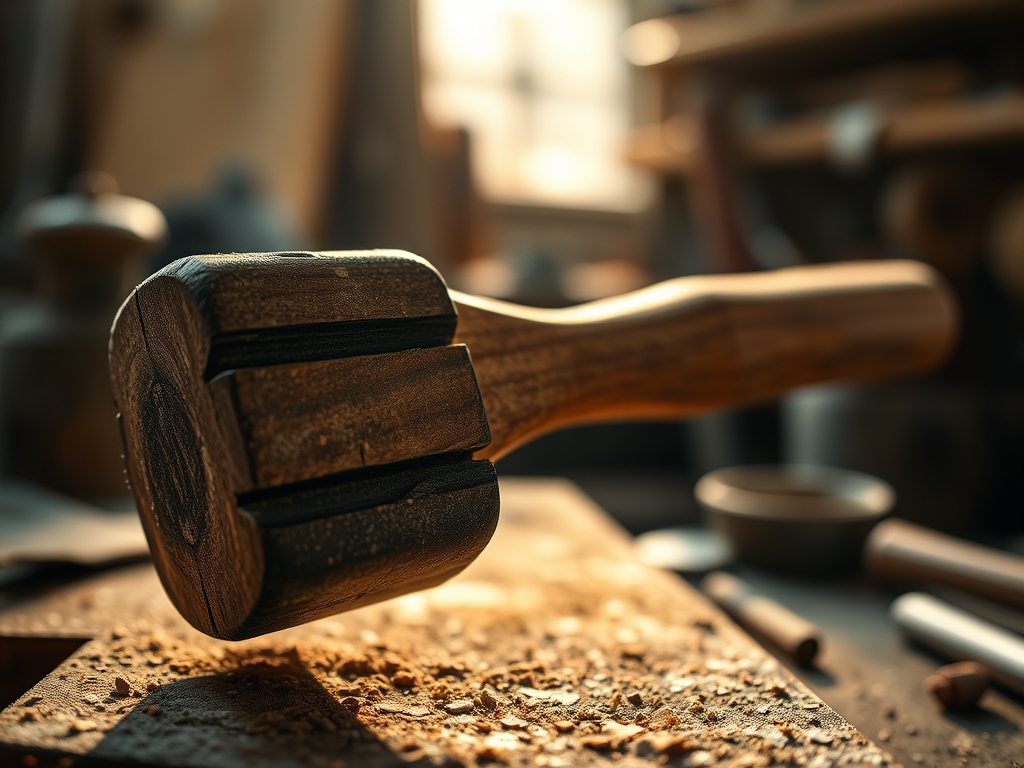
Close your eyes and listen to the sound of a workshop finding its groove. It is not the shrill scream of a table saw or the metallic clatter of a hammer; it is the deep, resonant thud of organic matter meeting organic matter. There is a primal satisfaction in Using a Traditional Mallet that a rubber or steel version simply cannot replicate. When you swing that weighted head of beech or hickory, you are not just hitting a tool; you are engaging in a high-stakes conversation between two cellular structures. Wood has a unique coefficient of friction that allows it to grip the handle of a chisel or the shoulder of a tenon without the jarring rebound of metal. This is the "soft hit," a transfer of kinetic energy that travels through the grain rather than bouncing off the surface. It feels like an extension of your own arm because, biologically and physically, the density of the wood mimics the density of your own skeletal structure. We are chasing that perfect "thunk" where the fibers compress just enough to seat a joint without shattering the delicate lignin bonds that hold the piece together.
THE STUDIO KIT
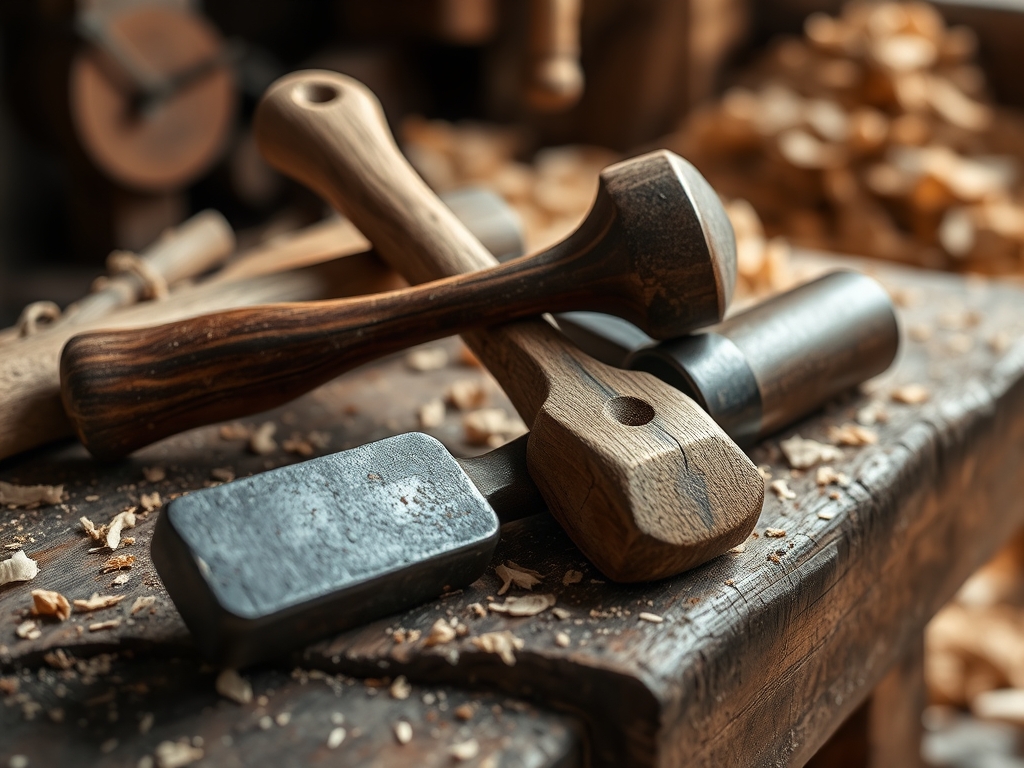
To master the art of wood-on-wood joinery, your workbench needs to be curated with precision instruments that respect the tensile strength of your stock. You will need a high-quality joiner's mallet, preferably one with a slightly tapered head to allow for a natural swing arc. Alongside this, keep a set of beveled-edge chisels and a marking gauge for defining your layout lines with surgical accuracy. For fine-tuning, a jeweler's saw is indispensable for clearing out waste in tight dovetails where a standard saw might overcut. You should also have a set of digital calipers to measure your tenon thickness down to the thousandth of an inch; wood may be organic, but our tolerances are absolute.
Material Substitutions: If you are working with softer woods like pine or cedar, swap your heavy hickory mallet for a lighter fruitwood version to avoid over-compression. If you lack a traditional marking gauge, a sharp awl and a steel rule can suffice, provided you account for the "v-groove" the awl creates in the grain. For those without a dedicated workbench, a heavy slab of MDF topped with a sacrificial layer of plywood provides a stable, non-marring surface that absorbs excess vibration.
THE TEMPO
The "Maker's Rhythm" is a three-act play governed by the clock and the moisture content of your timber. Phase one is the Layout, which takes approximately forty-five minutes of intense, silent focus. This is where you calculate your shrinkage allowances and mark your joinery; rushing here results in a "sloppy fit" that no amount of glue can save. Phase two is the Waste Removal, a rhythmic ninety-minute session of sawing and chiseling. This is where you find your flow, using the mallet to drive the chisel in consistent, controlled pulses.
The final phase is the Assembly, a high-octane twenty-minute window. Once the glue hits the porous end-grain, the clock starts ticking. You have a limited "open time" before the fibers swell and lock the joint permanently. This tempo requires you to move with the grace of a dancer and the precision of a surgeon. If you miss the beat, the capillary action of the wood will seize the joint halfway through, leaving you with a structural nightmare.
THE CORE METHOD
1. Scribing the Baseline
Begin by using your marking gauge to scribe a deep, definitive line around all four sides of your stock. This is not just a visual guide; it is a physical "wall" that severs the upper fibers of the wood. By pre-cutting these fibers, you prevent grain tear-out when the chisel eventually makes its heavy impact.
Mastery Tip: This creates a "knife wall" which acts as a registration point for your chisel tip. The physics here involves stress concentration; by creating a microscopic fracture line, you ensure the wood shears exactly where you want it to, rather than following the natural path of the grain.
2. The Relief Cut
Before swinging the mallet, use a rotary cutter or a fine-tooth saw to remove the bulk of the waste material. Leave exactly one-sixteenth of an inch of wood before your scribed line. This prevents the chisel from being wedged backward into your finished shoulder as it descends.
Mastery Tip: Wood is compressible, but only to a point. If you try to remove too much waste at once, the chisel acts as a wedge, exerting lateral pressure that can split your workpiece. Removing the bulk first allows the remaining fibers to "fail" into the empty space rather than pushing against your layout line.
3. Driving the Chisel
Position your chisel vertically in the knife wall. Using a Traditional Mallet, deliver a series of sharp, controlled blows. The weight of the mallet should do the work; your grip should be firm but not rigid to allow for vibration dampening.
Mastery Tip: The angle of the chisel's bevel creates a mechanical advantage. As the mallet transfers energy, the flat back of the chisel maintains a 90-degree relationship with the face of the wood. This ensures the internal walls of the joint are perfectly parallel, maximizing the surface area for eventual glue bonding.
4. The Final Seat
Once the mortise or dovetail is cleared, test the fit. It should require a firm "palm strike" or a very light tap from the mallet to seat. If it drops in, it is too loose; if you have to hammer it, you risk a radial split.
Mastery Tip: This is the "piston fit" stage. You are looking for a fit where the air is squeezed out of the joint as it closes. The friction fit should be strong enough to hold the weight of the piece without glue, relying on the natural elasticity of the wood fibers to "spring" against one another.
THE TECHNICAL LEDGER
Maintenance & Longevity: Your wooden mallet is a living tool. Every six months, burnish the striking faces with a high-grit abrasive and apply a coat of boiled linseed oil. This prevents the wood from becoming brittle and ensures the striking surface remains slightly "tacky" for better grip on the chisel handle.
Material Variations:
- Sustainable: Bamboo ply offers incredible density and a unique "snap" but can be hard on blades.
- Recycled: Old-growth heart pine salvaged from joists offers unmatched stability due to its high resin content.
- Premium: Lignum Vitae is the "holy grail" for mallets; its natural oils make it self-lubricating and nearly indestructible.
The Correction:
- The Gap: If your joint has a visible gap, do not fill it with sawdust and glue. Instead, glue a thin "shim" of the same wood grain into the gap and re-cut.
- The Split: If the wood splits during chiseling, use a bone folder to force glue deep into the crack, clamp it until the tensile strength is restored, and proceed with lighter mallet blows.
- The Overcut: If you saw past your line, use a contrasting wood inlay to turn the mistake into a "design feature." It hides the structural flaw while adding visual interest.
Studio Organization: To prevent hygroscopic degradation, never store your wooden tools or project pieces on a concrete floor. Concrete wicks moisture, causing the wood to swell unevenly. Store your mallet and workpieces on a vertical rack or a wooden shelf in a climate-controlled zone to maintain a consistent equilibrium moisture content.
THE FINAL REVEAL
Look at that! The joint is so tight you can barely see the seam. When you run your thumb over the assembly, it feels like a single, continuous organism. That is the magic of the wood-on-wood connection; because the materials share the same thermal expansion rate, they will move together through the seasons, staying tight for decades. The finish is smooth, the shoulders are square, and that subtle scent of sheared grain is better than any perfume. You didn't just build a box; you engineered a masterpiece of structural integrity using nothing but physics and a really great swing!
STUDIO QUESTIONS
Why is a wooden mallet better than a metal hammer?
A wooden mallet has a longer dwell time, meaning the energy is transferred more slowly. This prevents the "shock loading" that shatters wood fibers or deforms the ends of your chisel handles, ensuring better tool longevity and control.
What is the best wood for making a mallet?
High-density hardwoods like beech, hickory, or osage orange are ideal. These woods possess the necessary Janka hardness to withstand repeated impacts while maintaining enough internal damping to prevent excessive rebound and hand fatigue during long sessions.
How do I know if my joint is too tight?
If the wood fibers begin to "fuzz" or peel back as you assemble the joint, the interference fit is too aggressive. A perfect joint should slide together with firm pressure, maintaining its dimensional stability without forcing the grain to crush.
Can I use a rubber mallet instead?
Rubber mallets often have a "dead blow" effect but lack the feedback of wood. The rubber can also leave carbon scuff marks on the timber that are difficult to sand out, potentially ruining your final finish and surface clarity.

