
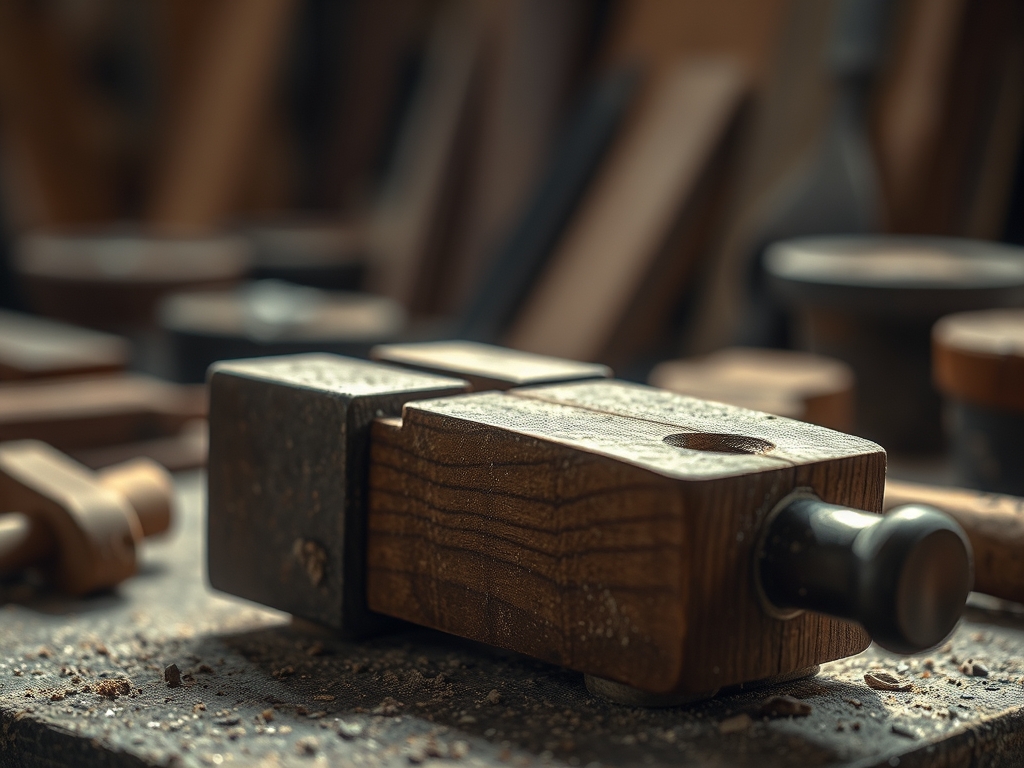
The smell of freshly milled cedar hits you before you even step into the studio; it is that sharp, resinous perfume that promises a productive afternoon. You run your palm over the rough sawn surface and feel the lignin structures resisting your touch. This is where the magic happens, but you cannot shape a masterpiece if your workpiece is dancing across the table. Using a Traditional Wood Vice is the fundamental handshake between your creative intent and the physical reality of the timber. Without that rock solid grip, your chisel bevel will skitter and your dovetails will weep. We are talking about mechanical advantage here; it is the art of neutralizing the tensile forces that want to push your wood away from the blade. When you tighten that handle, you are not just squishing wood; you are creating a temporary, rigid extension of the bench itself. It is the literal soul of the workspace because it provides the stillness required for high precision surgery on a porous medium.
THE STUDIO KIT
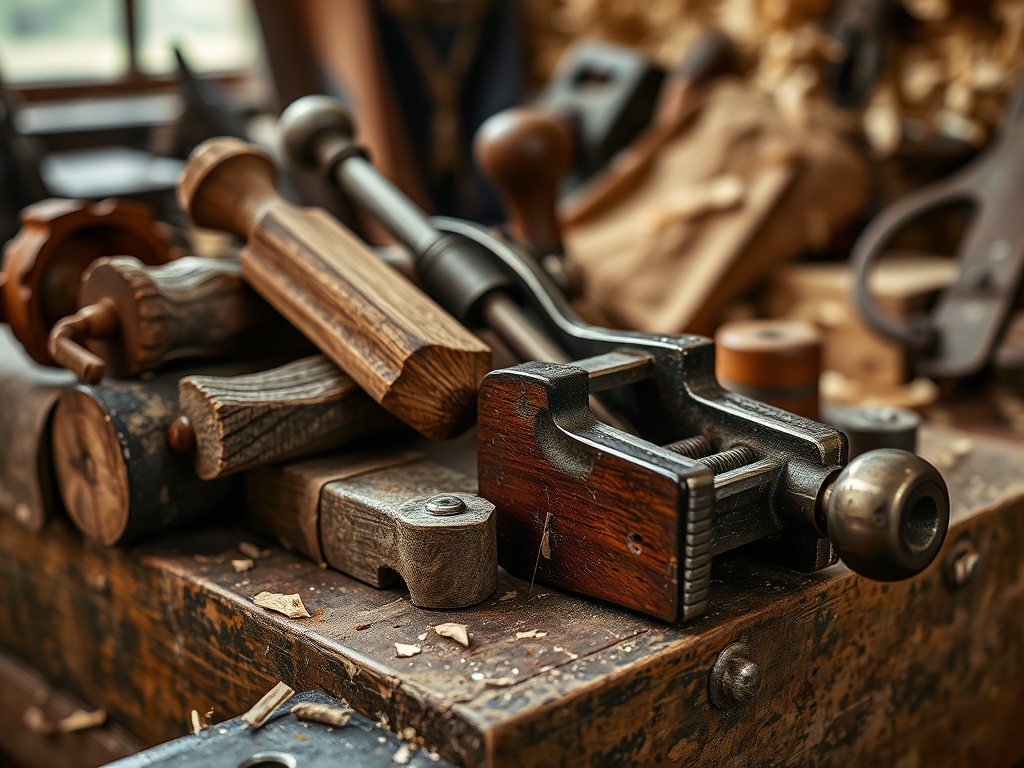
To master the bench, you need a kit that respects the cellular integrity of your materials. At the heart of the operation is the heavy iron screw assembly, but the supporting cast is just as vital. You will need a pair of calipers to measure jaw opening depth and a marking awl to score your grip points. For the vice jaws themselves, we use thick blocks of maple or oak; these hardwoods offer high compressive strength so they do not deform under pressure. You should also keep a burnish tool nearby to smooth out any accidental marring on the wood surface.
If you are short on premium hardwoods, let's talk about Material Substitutions. You can use high density birch plywood for your vice cheeks; the cross grain ply construction offers incredible stability against warping. If you lack a professional iron screw, a heavy duty pipe clamp can be retrofitted, though you will sacrifice some ergonomic flow. For protective liners, pieces of thick vegetable tanned leather are superior to rubber because they provide a high coefficient of friction without leaving oily residues on your project.
THE TEMPO
The "Maker's Rhythm" is all about respecting the physics of the material. Setting up your vice and aligning the jaws takes about fifteen minutes of focused calibration. Once your workpiece is locked in, the actual shaping phase can last anywhere from an hour to a full day, depending on the complexity of your joinery. You must account for "Material Fatigue" if you leave a piece clamped too long; the fibers can compress permanently if the pressure is not released during breaks.
Think of it as a three beat measure. The first beat is the Alignment, where you check for squareness. The second beat is the Engagement, where you apply the torque. The third beat is the Execution, where the tool meets the grain. This tempo ensures that you are never rushing the physics, allowing the kinetic energy of your saw or plane to pass cleanly through the wood and into the mass of the bench.
THE CORE METHOD
1. Preparing the Contact Surfaces
Before you even think about the screw, inspect the faces of your vice jaws. They must be clean of dried glue or stray sawdust. Even a tiny pebble of grit can act as a point load, crushing the delicate vascular bundles of your workpiece and leaving a permanent dent.
Mastery Tip: This is about surface tension and distribution. By ensuring the jaws are perfectly parallel, you distribute the clamping force across the entire surface area, preventing "racking" where the vice twists and loses its grip on one side.
2. Positioning the Workpiece
Slide your timber into the jaws, ensuring the grain direction is optimized for your next move. If you are planing, the wood should be seated low in the vice to minimize vibration harmonics. Use your calipers to ensure the piece is centered; an off center load puts uneven stress on the screw threads.
Mastery Tip: Aligning the wood with the vertical axis of the screw maximizes the mechanical advantage. This prevents the "cantilever effect," where the top of the board flexes away from the tool because it lacks support at the point of impact.
3. Engaging the Mechanical Lock
Turn the handle until the jaws make light contact, then give it a firm quarter turn. You are looking for "Firm Resistance," not "Crushing Force." The goal is to reach the elastic limit of the wood fibers without crossing into plastic deformation where the cells actually rupture.
Mastery Tip: This involves understanding structural integrity. A solid grip allows the bench to act as a "heat sink" for the energy of your stroke, meaning the wood stays cool and the fibers cut cleanly rather than tearing.
4. Verifying the Stability
Give the wood a firm tug. If it shifts even a millimeter, you have a "Gap Pathology." This usually means your jaws are not hitting flush. Release, clear the debris, and re seat the piece. A truly locked piece of wood should sound like a solid thud when tapped, indicating it has become one with the mass of the bench.
Mastery Tip: This is the science of acoustics in physics. A hollow sound indicates an air pocket between the wood and the vice, which will lead to "chatter" when you use an oscillating tool or a hand plane.
THE TECHNICAL LEDGER
Maintenance & Longevity: Keep the main screw lubricated with dry graphite or white lithium grease. Avoid oil, as it attracts sawdust which creates an abrasive paste that eats through the threads. Check the mounting bolts every six months to ensure the torque specs remain consistent with the bench frame.
Material Variations:
- Sustainable: Reclaimed heart pine offers great grip but can be brittle.
- Premium: European Beech is the gold standard for vice jaws due to its closed grain and impact resistance.
- Recycled: Old fire hoses make excellent non slip jaw liners for delicate work.
The Correction:
- The Slip: If the wood slides despite high pressure, your liners are likely "glazed." Sand them with 80 grit paper to restore the tactile bite.
- The Rack: If the vice only grips on one side, insert a "spacer block" of equal thickness on the opposite side of the screw to balance the lateral load.
- The Mar: If the vice leaves marks, your clamping pressure is exceeding the Janka hardness of the wood. Use "soft caul" blocks to buffer the pressure.
Studio Organization: When not in use, leave the vice jaws slightly open (about one inch). Keeping them clamped tight for long periods can cause the wood jaws to "set" or warp, and it puts unnecessary static tension on the metal hardware.
THE FINAL REVEAL
There is nothing quite like the feeling of a perfectly secured board. When you take your first pass with a razor sharp plane and a long, translucent ribbon of wood curls up, you know your setup is flawless. The workpiece is silent; it does not creak, it does not groan, and it certainly does not move. You have successfully harnessed the mechanical advantage of the traditional wood vice to turn a chaotic piece of nature into a controlled subject of art. It is a high energy win for your studio practice; that solid grip is exactly what allows your creativity to flow without the frustration of a shifting canvas.
STUDIO QUESTIONS
How do I stop my vice from racking?
Insert a scrap piece of wood with the same thickness as your workpiece into the opposite side of the vice. This balances the mechanical pressure across the screw, ensuring the jaws remain parallel and prevent the hardware from twisting or binding.
What is the best material for vice liners?
Vegetable tanned leather is the professional choice. It provides a high coefficient of friction to prevent slipping while being soft enough to protect the wood fibers from crushing. It also absorbs small amounts of vibration during heavy sawing or chiseling.
How tight should I turn the vice handle?
Tighten until the workpiece is immobile, usually a firm quarter turn after contact. Avoid excessive force that exceeds the elastic limit of the wood cells; over tightening can crush the grain and eventually strip the threads on your iron screw.
Why does my wood vibrate when I saw it?
Vibration, or "chatter," happens when the wood is held too high above the jaws. To fix this, seat the workpiece as low as possible to increase structural rigidity and ensure the clamping force is close to the point of tool impact.

