
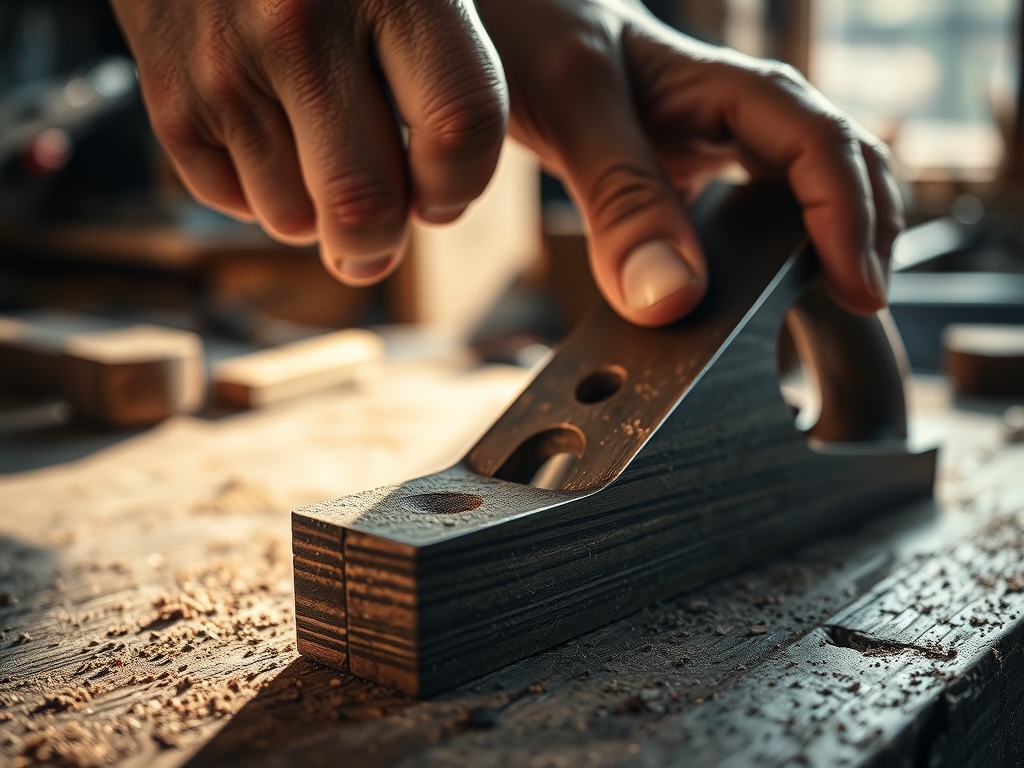
Close your eyes and listen for that specific, rhythmic whisper of steel meeting fiber. It is the sound of a razor-sharp blade shearing through the cellular structure of a board. When you are Hand Planing an Edge Square, you are not just making a straight line; you are preparing a microscopic landscape for a chemical bond that will outlast us both. Most people think glue is just a sticky filler, but a perfect joint is actually about molecular proximity. If your edges are even a fraction of a degree out of alignment, you are relying on the tensile strength of the adhesive alone to bridge a gap. That is a recipe for structural failure. We want the wood fibers to be so perfectly mated that the glue creates a continuous polymer chain between the two surfaces. Feel the weight of the timber in your hands. Notice the way the grain direction dictates the resistance against the metal sole of your plane. This is where physics meets artistry, and it starts with the tactile feedback of a perfectly tuned tool.
THE STUDIO KIT
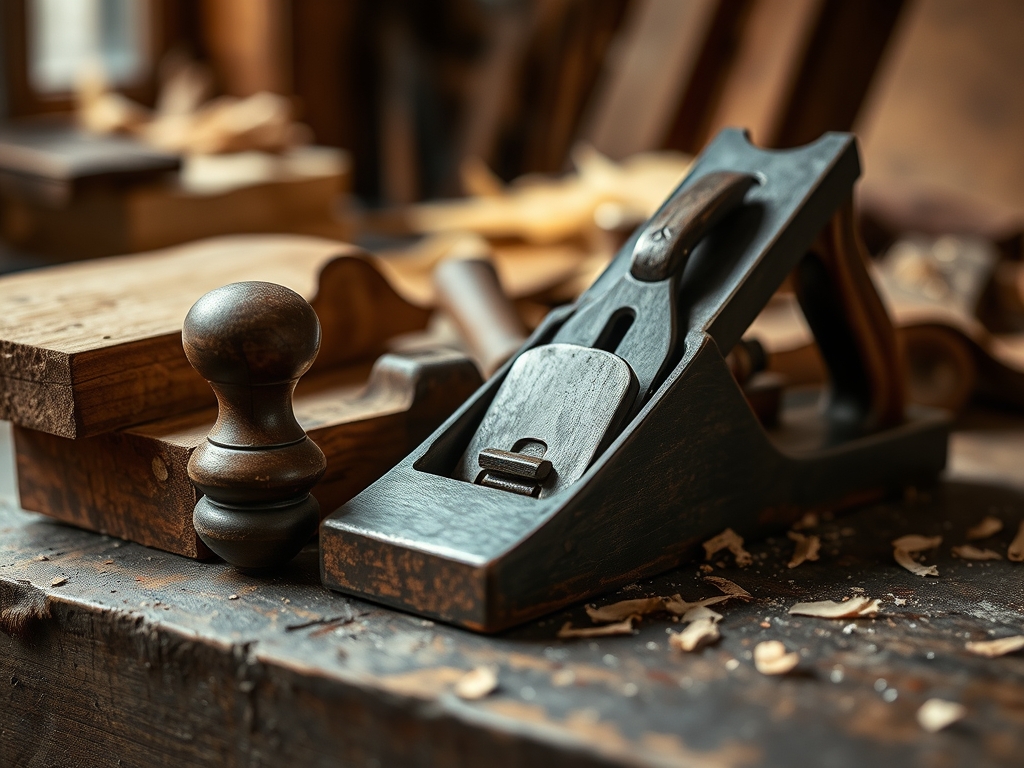
To achieve this level of precision, your kit needs to be curated for accuracy. You will need a No. 4 or No. 5 Bench Plane with a freshly honed iron. The blade must be sharp enough to shave hair; dull steel tears the lignin in the wood rather than slicing it. You also need a precision machinist square to check your progress and a pair of digital calipers to verify thickness consistency across the length of the board. For the adhesive phase, a high-quality PVA glue with a long open time is essential.
Material Substitutions: If you do not have a heavy bench plane, a block plane can work for shorter spans, though it lacks the registration surface needed for long boards. Instead of a traditional workbench, any heavy, stable surface with a bench dog or a sturdy C-clamp setup will suffice. If you are working with recycled pallet wood, ensure you use a metal detector first. A single hidden nail will ruin the tempered edge of your plane iron instantly. For premium builds, choose quarter-sawn white oak or black walnut for their superior dimensional stability and dense pore structure.
THE TEMPO
The "Maker's Rhythm" is a three-act play. Act one is The Preparation, which takes about fifteen minutes. This involves truing your blade and checking your reference face. Act two is The Execution, the actual process of Hand Planing an Edge Square. This can take anywhere from ten to thirty minutes depending on the initial state of the lumber. You cannot rush this. If you move too fast, you risk "dubbing" the ends of the board, creating a convex surface that will never seal. Act three is The Cure. Once the glue is applied, the assembly must remain under clamping pressure for at least sixty minutes, with a full twenty-four-hour period for the moisture to leave the joint and the bond to reach maximum tensile strength.
THE CORE METHOD
1. Establish the Reference Face
Before you can square an edge, you must have a perfectly flat face. Use your bench plane to remove any cup or twist. Check your progress with winding sticks to ensure there is no diagonal distortion.
Mastery Tip: This relies on planar geometry. If your reference face is not flat, your square will register at a false angle, leading to a cumulative error known as "stacking tolerances" that ruins the final assembly.
2. Reading the Grain Direction
Look at the side of the board. The fibers usually run at a slight angle. You must plane "downhill" with the grain. If you see "tear-out" or fuzzy patches, flip the board around.
Mastery Tip: This is about shear physics. Cutting against the grain lifts the fibers before the blade can sever them, which increases surface porosity and weakens the eventual glue bond by creating air pockets.
3. The Lateral Adjustment
Set your plane iron so it is perfectly parallel to the sole. Use the lateral adjustment lever while taking light test shavings. The shaving should be the same thickness across its entire width.
Mastery Tip: Even pressure is a function of ergonomics. By centering the blade, you ensure the vector of force is distributed equally, preventing the plane from tilting and creating a beveled edge.
4. The Spring Joint Technique
For long boards, aim for a "spring joint" where the center is a few thousandths of an inch hollower than the ends. When you clamp the ends, the middle is forced together under tension.
Mastery Tip: This utilizes elastic deformation. Wood is slightly flexible; by pre-loading the tension at the ends, you counteract the natural tendency of wood to shrink and pull apart at the extremities over time.
5. Applying the Adhesive
Apply a thin, even bead of glue. Use a silicone brush or a scrap piece of wood to spread it until the entire surface has a wet sheen.
Mastery Tip: This involves capillary action. The glue needs to penetrate the open pores of the wood. Too much glue causes "hydroplaning," where the boards slide out of alignment; too little leads to a "starved joint" with no structural integrity.
THE TECHNICAL LEDGER
Maintenance & Longevity: To keep your joints tight for decades, maintain your tools. Wipe your plane sole with a camellia oil rag after every use to prevent oxidation. Check your machinist square against a known 90-degree reference monthly.
Material Variations:
- Sustainable: Bamboo or reclaimed Douglas fir require higher blade angles to prevent splintering.
- Recycled: Always scrub surfaces with a stiff brush to remove grit that acts as an abrasive against your tools.
- Premium: Exotic hardwoods like Ipe contain natural oils that can interfere with glue; wipe the edge with acetone before bonding.
The Correction:
- The Gap: If you see light through the joint, the edge is "crowned." Fix this by taking a "stop shave" only in the center of the board.
- The Twist: If the boards rock when pressed together, you have a "propeller" twist. Use a marking gauge to re-establish a baseline and plane back to that line.
- The Squeeze-out: If no glue beads appear when clamping, you used too little. Disassemble immediately, wipe with a damp cloth, and re-apply.
Studio Organization: Store your planed boards on their edges or "stickered" (separated by small wood strips) to allow airflow. Never lay a freshly planed surface directly on a concrete floor, as the hygroscopic nature of wood will cause it to absorb moisture and cup within hours.
THE FINAL REVEAL
Look at that seam! When you do this correctly, the line where the two boards meet should be almost invisible, looking more like a continuous growth ring than a mechanical union. Run your fingers across the joint. It should feel like a single, monolithic piece of timber. There is a profound sense of power in knowing that you have manipulated the cellular structure of the wood to create something stronger than the tree itself. You have mastered the physics of the edge, and that, my friend, is the real secret to a legacy piece.
STUDIO QUESTIONS
Why is my glue joint failing even if the edge looks straight?
The edge might be "burnished." If your plane blade is dull, it compresses the wood fibers and closes the pores, preventing the glue from penetrating. This creates a surface-level bond that lacks deep mechanical interlocking and structural strength.
Can I use a power jointer instead of hand planing?
A power jointer is faster, but it often leaves "scallops" or tiny ripples from the rotating knives. For a true master-grade joint, a final pass with a hand plane removes these ridges, ensuring 100% surface contact for the adhesive.
How do I know if I am applying enough clamp pressure?
You should see small, consistent beads of glue "squeeze-out" along the entire seam. If the glue runs in streams, the pressure is too high or the glue is too thin. Use parallel jaw clamps to ensure even force distribution.
What is the best way to clean up dried glue?
Wait about twenty minutes until the glue is "rubbery," then use a paint scraper or a sharp chisel to peel it off. If you wait until it is fully cured, you risk tearing the wood fibers or dulling your finishing tools.

