

Grab your safety glasses and tie back that hair because we are about to turn a cold, stubborn length of mild steel into something fluid and breathtaking. There is a specific, electric hum in the air when you first strike a cold piece of metal; it is the sound of potential energy waiting to be redirected. When you begin Forging a Metal Ring, you are not just hitting things. You are engaging in a high-stakes negotiation with the molecular structure of the steel. We are looking for that perfect balance between tensile strength and ductility. As the hammer falls, the grain of the metal compresses, and for a split second, the steel behaves more like clay than stone. You can feel the vibration travel through the tongs and into your palm, a tactile feedback loop that tells you exactly how much the material is willing to give. This project is the ultimate gateway into blacksmithing because it teaches you the fundamental physics of displacement. We are going to take a rigid rod and coax it into a perfect, decorative loop that looks like it was grown rather than made.
THE STUDIO KIT
To master this loop, you need a kit that respects the mechanical properties of your medium. We are using a 3/8 inch square bar of mild steel. Mild steel is the "Goldilocks" of the studio; it has a low carbon content (roughly 0.05 percent to 0.25 percent), making it malleable enough for hand tools while maintaining incredible structural integrity once cooled.
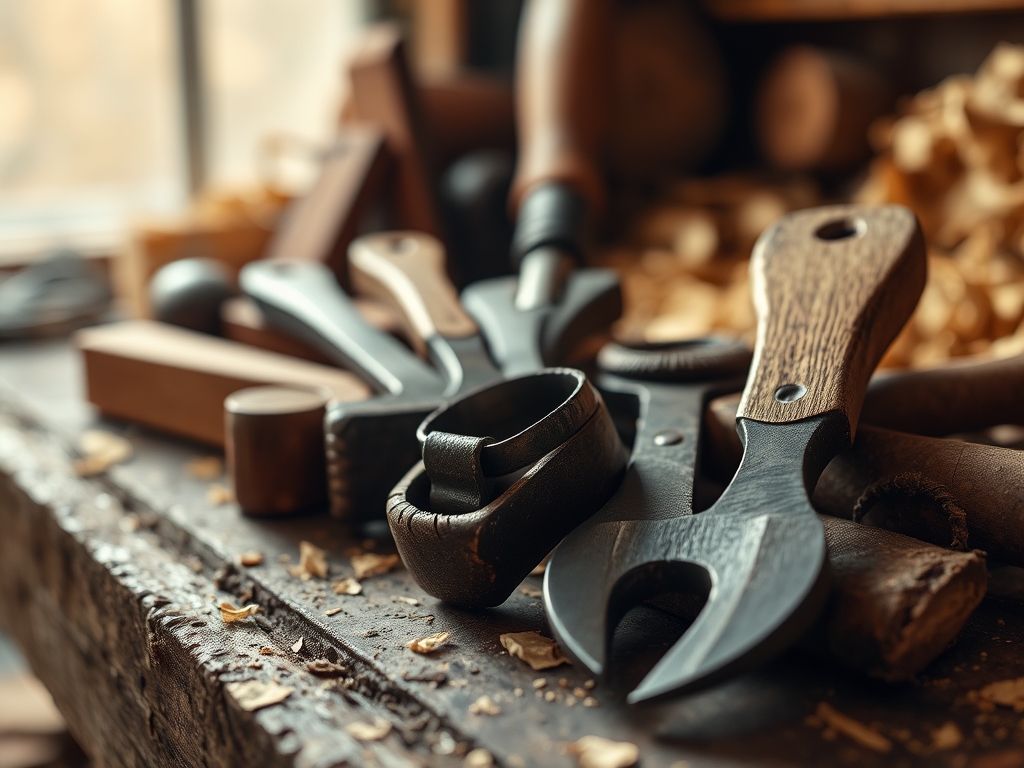
Your primary tool is the cross-peen hammer. Unlike a standard claw hammer, the cross-peen has a wedge-shaped face that allows you to move metal in a specific direction (perpendicular to the peen). You will also need a horn anvil or a heavy-duty mandrel. The radius of the anvil's horn determines the curvature of your loop. For precision, keep your digital calipers nearby to measure the diameter as you work. If you do not have a forge, a high-output propane torch can reach the necessary critical temperature for small-gauge work.
Material Substitutions: If you cannot source mild steel, you can practice the mechanics using heavy-gauge copper wire. Copper has a high thermal conductivity, so it heats and cools rapidly. However, copper requires "annealing" (heating and quenching) to stay soft, whereas steel stays workable as long as it is glowing cherry red.
THE TEMPO
Forging is all about the "Maker's Rhythm." You cannot rush the thermal window. You have approximately 45 to 60 seconds of "prime" forging time once the metal leaves the heat before it drops below its plastic state.
- The Heat (5 minutes): Bringing the steel to a bright orange hue (approx 1,800 degrees Fahrenheit).
- The Initial Bend (2 minutes): Establishing the primary arc over the horn.
- The Refinement (10 minutes): Multiple "heats" to smooth the facets and close the gap.
- The Finishing (5 minutes): Wire brushing and applying a protective wax.
The total active work time is about 25 minutes, but the rhythm is staccato. It is a cycle of intense, calculated strikes followed by patient reheating. If you hit the metal when it has turned black, you risk "work hardening" the piece, which can lead to microscopic fractures in the grain.
THE CORE METHOD
1. Squaring the Ends and Tapering
Before we loop, we must dress the ends of the bar. Use your hammer to create a slight taper on one end of the steel. This involves striking the edge of the bar at a 15-degree angle while rotating the piece.
Mastery Tip: This process utilizes metal displacement. You are not removing material; you are shoving the molecules toward the tip. By tapering the end, you ensure that when the ring closes, the joint is aesthetically balanced rather than bulky.
2. Finding the Fulcrum
Place the heated end of the bar over the "horn" (the pointed end) of the anvil. Position the steel so that about two inches overhang the curve. Strike the overhanging section with a glancing blow.
Mastery Tip: This relies on cantilever physics. The anvil acts as a fixed support, and your hammer provides the force. Because the metal is at a plastic temperature, the stress of the blow causes the grain to slide past itself, creating a smooth curve rather than a sharp kink.
3. Rolling the Loop
Continue to feed the bar forward over the horn, striking the section that is not yet touching the anvil. You are essentially "rolling" the metal into itself. Use your jeweler's saw if you need to trim any excess length for a flush fit.
Mastery Tip: Watch for surface tension and scale buildup. As the metal oxidizes, a "crust" forms. If you hammer this scale into the surface, it creates pits. Keep your anvil face clean to ensure a professional, burnished finish.
4. Planishing for Perfection
Once the loop is closed, perform a "planishing" pass. This involves using light, rapid taps with the flat face of the hammer across the entire circumference of the ring while it is at a dull red heat.
Mastery Tip: Planishing increases the surface density of the metal. It flattens out the high spots from previous heavy blows and creates a faceted, shimmering texture that catches the light beautifully.
THE TECHNICAL LEDGER
Maintenance & Longevity: Steel is susceptible to oxidation (rust). To prevent this, apply a coat of paste wax or linseed oil while the metal is still warm (around 200 degrees). This creates a hydrophobic barrier that bonds with the porous surface of the hot steel.
Material Variations:
- Recycled: Rebar is a popular recycled choice, though its high manganese content makes it stiffer and harder to bend.
- Premium: Stainless steel (304 grade) offers incredible corrosion resistance but requires much higher forging temperatures and specialized "pickling" to clean.
The Correction:
- The "Flat Spot": If you get a flat section in your circle, you likely hit the metal directly over the anvil face. Fix: Move the piece further out over the air (off the horn) and strike again.
- The "Scarf Gap": The ends do not meet. Fix: Use an oscillating tool with a grinding bit to square the ends before a final "shut" heat.
- Over-thinning: You hit too hard and the metal looks pinched. Fix: This cannot be undone easily; you must "upset" the metal by striking it on the end to thicken it, though it is usually better to start fresh.
Studio Organization: Store your steel in a vertical rack to prevent moisture traps. Keep your hammers polished with high-grit sandpaper; a scarred hammer face will transfer every single scratch to your finished work.
THE FINAL REVEAL
Look at that! You have successfully manipulated the molecular lattice of a solid steel bar. The resulting decorative loop is a testament to your control over heat and force. Notice how the light plays off the planished facets. It feels heavy, intentional, and permanent. Whether you use this as a towel rack, a curtain tie-back, or a standalone piece of industrial art, you have mastered the foundational skill of Forging a Metal Ring. The transition from a straight, rigid line to a perfect, flowing circle is one of the most satisfying transformations in the maker world.
STUDIO QUESTIONS
What is the best steel for a beginner loop?
Mild steel (A36) is the industry standard. It has a broad thermal window, meaning it stays soft and workable for a long time compared to high-carbon steels, making it very forgiving for new students.
Can I forge a ring without a professional anvil?
Yes, any large, heavy block of steel can work. A section of railroad track or a heavy sledgehammer head secured in a vise provides the necessary rebound to move the metal efficiently without absorbing all your energy.
Why did my steel snap during the bend?
You likely reached "red shortness," which happens when the metal is worked at too low a temperature. Always return the piece to the heat once it loses its bright cherry glow to maintain structural integrity.
How do I get a black, "wrought iron" finish?
After wire brushing the scale off, heat the piece to a dull blue and dip it in vegetable oil. The oil carbonizes on the surface, creating a durable, dark polymerized coating that prevents future rust.
What size hammer should I use for small loops?
A 1.5 to 2-pound cross-peen hammer is ideal. It provides enough kinetic energy to move 3/8 inch steel without causing excessive fatigue in your wrist or over-thinning the material too quickly.

