Close your eyes and listen to that specific, deep thrum of a heavy mallet hitting a solid slab of kiln dried maple. It is the sound of absolute stability. When you are Building a Sturdy Workbench, you are not just slapping boards together; you are creating a gravitational anchor for your entire creative life. I want you to feel the weight of the wood, the grit of the sawdust, and the cool bite of a steel chisel against your palm. We are chasing that elusive, rock solid foundation where the bench becomes an extension of the floor itself. Forget those flimsy, flat pack nightmares that shiver when you try to saw a simple dovetail. We are engineering a beast that laughs at lateral force and remains perfectly level even when you are hammering away with reckless abandon. It starts with the wood grain and ends with a masterpiece of joinery that will likely outlive your favorite power tools.
THE STUDIO KIT
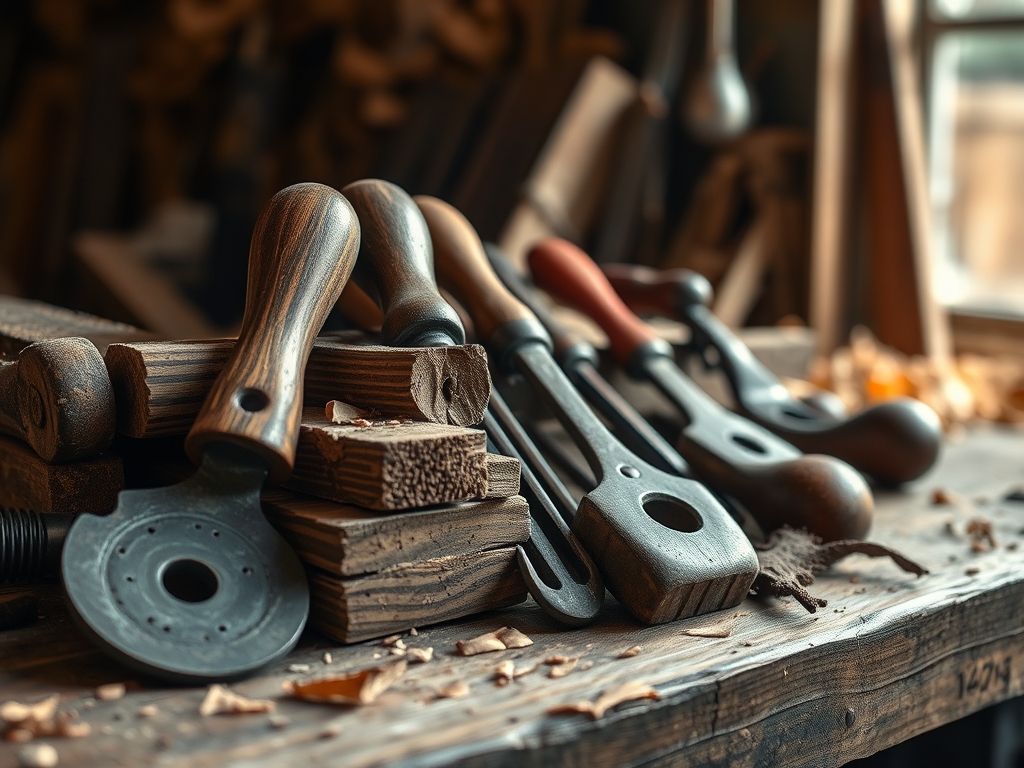
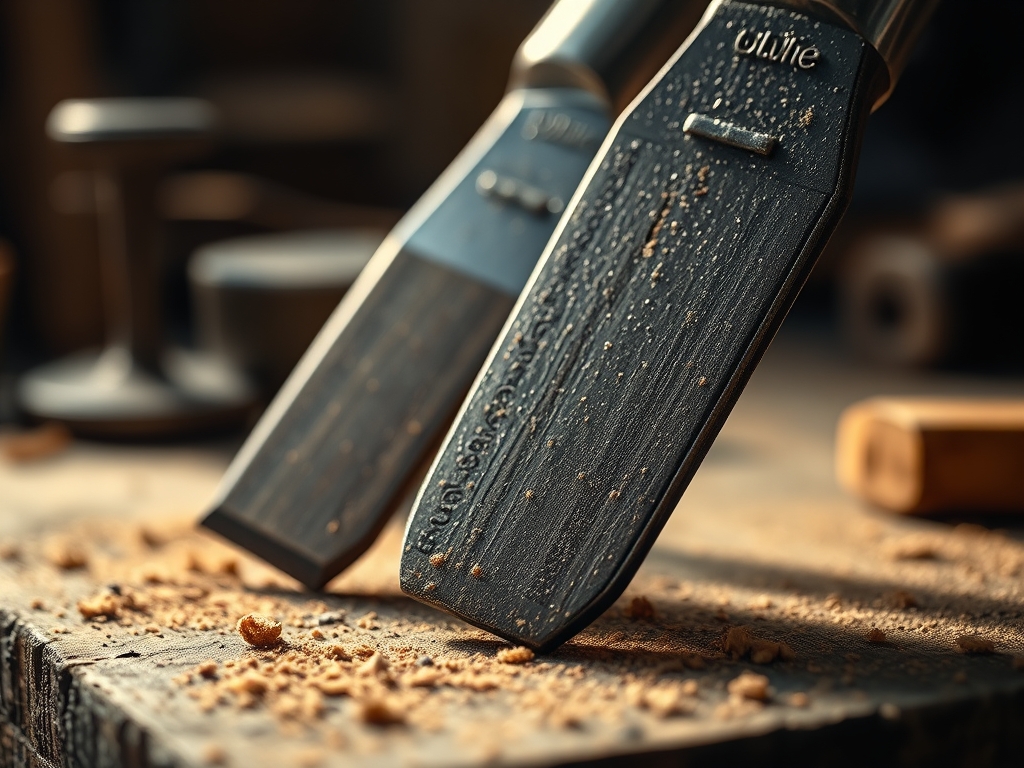
To build something that defies physics, you need a kit that respects them. We start with the lumber selection, specifically looking for dense hardwoods like beech or maple. These woods possess a high Janka hardness rating, meaning they resist denting and compression under heavy loads. You will need a high quality digital caliper to measure your tenons to the thousandth of an inch, ensuring a friction fit that eliminates any chance of swaying. A sharp marking awl is non negotiable for scribing lines that your saw will follow with surgical precision.
For the assembly, gather a set of heavy duty F-style clamps and a bottle of high solids PVA glue. The tensile strength of modern wood glue actually exceeds the strength of the wood fibers themselves once fully cured. You will also need an oscillating tool for fine tuning the mortises and a low angle block plane to burnish the end grain until it shines.
Material Substitutions: If maple is out of your budget, look for Douglas Fir. It is a softwood, but its high strength to weight ratio and straight grain make it a formidable alternative. You can also substitute traditional steel bolts with threaded inserts if you want the ability to disassemble the bench for transport without stripping the wood fibers.
THE TEMPO
Every great build has a heartbeat, a specific Maker's Rhythm that dictates the flow of the studio. Do not rush the wood. After you bring your lumber into the shop, it needs at least seven days to acclimatize to the local humidity. This prevents the wood from warping after you have already cut your joints.
The milling phase takes roughly four hours of intense focus. This is where you square your stock to ensure every angle is exactly ninety degrees. The joinery phase is the longest, requiring about twelve hours of meticulous chiseling and fitting. Finally, the assembly and finishing stage takes a weekend. You must account for the open time of your adhesive; you have about fifteen minutes to get everything square before the glue begins to polymerize and lock the fibers in place.
THE CORE METHOD
1. Laminating the Worktop
We begin by ripping our boards into strips and gluing them face to face. This creates a massive, stable slab where the grain directions alternate. This technique cancels out the natural tendency of wood to cup or twist as it loses moisture. Use plenty of clamps to ensure even pressure across the entire surface.
Mastery Tip: This process relies on surface tension and molecular bonding. By applying a thin, even layer of glue, you allow the adhesive to penetrate the porous tracheids of the wood. When the water evaporates, the remaining polymers form a mechanical bond that is virtually unbreakable.
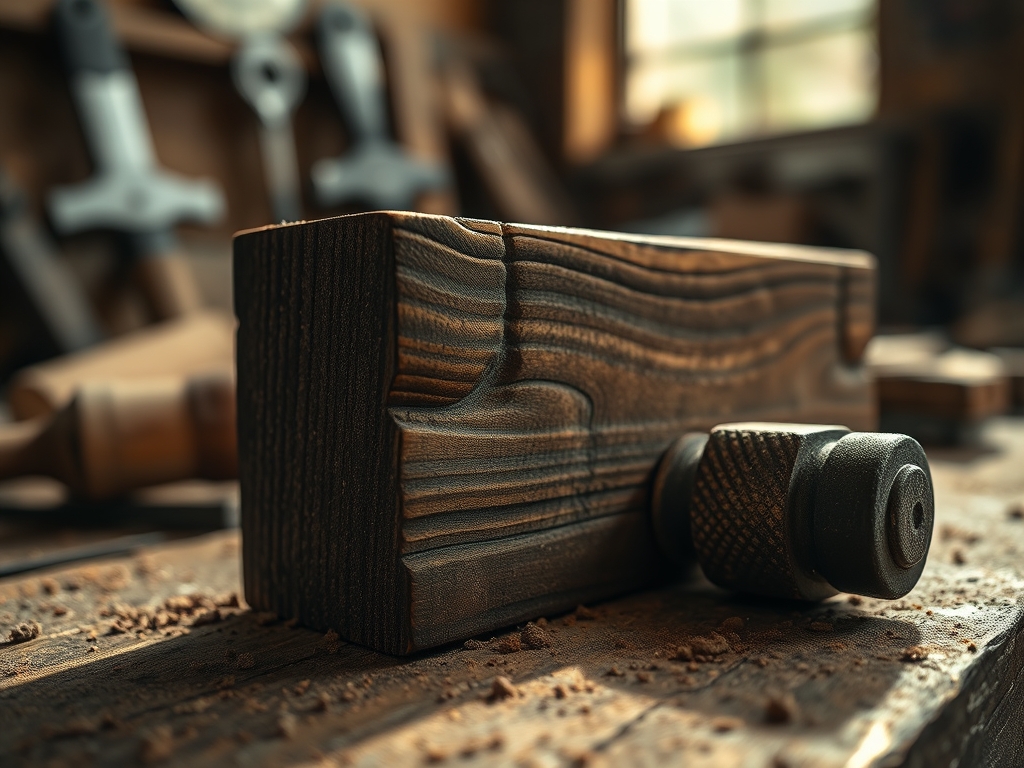
2. Cutting the Mortise and Tenon Joints
The legs and stretchers are joined using deep mortise and tenon joints. This is the gold standard for Building a Sturdy Workbench. The tenon is the "tongue" that fits into the "pocket" of the mortise. It provides a massive amount of surface area for glue and creates a physical mechanical lock against lateral movement.
Mastery Tip: Aim for a "piston fit." This is where the structural integrity is so high that the air pressure inside the mortise actually resists the tenon as you push it in. This ensures that the joint will not rack or wobble even under hundreds of pounds of side pressure.
3. Squaring the Base
Once the joints are cut, dry fit the entire base on a known level surface. Use a large framing square to check every corner. If the base is even a fraction of a degree off, the bench will rock. Use your block plane to shave micro layers off the bottom of the legs until the base sits perfectly flat without any light showing underneath.
Mastery Tip: This stage addresses torsional rigidity. By ensuring the stretchers are perfectly parallel, you distribute the load evenly across all four contact points. This prevents the bench from "walking" across the floor during vigorous hand sawing.
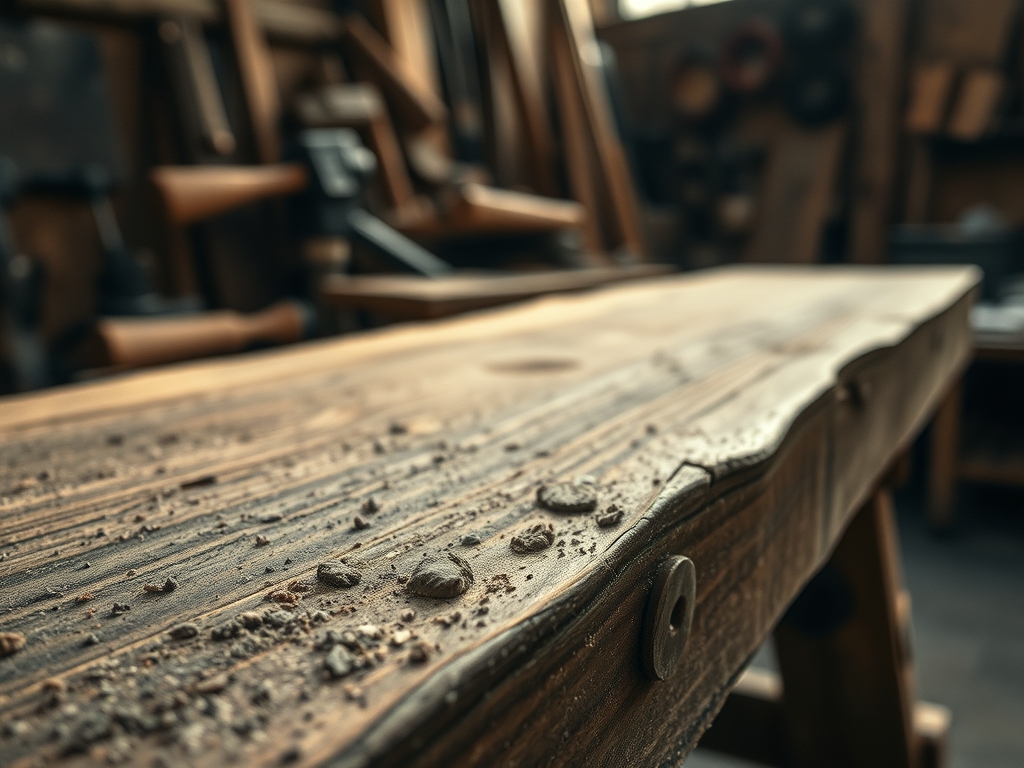
4. Flattening the Surface
After the top is attached to the base, you must flatten it. Use a long jointer plane to traverse the top diagonally, then lengthwise. This removes any high spots caused by the glue up process. Check your progress frequently with a pair of winding sticks to ensure there is no twist in the surface.
Mastery Tip: This is about ergonomic precision. A flat bench allows you to use your body weight efficiently. If the surface is uneven, your workpieces will vibrate, which dissipates the kinetic energy of your tools and leads to fatigue and poor cuts.
THE TECHNICAL LEDGER
Maintenance & Longevity: To keep your bench in peak condition, apply a coat of boiled linseed oil every six months. This penetrates the wood and prevents it from becoming brittle. If the top gets scarred from heavy use, simply plane it down again. A three inch thick top can be flattened dozens of times over a century.
Material Variations:
- Sustainable: Use reclaimed heart pine from old industrial buildings; it is incredibly stable and eco friendly.
- Premium: European Steamed Beech is the traditional choice for its tight grain and shock resistance.
- Recycled: Laminated veneer lumber (LVL) beams from construction sites offer incredible density at a low cost.
The Correction:
- The Gap: If a joint has a small gap, "paint" it with glue and sand it immediately. The sawdust will mix with the glue to create a perfectly matched filler.
- The Rock: If one leg is short, do not cut the others. Add a thin veneer shim to the bottom of the short leg and epoxy it in place.
- The Squeak: If the bench develops a noise, it is usually a dry joint. Inject a low viscosity cyanoacrylate glue into the seam to wick into the wood and lock it down.
Studio Organization: Store your workbench away from direct heat sources like radiators. Extreme temperature shifts cause the wood to expand and contract rapidly, which can stress the joinery. Keep your most used tools in a well or a tool rack attached to the back to keep the work surface clear.
THE FINAL REVEAL
There it is. Stand back and look at that silhouette. It is heavy, it is handsome, and it is absolutely unmoving. When you run your hand across the burnished surface, you can feel the density of the wood and the precision of the joints. This is the heart of your studio. It is more than a table; it is a specialized instrument designed to support your best work. Give it a shove. It does not budge. That is the feeling of engineering triumph. Now, grab your favorite chisel and let the real making begin.
STUDIO QUESTIONS
Why is grain orientation important for stability?
Alternating grain directions during lamination cancels out internal stresses. This prevents the wood from cupping or warping over time. It ensures the benchtop remains flat regardless of seasonal humidity changes in your studio environment.
What is the best adhesive for heavy joinery?
A high solids PVA glue is ideal for most builds. It offers a long open time for complex assemblies and creates a bond stronger than the wood itself. For oily woods, use a polyurethane glue for better penetration.
How do I fix a bench that already wobbles?
Check the floor first for levelness. If the floor is the issue, add adjustable leveling feet. If the joinery is loose, reinforce the corners with heavy duty steel draw bolts or add diagonal bracing to increase lateral stiffness.
Can I build a sturdy bench using only plywood?
Yes, by laminating multiple layers of high grade Baltic Birch plywood. The cross grain construction provides incredible dimensional stability. Ensure you use a high quality wood glue and plenty of mechanical fasteners to maintain the structural integrity.