

Grab your safety glasses and clear some space on the workbench because we are diving into the velvety world of Tilia americana. There is something intoxicating about the scent of fresh wood shavings hitting the floor. When you are Carving a Relief Panel, the tactile feedback of the steel meeting the grain is pure dopamine. Basswood is the ultimate gateway drug for makers because its tight, uniform cellular structure allows for crisp details without the erratic splintering of oak. It is soft enough to yield to a sharp palm chisel but dense enough to hold a microscopic edge. Today, we are moving beyond basic whittling to create a dimensional masterpiece that plays with light and shadow.
THE STUDIO KIT
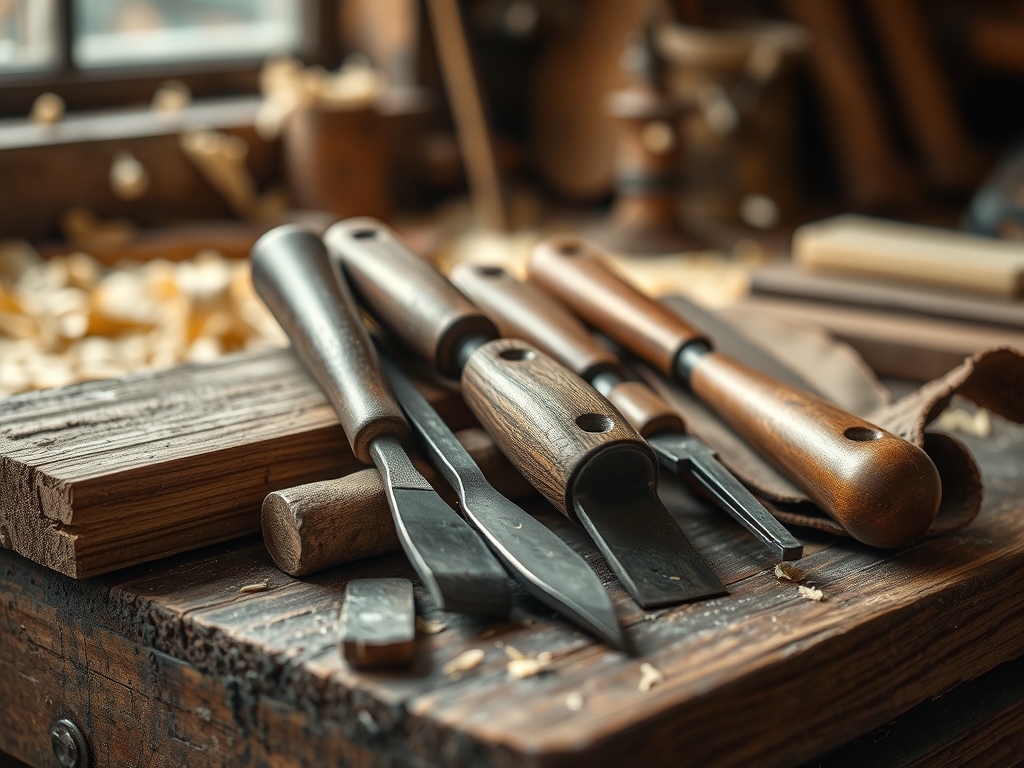
To master shallow relief, your inventory needs to be precise. We are working with a premium basswood blank, specifically selected for its minimal latewood growth rings. This ensures a consistent density across the entire surface. You will need a #12 V-parting tool for your initial outlines and a selection of #3 and #5 sweeps (fishtail gouges) for clearing the background. Do not forget your calipers; they are essential for measuring the depth of your "valleys" to ensure you do not punch through the board.
A high-quality leather hone loaded with chromium oxide paste is non-negotiable. If your blade is not sharp enough to shave hair, it will crush the wood fibers rather than slicing them, leading to a fuzzy finish that refuses to take stain. For Material Substitutions, if you cannot source basswood, look for butternut. It has a similar "buttery" carving quality but offers a darker, more walnut-like aesthetic. Avoid pine at all costs for relief work; the drastic difference in hardness between the earlywood and latewood will send your chisel skittering off course.
THE TEMPO
The "Maker's Rhythm" is a real psychological state where your heart rate syncs with the mallet strikes. For a standard 8×10 inch relief panel, expect to spend about twelve to fifteen hours at the bench. The first two hours are the "Mapping Phase," where you establish your depths. The middle ten hours are the "Bulk and Refine Phase," which is the most labor-intensive. Finally, the last three hours are dedicated to detail work and burnishing. This is not a project to rush. If you feel your grip strength failing or your focus drifting, step away. Most carving accidents happen in the final hour when the finish line is in sight and the "just one more cut" mentality takes over.
THE CORE METHOD
1. Transferring the Blueprint
Start by applying your design to the wood using graphite transfer paper. Use a stylus or a bone folder to press the lines firmly into the surface. This creates a slight physical indentation that helps guide your first cuts.
Mastery Tip: This phase relies on understanding surface topography. By indenting the wood, you are pre-compressing the fibers along your cut lines, which helps prevent "breakout" when the V-tool makes its first pass.
2. The Stop Cut
Take your marking knife and trace the entire perimeter of your design. You want to cut vertically into the wood about an eighth of an inch deep. This creates a physical barrier for your gouges later on.
Mastery Tip: This is all about structural integrity. The stop cut severs the longitudinal fibers, ensuring that when you carve toward the line from the background, the wood "stops" breaking exactly where you want it to, preventing accidental over-carving.
3. Clearing the Background
Using your #5 sweep gouge, begin removing the wood around your central subject. Work in thin layers rather than trying to take out large chunks. Aim for a consistent depth across the entire "floor" of your panel.
Mastery Tip: Pay close attention to grain direction. Wood is essentially a bundle of straws. If you carve "against" the grain, the tool will dive deeper and tear the fibers. Always carve "downhill" relative to the fiber orientation to maintain a smooth surface.
4. Leveling and Smoothing
Once the bulk is gone, use a flat chisel or a router plane to level the background. This creates a professional, flat plane that makes your relief "pop" against the shadows.
Mastery Tip: This step utilizes planar geometry. A perfectly flat background creates a high-contrast shadow line at the base of your subject, which tricks the eye into seeing more depth than actually exists in a shallow carving.
5. Detailing and Burnishing
Switch to your smaller veiners and micro-tools to add texture, such as fur, leaves, or geometric patterns. Finally, use a smooth piece of hardwood or a specialized burnishing tool to rub the finished surfaces.
Mastery Tip: Burnishing works through friction and compression. By rubbing the wood, you are collapsing the porous surface cells and aligning them, which creates a natural luster and hardens the wood's exterior against moisture.
THE TECHNICAL LEDGER
Maintenance & Longevity: Steel tools are prone to oxidation. Always wipe your chisels with a light coat of camellia oil before storing them. For the wood itself, avoid placing your finished panel in direct sunlight, as UV rays break down the lignin in the wood, causing it to turn gray and brittle over time.
Material Variations:
- Sustainable: Reclaimed basswood from old architectural trim.
- Premium: European Lime wood (Tilia cordata), which has an even tighter grain than American basswood.
- Recycled: High-density fiberboard (HDF) can be used for practice, though it lacks the beautiful grain of natural timber.
The Correction:
- The Deep Gouge: If you slip and take a chunk out of your subject, save the shaving. Apply a tiny drop of PVA glue and "clamp" the shaving back into place with blue painter's tape.
- Fuzzy Grain: If the wood looks hairy, your tool is dull. Stop immediately and hit the strop. You can also apply a 50/50 mix of denatured alcohol and shellac to stiffen the fibers before a final light sanding.
- The Crack: If the panel splits, it is likely due to low humidity. Use a matching wood filler mixed with fine sanding dust from the same board for an invisible repair.
Studio Organization: Store your panels flat under a slight weight to prevent warping. Wood is hygroscopic, meaning it breathes with the room's humidity. Keeping it in a climate-controlled environment ensures your relief does not turn into a potato chip.
THE FINAL REVEAL
There is nothing quite like the moment you brush away the last pile of shavings to see your design standing off the board. The way the light catches the crisp edges and pools in the recessed background is incredibly satisfying. Your relief panel is not just a piece of art; it is a testament to your patience and your mastery over the physical properties of timber. Whether you leave it natural, apply a light wax, or go bold with a milk paint finish, that texture is uniquely yours. You have turned a flat, silent board into a story told in three dimensions.
STUDIO QUESTIONS
What is the best way to sharpen carving tools?
Use a combination of water stones for reshaping and a leather strop for daily maintenance. A polished edge is essential for clean cuts. Stropping every twenty minutes of active carving keeps the steel's "teeth" aligned for effortless slicing.
Can I use a rotary tool for relief carving?
Yes, an oscillating tool or rotary carver with carbide burrs works well for bulk removal. However, manual chisels provide a cleaner, more traditional "faceted" look that reflects light better than the sanded finish produced by power tools.
How do I prevent the wood from splitting?
Always carve on a stable, flat surface and avoid extreme temperature shifts. Ensure your basswood has been kiln-dried to a moisture content of 6 to 8 percent to minimize internal tension and prevent checking or warping during the process.
What finish should I use on basswood?
A simple butcher block oil or clear beeswax preserves the natural creamy color. For more drama, a thin coat of gel stain can highlight the tool marks, though you must wipe it off quickly to prevent blotching in the porous grain.

