
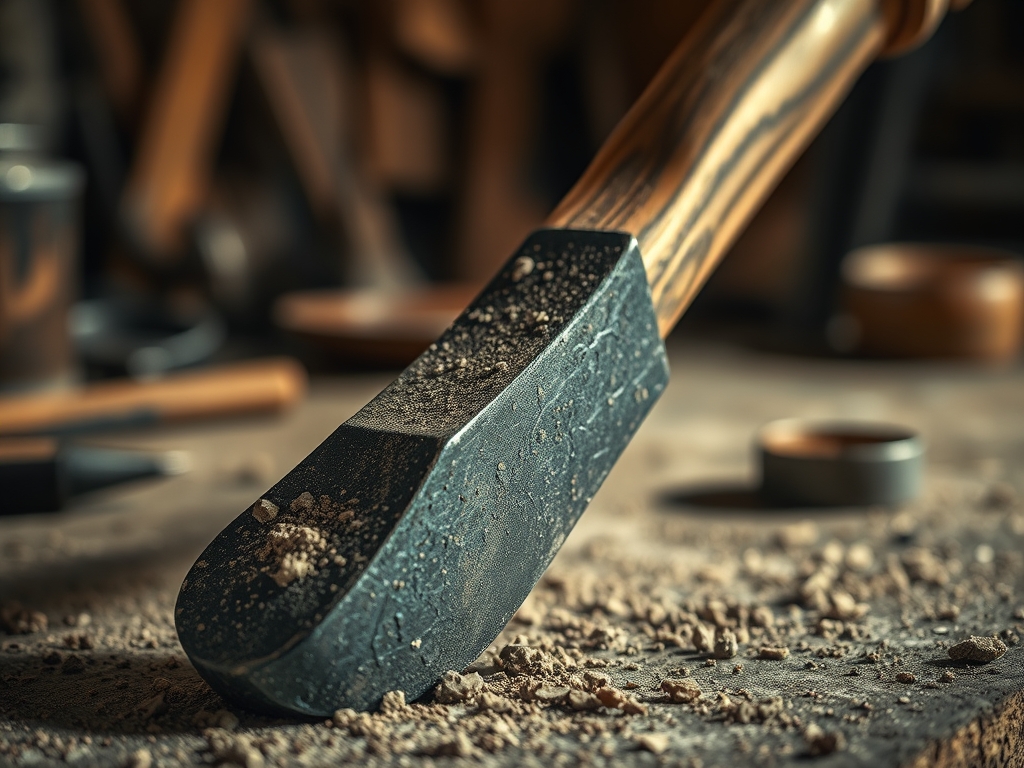
The smell of ozone and burnt carbon is better than any expensive candle; it is the scent of potential. When you pick up a piece of salvaged spring steel, you are holding a high-carbon miracle that is just waiting for a new shape. Forging a Basic Chisel starts with understanding the hidden soul of the metal. You can feel the weight and the rigidity of the 5160 alloy; it is stubborn and cold until the heat transforms its molecular structure. We are not just making a tool; we are engineering a legacy. I want you to run your thumb along the raw edge and imagine the razor-sharp precision we are about to unlock. This is where the physics of the workshop meets the art of the maker.
THE STUDIO KIT
To begin this transformation, we need a kit that respects the tensile strength of our medium. Your primary material is spring steel, often sourced from old vehicle leaf springs. This material is prized for its ability to return to its original shape after bending, a property known as elasticity. You will need a propane or coal forge to reach the critical temperature of approximately 1,500 degrees Fahrenheit. For shaping, a two-pound cross-peen hammer is your best friend; it allows for directed force that moves the metal without shattering the grain.
You will also need a pair of wolf-jaw tongs to maintain a secure grip on the hot workpiece. For the refining stages, keep a set of digital calipers nearby to measure the taper of your blade. A high-speed belt grinder with 36-grit ceramic belts will handle the heavy stock removal, while a series of whetstones will provide the final burnish.
Material Substitutions: If you cannot find old leaf springs, you can purchase O1 tool steel. It is more predictable during the heat-treat phase because it is a "clean" alloy without the hidden stress fractures often found in recycled automotive parts. If you lack a forge, a high-output oxy-acetylene torch can work for smaller marking tools, though it requires more patience to achieve an even soak of heat.
THE TEMPO
The "Maker's Rhythm" is all about managing the thermal window. You have roughly ninety seconds of optimal forging time once the steel leaves the fire before the temperature drops below the plastic range. If you strike the metal when it is too cold, you risk inducing internal micro-cracks that will cause the tool to fail during heavy use.
Expect to spend about forty minutes on the initial rough-shaping. This is the high-energy phase where the hammer does the heavy lifting. The grinding and profiling phase takes another hour; this is a steady, meditative process of checking symmetry. The most critical tempo change happens during the heat treatment. You will spend twenty minutes watching the colors of the steel shift from dull red to cherry, followed by a two-hour "soak" in a kitchen oven for tempering. Total active time is roughly four hours, but the mental focus required makes it feel like a blink of an eye.
THE CORE METHOD
1. Drawing Out the Taper
First, we heat the tip of the steel until it glows a bright orange. Using the anvil's edge, strike the metal at an angle to begin "drawing out" the length. This process increases the ductility of the steel temporarily, allowing us to thin the profile while maintaining the overall mass. You are essentially squeezing the molecules forward to create a wedge shape.
Mastery Tip: Always maintain "squareness" during the initial draw. By keeping the cross-section square before rounding it out, you ensure the structural integrity of the center-line. If the core stays aligned, the force of your future hammer blows will travel straight to the cutting edge without vibrating in your hand.
2. Flattening the Face
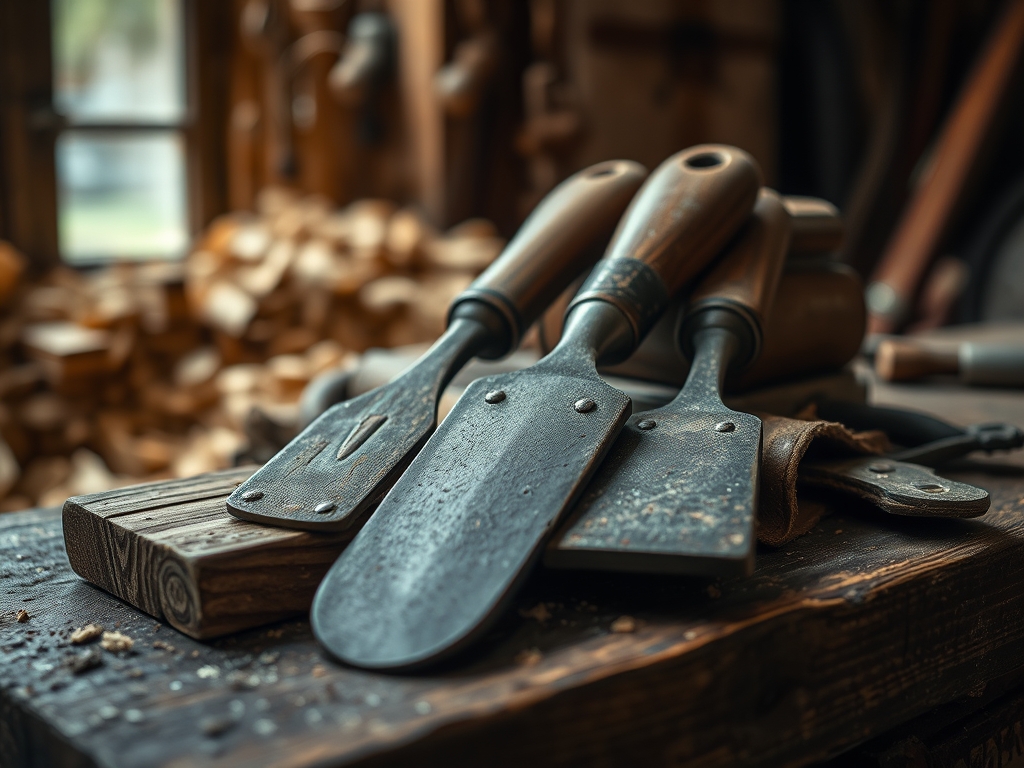
Once you have the desired length, move to the face of the anvil. Use flat, overlapping blows to create a wide, thin palette. This is the business end of your marking chisel. We are looking for a consistent gauge across the width. If one side is thicker, the tool will "drift" when you try to mark a straight line in hardwood.
Mastery Tip: Watch for "fish-mouthing" at the tip. This happens when the outer layers of steel move faster than the core. To fix this, grind the end flat frequently. Keeping a clean edge prevents stress risers, which are tiny points of weakness where a crack could start during the quenching process.
3. The Normalizing Cycle
Before we harden the steel, we must "normalize" it. Heat the chisel until it is no longer magnetic, then let it air-cool slowly on the anvil's shelf. Repeat this three times. This process relaxes the internal stresses we created during the heavy hammering and refines the grain direction.
Mastery Tip: Steel is like a bundle of microscopic fibers. Normalizing shrinks those fibers, making them dense and uniform. A fine grain structure is the difference between a tool that stays sharp for months and one that chips the first time it hits a knot in the wood.
4. Hardening and Quenching
Heat the front two inches of the chisel to a bright cherry red. Quickly plunge it vertically into a bath of warm canola oil. The rapid cooling "locks" the carbon atoms into a crystalline structure called martensite. The steel is now incredibly hard but also as brittle as glass.
Mastery Tip: Use a vertical plunging motion to avoid warping. If you enter the oil at an angle, one side of the blade cools faster than the other, causing the steel to pull and curve. This is due to the coefficient of thermal expansion acting unevenly across the surface area.
5. Tempering for Toughness
Clean the scale off the steel until it is shiny, then place it in an oven at 400 degrees Fahrenheit for two hours. You will see the metal turn a light straw color. This reduces the hardness slightly but adds immense toughness, ensuring the edge won't shatter under impact.
Mastery Tip: The straw color is an oxide film that acts as a visual thermometer. This "tempering color" tells you exactly how the molecular bonds are rearranging. A straw yellow indicates the perfect balance for a woodworking tool that needs to hold a razor edge while resisting shock.
THE TECHNICAL LEDGER
Maintenance & Longevity
To keep your marking tools in top shape, apply a thin coat of camellia oil after every use. Since spring steel is not stainless, it is susceptible to oxidation. If you notice a "patina" forming, that is fine, but "red rust" is the enemy. Use a bone folder or a soft cloth to buff the oil into the pores of the metal.
Material Variations
- Sustainable: Repurpose old masonry nails or coil springs from discarded machinery.
- Premium: Use S7 shock-resisting steel if you plan on using the chisel for heavy-duty timber framing.
- Hybrid: For an ergonomic twist, wrap the handle in vegetable-tanned leather and burnish the edges for a professional finish.
The Correction: Common Pitfalls
- The Over-Heat: If the steel sparks like a sparkler, you have burnt the carbon out. The Fix: Cut off the burnt section and start over; you cannot "un-burn" steel.
- The Warp: The blade curved during the quench. The Fix: During the tempering cycle, clamp the blade to a thick piece of straight steel to "force" it back into alignment while it is warm.
- The Soft Edge: The file still bites into the steel after quenching. The Fix: Your quench was too slow or the heat was too low. Re-normalize and quench again at a slightly higher temperature.
Studio Organization
Store your custom chisels in a dedicated tool roll made of heavy canvas or leather. Do not store them loose in a metal drawer; the edges will dull if they clink against other tools. Use a label maker or a metal stamp to mark the steel type on the handle so you know exactly how to re-sharpen it in the future.
THE FINAL REVEAL
Look at that! You have taken a piece of industrial scrap and turned it into a precision instrument. The weight feels balanced in your palm, and that straw-colored finish looks absolutely professional. When you use this chisel to mark your joinery, you aren't just using a tool; you are using a piece of your own grit and determination. There is a specific kind of magic in knowing that the edge cutting through that oak was forged by your own hands. It is sharp, it is durable, and it is uniquely yours. Now, go make something beautiful with it!
STUDIO QUESTIONS
Can I use a regular hammer for forging?
Yes, but a ball-peen or cross-peen hammer is better. These shapes allow you to direct the metal's flow more efficiently than a flat carpenter's hammer, which can leave deep, unsightly marks on the hot steel surface.
Why is canola oil used for quenching?
Canola oil has a high flash point and provides a consistent cooling rate. It is safer and less toxic than motor oil, making it ideal for home studios while still effectively hardening high-carbon spring steel.
How do I know if the steel is high-carbon?
Perform a spark test with a grinder. High-carbon steel produces a flurry of bright, bursting sparks that look like tiny fireworks. Mild steel produces long, straight sparks with very few bursts at the ends.
Do I need to sharpen the chisel before tempering?
No, always perform your final sharpening after tempering. The steel is too brittle to handle the friction of sharpening before it has been tempered, and you risk snapping the delicate tip during the process.

