
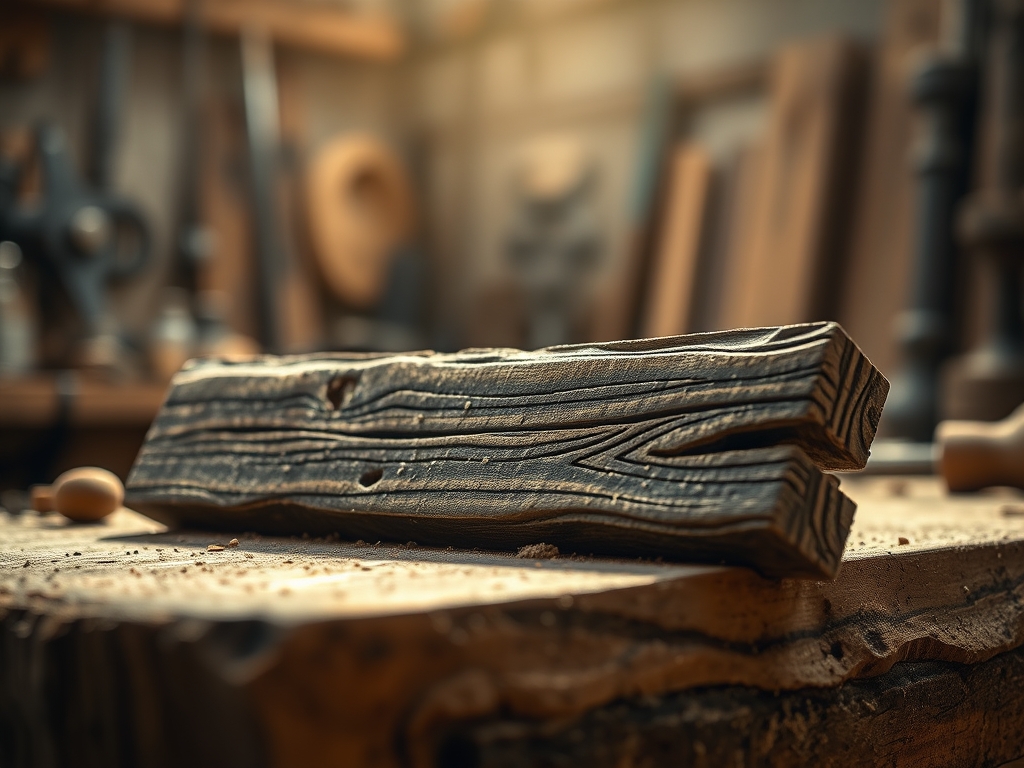
Imagine the scent of freshly sheared cedar hitting your lungs as you run your thumb across a raw, kiln dried board. There is a specific, primal satisfaction in the resistance of the wood grain against your skin; it is a promise of what is to come. When you are Carving a Wooden Sign, you are not just making a decoration. You are engaging in a physical dialogue with cellular structures and lignin bonds. Most people reach for a loud, dusty router the moment they want depth, but we are going for something more soulful and precise. We are looking for those crisp, deep shadows that only hand tools can achieve. This process is about the tactile feedback of the steel biting into the fibers. It is about the way the light catches the bevel of a letter. We are going to bypass the power tools and dive straight into the physics of the wood. By the time we are finished, you will understand the tensile strength of your material and how to manipulate it with surgical accuracy.
THE STUDIO KIT

To achieve professional depth, your kit must prioritize edge retention and ergonomic control. You will need a set of high carbon steel chisels, specifically a 1/2 inch straight chisel and a V-parting tool. Carbon steel is preferred over stainless because the molecular structure allows for a finer, sharper apex on the blade. You also need a mallet with a urethane head to dampen vibration and protect the handles of your tools. For layout, skip the pencil; use a marking awl to score the wood. Scoring severs the surface fibers, which prevents "tear out" when you begin the heavy removal.
For material substitutions, if you cannot find premium basswood, look for high density urethane (HDU) or even reclaimed old growth pine. Basswood is the gold standard because of its tight, non directional grain and low specific gravity, making it incredibly easy to slice without the wood splitting along a growth ring. You should also keep a digital caliper nearby to measure the depth of your cuts and ensure uniformity across the entire sign. Finally, grab a honing strop and some chromium oxide paste. A dull blade is a dangerous blade; you need that edge to be polished to a mirror finish to slice through the cellulose walls cleanly.
THE TEMPO
The "Maker's Rhythm" is not about speed; it is about the synchronization of your breath with the strike of the mallet. Expect the Layout Phase to take about forty five minutes. This is where you establish your kerf lines and check your alignment. The Waste Removal Phase is the longest block, likely two to three hours depending on the complexity of your font. This is a meditative state where you focus on the "chip" sound of the wood. Finally, the Refinement Phase takes roughly one hour. This is where you burnish the interior of the letters and apply your finish. Total time for a standard eighteen inch sign is usually around five hours of active, high focus labor.
THE CORE METHOD
1. The Incision Line
Before a single chip is removed, you must establish the perimeter of your letters using your marking awl. Apply firm pressure to create a physical channel in the wood. This acts as a "track" for your chisel.
Mastery Tip: This step utilizes the principle of mechanical advantage. By pre scoring the wood, you are creating a point of least resistance. When the chisel eventually hits this line, the wood fibers will naturally fail at the score mark rather than splintering into the surrounding surface area.
2. The Relief Cut
Position your V-parting tool at a forty five degree angle to the wood surface. Slowly push the tool along the center of your letter strokes. This creates a "relief valley" that allows the wood to expand inward as you remove the bulk of the material.
Mastery Tip: Understanding hygroscopy is vital here. Wood is a porous material that holds moisture. By creating a center relief cut, you are relieving the internal lateral pressure of the board, which prevents the edges of your letters from cracking as you apply downward force with your larger chisels.
3. Vertical Excavation
Using your straight chisel and mallet, begin making vertical "stop cuts" along your scored lines. Hold the chisel at a perfect ninety degree angle. Strike the mallet with a consistent force to ensure the depth is uniform across the entire character.
Mastery Tip: This relies on the compressive strength of the wood. By striking vertically, you are compressing the fibers at the base of the cut. This creates a dense, "crushed" floor in the letter that will accept stain more evenly than a rough, torn surface.
4. The Bevel Sweep
Angle your chisel to match the desired slope of your letter walls. Gently shave away the wood from the center relief valley toward your vertical stop cuts. This should create a clean, angled wall that meets the floor of the letter at a sharp intersection.
Mastery Tip: This step is all about shear stress. You are slicing the wood fibers at an angle, which requires a much sharper blade than a vertical cut. If your chisel is sharp enough, the wood will come away in a single, translucent ribbon rather than small, jagged chunks.
5. Burnishing the Floor
Once the depth is achieved, use a smooth metal tool or even a bone folder to rub the interior surfaces of the carved letters. This flattens any remaining stray fibers and creates a polished sheen.
Mastery Tip: Burnishing works through friction and heat. By rubbing the wood, you are melting the natural lignins slightly and pressing the fibers into a permanent, hardened state. This increases the longevity of the sign by making the interior surfaces less susceptible to moisture absorption.
THE TECHNICAL LEDGER
Maintenance & Longevity: To keep your sign from warping, you must seal the end grain with a high viscosity oil or wax. Wood is essentially a bundle of straws; the end grain will suck up moisture faster than the face, leading to uneven expansion.
Material Variations:
- Sustainable: Bamboo ply is an excellent eco friendly option, though its high silica content will dull your tools faster.
- Premium: Black Walnut offers incredible dimensional stability and a rich natural color that requires little staining.
- Recycled: Pallet wood can be used, but beware of "checking" or hidden nails that can ruin a high carbon steel edge.
The Correction:
- The Over-Cut: If you slip and carve outside your line, do not panic. Mix fine sawdust from the same board with wood glue to create a "structural paste." Fill the gap, let it cure, and re-carve.
- The Grain Tear: If the wood chunks out, you are likely carving against the grain. Reverse your direction immediately. Always carve "downhill" relative to the fiber orientation.
- The Dull Edge: If the wood looks fuzzy instead of crisp, your tool has lost its apex. Return to the honing strop for twenty passes to realign the microscopic edge.
Studio Organization: Store your unfinished signs flat with "stickers" (small wooden strips) between them to allow for airflow. Never lean a sign against a wall for long periods, as gravity and humidity will conspire to create a permanent bow in the wood.
THE FINAL REVEAL
Look at that depth! When you hold your finished sign up to the light, the shadows should be sharp, dark, and intentional. There is a weight to a hand carved piece that a machine simply cannot replicate. You have successfully navigated the physics of cellular collapse and shear strength to create something that will last for generations. The tactile nature of the deep V-cuts creates a play of light that changes throughout the day. You did not just make a sign; you mastered the medium. Your studio should be covered in those beautiful, curly wood shavings; wear them like a badge of honor.
STUDIO QUESTIONS
How do I prevent the wood from splitting?
Always carve with the grain and use a sharp marking awl to score your lines first. This severs the fibers and prevents the split from traveling into the "show" surface of your sign.
What is the best wood for beginners?
Basswood is the undisputed champion for beginners. It has a very fine grain and a low density, which makes it easy to control your chisel depth without needing excessive force.
Can I use a regular hammer instead of a mallet?
Avoid metal hammers. The hard impact can shatter wooden chisel handles and provides too much "bounce," which ruins your precision. A urethane or rubber mallet absorbs the shock and protects your tools.
How deep should my letters be?
For maximum visual impact, aim for a depth of 1/8 to 1/4 inch. This creates a "shadow pocket" that makes the text legible from a distance even without using high contrast paint or stains.

