
Close your eyes and run your fingertips across that freshly planed walnut board. It feels smooth, right? Wrong. If you tilt that timber toward the afternoon sun, you will see them: the rhythmic, undulating ripples known as plane tracks or "scallops" left by the slight camber of your blade. These microscopic ridges are the enemies of a high-end finish, as they catch the light and scream "amateur hour" to anyone with a discerning eye. We are going to fix that right now by Using a Cabinet Scraper to achieve a surface so flat it defies the laws of physics. This isn't just about sanding; it is about shearing the wood fibers at a cellular level to reveal the true depth of the grain. When you use a scraper, you are not abrading the surface with grit; you are using a precision-engineered hook to slice away thousandths of an inch. It is a tactile, high-energy process that transforms a piece of lumber into a piece of art. Get ready to feel the heat in your thumbs and the satisfaction of seeing translucent lace-like shavings pile up at your feet.
THE STUDIO KIT
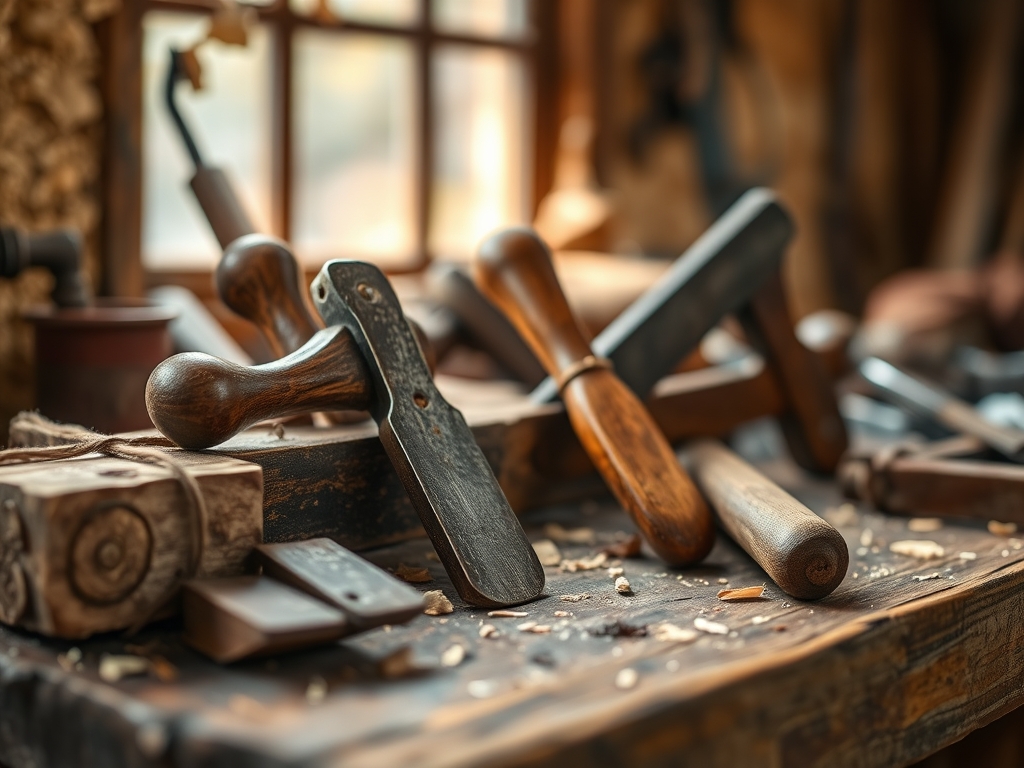
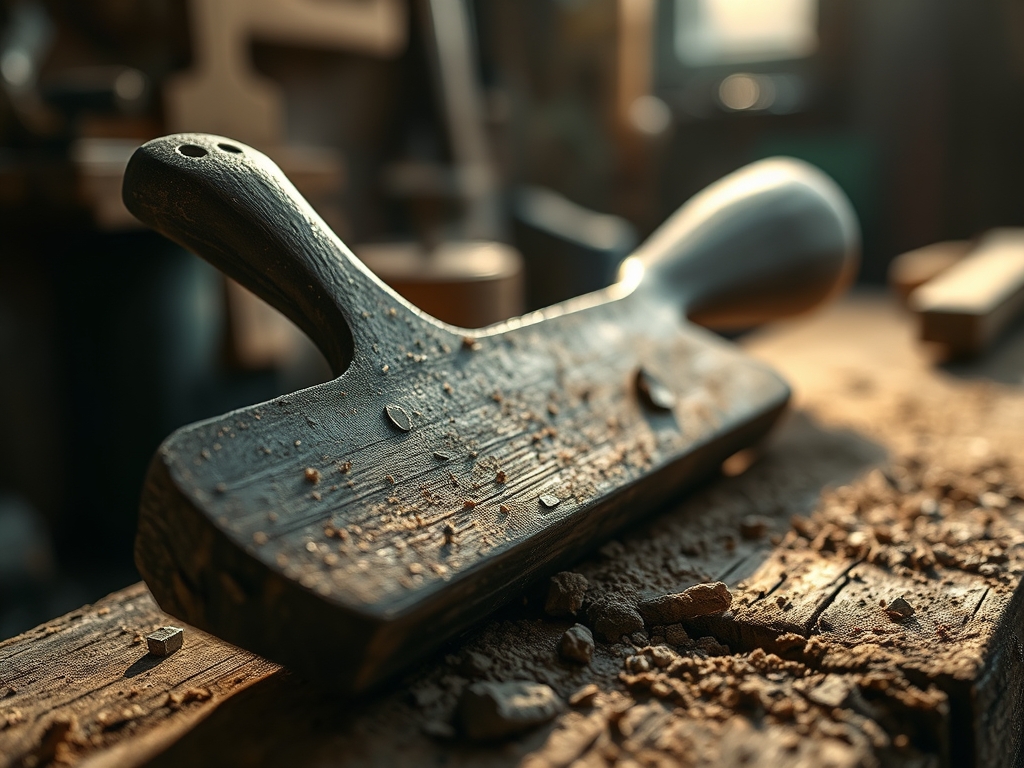
To master this, you need more than just a piece of rectangular steel. Your kit starts with a high-carbon spring steel scraper, typically between 0.6mm and 0.8mm in **gauge**. This thickness determines the flexibility of the tool; a thinner blade allows for aggressive localized “dishing” to remove deep defects, while a thicker blade maintains better overall flatness. You will also need a **burnisher**, which is a highly polished rod of hardened steel or tungsten carbide. This tool is essential for “turning the hook,” a process where you physically displace the metal at the edge of the scraper to create a microscopic cutting burr.
For the sharpening phase, grab a fine-grit diamond stone or a 1000/6000 grit water stone combination. Precision matters here, so keep a pair of calipers nearby to check for uniform thickness if you are working on thin veneers. If you lack a professional burnisher, a high-quality screwdriver shank can act as a material substitution, provided the steel is harder than the scraper itself. You will also need a mill file to square the edges and a drop of light machine oil to lubricate the burnishing process. The tensile strength of the steel allows it to flex under your thumb pressure without snapping, creating a concentrated point of contact that shears through the wood's lignin structure.
THE TEMPO
The "Maker's Rhythm" for surface refinement is a three-act play. Act One is the preparation, which takes about fifteen minutes. This involves filing the scraper edge perfectly square and honing the faces to a mirror polish. If your edge is not square, your hook will be inconsistent. Act Two is the actual scraping, which varies based on the surface area. For a standard tabletop, expect to spend forty-five minutes of active, high-intensity labor. You will feel the heat build up in the steel; this is a sign of friction doing its job. Act Three is the inspection and final touch-up, taking about ten minutes. In total, give yourself an hour of focused studio time. This tempo ensures you do not rush and create "hollows" in the wood, maintaining the structural integrity of the piece while achieving that glass-like sheen.
THE CORE METHOD
1. Squaring the Edge
Before you can cut, you must erase the previous hook. Secure the scraper in a vise and use a fine mill file to draw-file the edge until it is perfectly flat and square to the faces. Mastery Tip: The science here involves removing "work-hardened" metal. Steel becomes brittle after repeated burnishing; by filing it back, you expose fresh, ductile molecules that are ready to be reshaped without fracturing.
2. Honing the Faces
Lay the scraper flat on your highest-grit whetstone and polish the area near the edge. You want a mirror finish on both the narrow edge and the broad faces. Mastery Tip: This reduces friction and ensures the resulting burr is razor-sharp. A rough face leads to a jagged hook, which causes "chatter" marks on the wood surface due to uneven surface tension during the stroke.
3. Consolidating the Steel
Hold the scraper flat on the bench and rub the burnisher firmly across the face near the edge. This "draws" the metal toward the corner. Mastery Tip: This process utilizes the ductility of high-carbon steel. You are not removing material; you are migrating it to create a "wire edge" that serves as the foundation for the final hook.
4. Turning the Hook
Hold the scraper upright and run the burnisher along the thin edge at a slight angle, usually between 5 and 10 degrees. Apply consistent, firm pressure in a single smooth motion. Mastery Tip: This creates the "hook" geometry. The burnisher's hardness allows it to roll the wire edge over, creating a microscopic chisel that relies on mechanical advantage to slice through wood fibers rather than crushing them.
5. The Push and Pull
Grasp the scraper with both hands, placing your thumbs in the center to create a slight bow. Tilt the tool forward until the hook engages the wood and push away from your body. Mastery Tip: The bow in the blade prevents the corners from digging in, which would create new tracks. This ergonomic curve concentrates the force at the center, allowing for precise control over the depth of cut.
THE TECHNICAL LEDGER
Maintenance is the soul of the scraper. After every session, wipe the steel with a light coat of camellia oil to prevent oxidation. Because this tool relies on a microscopic edge, even a tiny speck of rust can ruin the quality of your shavings. If you are working with porous woods like oak, you may need to burnish more frequently than with dense, oily woods like teak.
Material Variations:
- Sustainable: Reclaimed saw blades can be cut and ground into custom scrapers.
- Premium: Cryogenically treated steel scrapers hold their hook three times longer than standard carbon steel.
- Recycled: Old cabinet scrapers that have become too thin for heavy work can be ground into "gooseneck" shapes for curved moldings.
The Correction:
- Mistake: Dust instead of shavings. This means your hook is gone or was never turned. Fix: Re-file and re-burnish.
- Mistake: The scraper "jumps" or chatters. This is caused by an angle that is too steep or a hook that is too aggressive. Fix: Decrease your tilt angle.
- Mistake: Deep gouges at the start of the stroke. This happens when you don't "lead" with a flexed blade. Fix: Ensure the blade is bowed before it touches the timber.
Store your scrapers in a dedicated wooden rack or a leather roll. Never toss them in a drawer where they can clank against other tools; a single nick in the edge will translate into a visible line on your finished wood surface.
THE FINAL REVEAL
Look at that! The plane tracks are gone, and in their place is a surface that looks like it was polished by the gods. The grain pops with a clarity that sandpaper simply cannot achieve because you haven't clogged the pores with dust. When you apply your oil or lacquer, it will sink in uniformly, highlighting the natural iridescence of the wood fibers. You have successfully navigated the physics of steel and timber to create a flawless foundation. Your thumbs might be a little sore, but that is just the mark of a maker who knows the value of a truly flat surface.
STUDIO QUESTIONS
Why is a scraper better than sandpaper?
Scrapers shear wood fibers cleanly, whereas sandpaper abrades and tears them. This results in superior grain clarity and prevents the "muddy" look that occurs when sanding dust fills the wood's porous structure before finishing.
How do I know when to re-sharpen?
When the tool begins producing fine dust instead of distinct, curly shavings, the hook has collapsed or worn down. At this point, the frictional heat increases significantly, and the tool will no longer "bite" the surface.
Can I use a cabinet scraper on plywood?
Yes, but exercise extreme caution. The veneer layer on plywood is very thin. Because a scraper is so efficient, you can easily "burn through" the top ply and expose the glue line or core material.
What is the best angle for the hook?
A 5 to 10-degree angle is standard for general smoothing. A steeper angle creates a more aggressive hook for heavy material removal, while a shallower angle is perfect for delicate, final touch-ups on figured grain.

