
The biting scent of cold iron meets the earthy musk of oak as you stand before a pile of wood that refuses to yield. Your standard axe bounces off the grain; the wood fibers are too dense and the knots too stubborn for simple kinetic energy to overcome. This is the moment where physics demands a specialized solution. By Forging a Metal Wedge, you are creating a mechanical advantage that utilizes a narrow angle to multiply force against the lateral strength of the log. The process is a dance of heat and pressure. You feel the vibration of the anvil through your palms as the metal begins to glow. We are not just making a tool; we are mastering the tensile strength of high carbon steel to shatter the structural integrity of the most difficult timber. It is about the visceral satisfaction of seeing a tool you shaped with your own hands drive deep into a stubborn knot, forcing the wood to surrender to your will.
THE STUDIO KIT
To begin this industrial alchemy, you need materials that can withstand extreme thermal cycling and high-impact stress. Your primary stock should be 4140 chromoly steel or 1045 medium carbon steel. These alloys offer the perfect balance of toughness and hardness. You will need a propane or coal forge to reach the critical temperature of 1,800 degrees Fahrenheit, where the crystalline structure of the steel becomes malleable.
For shaping, a three-pound blacksmithing hammer and a hardy tool for the anvil are essential. You must use digital calipers to ensure the taper of your wedge is symmetrical; an uneven face will cause the tool to "spit" out of the log during use. For the finishing touches, an angle grinder with a 40-grit zirconia flap disc will refine the geometry.
Material Substitutions: If you cannot source virgin 4140 steel, a reclaimed leaf spring from a heavy truck is an excellent alternative. It is already engineered for high fatigue resistance. If a forge is unavailable, a heavy-duty oxy-acetylene torch can provide localized heat, though it requires more patience to achieve a uniform soak.
THE TEMPO
The "Maker's Rhythm" for this project is divided into three distinct movements. The first phase is the Thermal Soak, which takes roughly 20 minutes. You cannot rush the molecules; the steel must be heated evenly to the core to prevent internal stress fractures.
The second phase is the Primary Forging, lasting about 45 to 60 minutes. This is high-intensity work where you are fighting the cooling rate of the metal. You have a window of about 30 seconds of "workable heat" before the metal returns to a dull red and must go back into the fire.
The final phase is Heat Treatment and Tempering, which requires 90 minutes of focused attention. This is the most technical part of the rhythm. You are transitioning the steel from a soft, pearlitic state to a hard, martensitic state, then "drawing the temper" to ensure it is not so brittle that it shatters like glass under a sledgehammer.
THE CORE METHOD
1. Profiling the Stock
Begin by heating the first three inches of your steel bar to a bright orange. Secure it on the anvil and use heavy, rhythmic blows to begin tapering the end. You are aiming for a triangular geometry where the tip is narrow but the body remains thick.
Mastery Tip: Understand the displacement of mass. When you hammer the thickness down, the metal must go somewhere; it will spread wider. You must frequently turn the piece 90 degrees to "upset" the edges and maintain your desired width, ensuring the grain flow of the metal remains longitudinal for maximum strength.
2. Drawing the Taper
Continue the taper until the leading edge is approximately one-eighth of an inch thick. Use your calipers to check that the slope is consistent on both sides. A "hollow ground" or concave surface will stick in the wood, while a "convex" or apple-seed shape provides the best splitting action.
Mastery Tip: This step relies on thermal conductivity. If the tip becomes too thin while the body is still thick, the tip will overheat and "burn" (oxidize), ruining the steel. Work the thicker sections first to allow the heat to migrate naturally toward the thinner edge.
3. Refining the Striking Face
Flip the piece and taper the "butt" or striking end slightly. You do not want a sharp point here, but a slight chamfer around the edge. This prevents the steel from "mushrooming" over time as you hit it with a sledgehammer.
Mastery Tip: By creating a beveled perimeter on the striking face, you redirect the impact energy toward the center of the tool. This manages the work hardening of the steel, preventing dangerous shards of metal from breaking off during high-velocity impacts.
4. The Quench and Harden
Heat the business end of the wedge to a non-magnetic cherry red. Quickly submerge the first two inches into a bucket of pre-heated vegetable oil. Move it in a figure-eight motion to break up the vapor jacket.
Mastery Tip: This utilizes rapid phase transformation. The quick cooling "locks" the carbon atoms into a stressed, hard lattice. The figure-eight motion prevents Leidenfrost effect bubbles from insulating the metal, ensuring a uniform hardness across the entire cutting edge.
5. Tempering for Toughness
Clean the scale off the hardened edge with a wire brush until the bare metal is visible. Use a torch to gently heat the body of the wedge until a "wheat" or "bronze" color creeps down to the edge. Immediately quench it again to stop the heat.
Mastery Tip: This is the science of ductility. Purely hardened steel is too brittle. By "drawing the temper" to a bronze color (roughly 450 degrees Fahrenheit), you are sacrificing a small amount of hardness to gain immense impact resistance, ensuring the wedge can flex slightly rather than snapping.
THE TECHNICAL LEDGER
Maintenance & Longevity: After every heavy use, inspect the striking face for burrs. Use a bastard file to remove any rolled edges. Coat the tool in a light layer of boiled linseed oil to prevent oxidation. The porous nature of the microscopic surface scale will hold the oil, creating a semi-permanent rust barrier.
Material Variations:
- Sustainable: Use salvaged railroad spikes for small wedges, though they have lower carbon content and won't hold an edge as long.
- Premium: S7 Tool Steel is the "gold standard" for impact tools due to its incredible shock resistance, though it requires a very precise heat-treat oven.
The Correction:
- The Warp: If the wedge curves during quenching, it was likely heated unevenly. Fix this by normalizing the steel (heating to red and air cooling) three times before re-hardening.
- The Crack: If you hear a "ping" in the oil, the quench was too aggressive. Switch to a slower cooling oil or increase the oil temperature.
- The Bounce: If the wedge won't bite into the wood, the edge is too blunt. Use an oscillating tool or grinder to thin the primary bevel.
Studio Organization: Store your wedges in a dedicated wooden rack rather than a metal bin. This prevents the hardened edges from clashing against each other, which can cause micro-fractures in the martensitic structure.
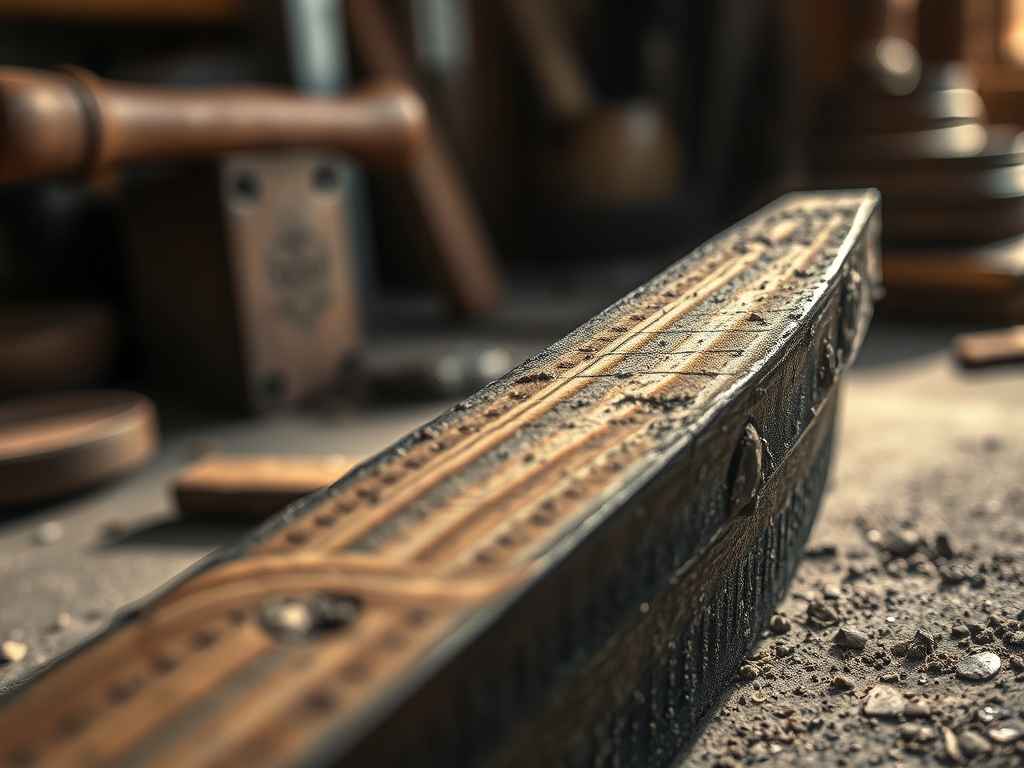
THE FINAL REVEAL
Look at that silhouette! The transition from the rugged, fire-scaled body to the polished, bronze-tempered edge is a testament to your technical skill. This isn't a store-bought piece of cast iron that will shatter on the first frozen log; this is a forged instrument of destruction. When you drive this into a stubborn piece of hickory, the sound will change from a dull thud to a high-pitched "ping" as the wood fibers fail under the pressure. You have successfully manipulated the molecular lattice of steel to conquer the cellulose bonds of nature. It is heavy, ergonomic, and utterly efficient.
STUDIO QUESTIONS
What is the best steel for a splitting wedge?
High carbon steels like 1045 or 4140 are ideal. They provide the necessary tensile strength to resist deformation while maintaining a hard enough edge to bite into dense wood grain without dulling or chipping under heavy impact.
Why did my wedge crack during the quench?
Cracking usually occurs due to thermal shock. If the steel is too hot or the quenching medium is too cold, the rapid contraction creates internal stress. Ensure your oil is warmed to 120 degrees Fahrenheit before quenching.
Do I need to sharpen the wedge like a knife?
No, a splitting wedge should have a convex "apple-seed" edge. A razor-sharp edge is too thin and will fold under the pressure of a log. The wedge works through mechanical displacement, not by slicing fibers.
How do I prevent the striking head from mushrooming?
Regularly chamfer the edges of the striking face with a grinder. This prevents the metal from spreading outward. Additionally, ensure you only harden the cutting end; leave the striking head in a softer, annealed state to absorb shock.

