
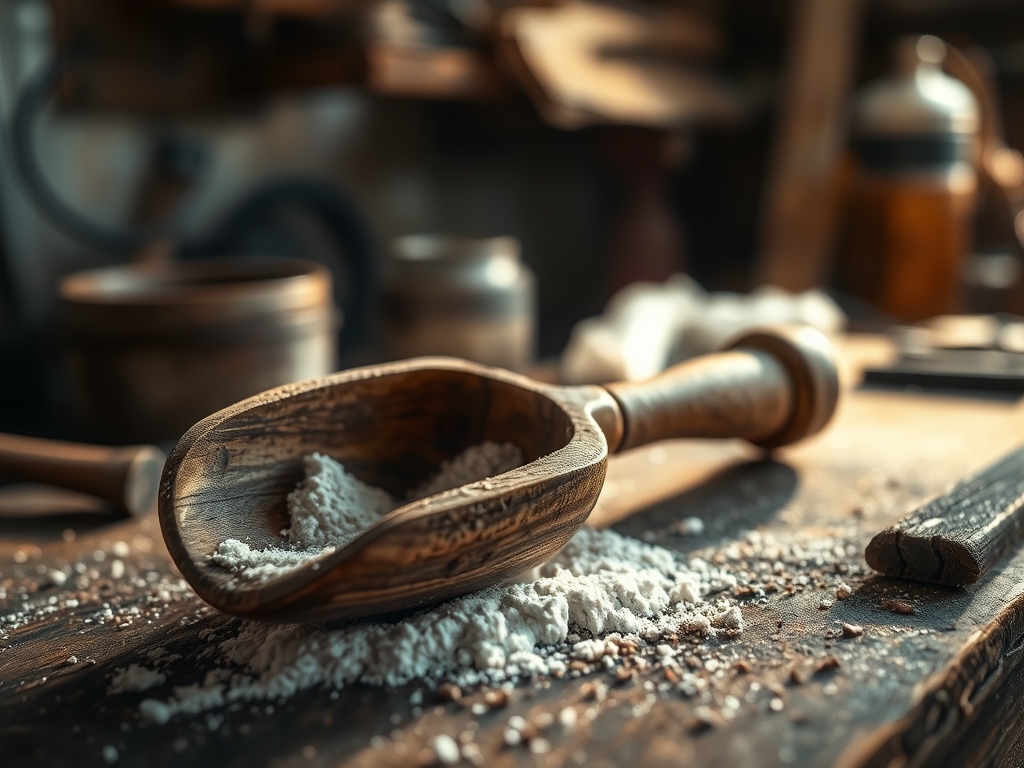
Imagine standing in front of a massive, raw slab of sugar maple; it is cold to the touch and smells faintly of a damp forest. You are not just looking at wood; you are looking at a dense network of cellulose and lignin waiting to be reshaped. Our mission today is Carving a Scoop for Flour out of this stubborn, high-density hardwood. This is a project that demands respect for grain direction and a deep understanding of tensile strength. When you run your thumb across the rough-sawn surface, you can feel the ridges where the sawmill blade bit into the fibers. Maple is notoriously unforgiving because of its tight, interlocking grain, but that is exactly why it makes the perfect heirloom kitchen tool. We are going to dive into the physics of the "long-grain transition" and how to hollow out a deep vessel without splitting the walls. It is a tactile journey that starts with a heavy thud of timber on the workbench and ends with a silky, burnished finish that feels like polished stone.
THE STUDIO KIT
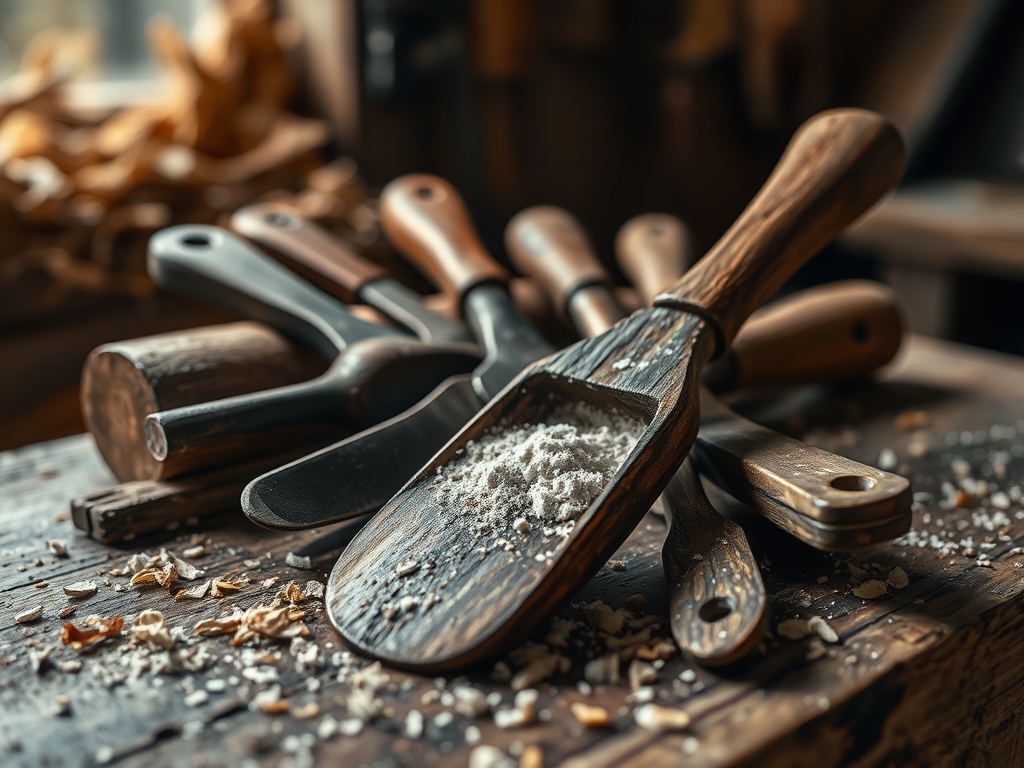
To master this build, you need a kit that balances brute force with surgical precision. Our primary material is Hard Maple (Acer saccharum), chosen for its high Janka hardness rating and closed-pore structure, which prevents flour particles from becoming trapped in the grain. You will need a deep-sweep gouge (specifically a #7 or #8) to move bulk material efficiently. For the exterior shaping, a straight-edge drawknife or a high-carbon steel sloyd knife is essential. Measurement is not optional here; use outside calipers to monitor wall thickness as you descend into the bowl. A mallet with a urethane head is preferred to dampen the vibration and protect your tool handles during heavy removal.
Material Substitutions: If maple feels too daunting for your first go, try Cherry. It offers a similar closed-pore safety for food use but has a lower density, making it easier to slice. Avoid "open-grain" woods like Oak or Ash for a flour scoop; the large vascular bundles will catch fine powders and eventually harbor moisture, leading to bacterial growth. If you want a luxury upgrade, Black Walnut provides incredible dimensional stability and a rich color that contrasts beautifully with white flour.
THE TEMPO
The "Maker's Rhythm" for a deep bowl is a game of three acts. First is the Reduction Phase (2 hours), where you are fighting the wood to find the rough form. This is high-energy, loud, and physically demanding. Next is the Refinement Phase (3 to 4 hours), where the pace slows down. This is where you listen to the sound of the blade; a sharp tool makes a "hiss" while a dull one makes a "crunch." Finally, we enter the Curing and Finishing Phase (24 hours to 1 week). Because we are working with organic material, the wood needs time to "relax" after the internal stresses are released by carving. If you rush the oiling process before the moisture levels stabilize, you risk checking or warping.
THE CORE METHOD
1. Mapping the Grain Architecture
Before the first chip flies, you must read the wood like a map. Use a graphite pencil to mark the center line and the "run-out" of the grain. Maple fibers are like a bundle of straws; if you carve "up" the grain, the blade will dive too deep and tear the fibers. Always carve from the rim toward the center of the bowl.
Mastery Tip: This is about structural integrity. By following the grain downhill, you ensure that the long-chain cellulose fibers remain continuous along the length of the scoop, which prevents the handle from snapping under the weight of heavy, packed flour.
2. The Bulk Excavation
Secure your blank in a heavy-duty vice. Using your #7 gouge and mallet, begin removing material from the center of what will be the bowl. Do not try to reach your final depth immediately. Work in concentric circles, moving from the center outward but stopping at least half an inch from your planned rim.
Mastery Tip: Observe the capillary action of the wood. If the wood appears "wet" or changes color as you go deeper, you are hitting internal moisture pockets. Slow down to allow the exposed surface to equalize with the studio air, preventing localized tension cracks.
3. Thinning the Walls with Calipers
Once the bulk is gone, switch to hand pressure only. Use your outside calipers every few strokes. You are aiming for a consistent wall thickness of approximately 3/16 of an inch. If one side is thicker than the other, the wood will dry unevenly, causing the scoop to go "out of round" or even crack.
Mastery Tip: This stage relies on mechanical equilibrium. A uniform wall thickness allows the wood to expand and contract evenly as humidity changes in a kitchen environment, ensuring your scoop stays functional for decades.
4. Refining the Ergonomic Tang
The handle, or "tang," must be shaped to fit the palm. Use a spokeshave or a sloyd knife to taper the handle where it meets the bowl. This transition point is the highest stress area of the tool. Avoid sharp 90-degree angles; instead, create a smooth, radiused curve to distribute force.
Mastery Tip: This is a lesson in ergonomics and physics. A radiused transition eliminates "stress risers," which are specific points where mechanical failure is likely to occur under load.
5. The Burnishing Finish
Instead of relying solely on sandpaper, which can clog the pores with dust, use a polished stone or a bone folder to burnish the surface. Rubbing the hard tool against the maple fibers compresses them, creating a natural luster and a hardened surface. Finish with a food-grade mineral oil or a beeswax blend.
Mastery Tip: Burnishing utilizes surface tension. By compressing the surface fibers, you make the wood less "thirsty," meaning it will absorb less moisture from the air and stay dimensionally stable over time.
THE TECHNICAL LEDGER
Maintenance & Longevity: Never soak your maple scoop in water. Wipe it with a damp cloth and re-apply a "butcher block" conditioner every six months. The tannins in the wood provide some natural antimicrobial properties, but keeping the wood hydrated with oil is your best defense against splitting.
Material Variations:
- Sustainable: Use reclaimed orchard prunings (Apple or Pear).
- Premium: Curly or "Tiger" Maple adds incredible visual "chatoyancy" but is twice as difficult to carve due to the undulating grain.
The Correction:
- The Tear-Out: If the blade catches and rips a chunk, stop immediately. Use a cabinet scraper to blend the area rather than more carving.
- The Thin Spot: If you carve a wall too thin, do not panic. Sand the rest of the bowl to match, but reinforce the exterior with a higher concentration of beeswax to add "body."
- The Handle Crack: If a small check appears in the handle, wick a tiny amount of food-safe cyanoacrylate glue into the crack and clamp it immediately.
Studio Organization: Store your drying blanks in a "slow-dry box" filled with the very wood chips you just carved. This creates a micro-climate that slows down the evaporation of moisture, preventing the wood from "shocking" and splitting.
THE FINAL REVEAL
Look at that! You have successfully transformed a heavy, stubborn block of Acer saccharum into a functional piece of art. The way the light catches the tight grain of the maple is nothing short of magical. It feels heavy in the hand, balanced, and incredibly smooth thanks to that burnishing technique. When you plunge this into a bag of flour, the aerodynamic shape of the scoop and the hardened surface will make the task feel effortless. You did not just make a kitchen tool; you mastered the physics of hardwood!
STUDIO QUESTIONS
Why is maple preferred for flour scoops?
Maple is a closed-pore hardwood, meaning it has a very fine grain structure. This prevents fine flour particles and moisture from entering the wood fibers, making it more hygienic and durable than open-pored woods like oak.
What happens if I carve against the grain?
Carving against the grain causes the wood fibers to lift and tear rather than being sliced cleanly. This results in "tear-out," which creates a rough, jagged surface that is difficult to sand and compromises the tensile strength of the piece.
How do I know if my wall thickness is even?
Use outside calipers to measure multiple points around the bowl. Alternatively, hold the scoop up to a strong light source; in thinner woods, you can see a faint "glow" through the walls, helping you identify thick spots visually.
Can I use a rotary tool for the whole project?
While an oscillating tool or rotary carver can remove material, it often generates high heat that can scorch maple. Hand tools provide better control over grain direction and leave a cleaner, "planed" surface that requires less finishing work.

