
The smell of freshly shorn white ash is better than any expensive candle. It is crisp and grassy with a hint of vanilla that hits your sinuses the moment the drawknife bites into the wood. We are not just making a tool here; we are engineering a lever that will withstand thousands of pounds of hydraulic pressure. Hand Sanding a Canoe Paddle is the meditative bridge between a rough timber blank and a refined hydrofoil. You can feel the vibration of the grain under your palms. Ash is famous for its incredible tensile strength and shock resistance; it is the same material used for professional baseball bats. As we thin the blade down to a delicate taper, we are managing the internal stresses of the cellulose fibers. If we go too thin, the blade snaps under a heavy draw stroke. If we stay too thick, your shoulders will scream after three miles of upstream paddling. We are hunting for that perfect balance of flex and rigidity that makes a paddle feel like an extension of your own skeletal system.
THE STUDIO KIT
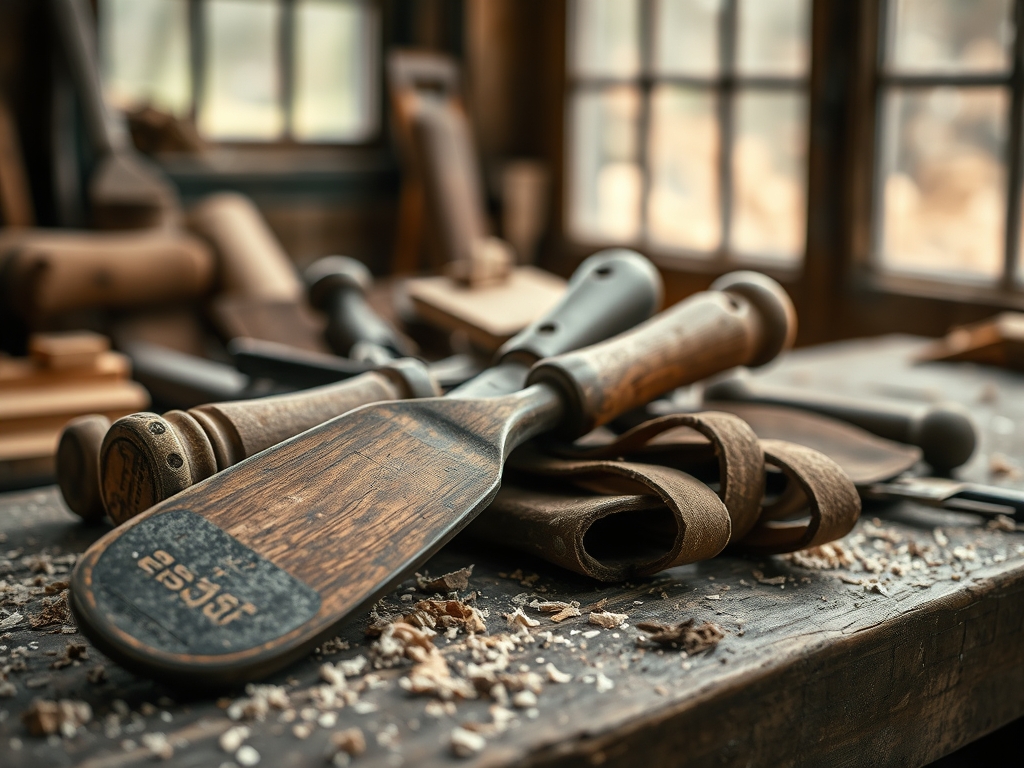
To transform a heavy slab of ash into a sleek river tool, you need a kit that respects the porous nature of the wood. Our primary tool for the heavy lifting is a spokeshave with a high carbon steel blade. This allows us to follow the grain contours without tearing the fibers. For the refined shaping, we use a cabinet scraper to remove the ridges left by the blade. When we move into the actual sanding phase, you will need a progression of aluminum oxide sandpaper ranging from 80 grit to 320 grit. I also keep a pair of digital calipers on the bench to ensure the blade thickness is symmetrical within a 0.5mm tolerance.
Material Substitutions: If you cannot source premium white ash, black cherry is a magnificent alternative. It is slightly softer and easier to carve but offers a beautiful burnish over time. If you are on a budget, clear yellow pine works, though its lower density means you must leave the shaft thicker to maintain structural integrity. You can substitute a standard wood rasp for a spokeshave if you are willing to spend more time in the sanding phase to remove the aggressive tooth marks.
THE TEMPO
The "Maker's Rhythm" for a paddle is dictated by the drying time of the wood and the endurance of your forearms. Expect to spend about four hours on the initial "rough out" where you define the ergonomic grip and the blade profile. The transition into the smoothing phase takes another three hours. The final finishing, which includes raising the grain and multiple coats of oil, spans three to five days due to the necessary oxidative polymerization of the finish. Do not rush the sanding. If you skip a grit level, the microscopic scratches will become glaringly obvious the moment the wood gets wet. Think of this as a marathon of friction; we are slowly compressing the surface fibers to create a water-shedding barrier.
THE CORE METHOD
1. Mapping the Grain Alignment
Before the first shaving falls, we use a pencil to mark the grain direction along the shaft. We always work "downhill" with the grain to prevent "tear-out," which occurs when the tool lifts the wood fibers instead of slicing them. Mastery Tip: Understanding grain orientation is vital because ash is ring-porous. If your grain runs perpendicular to the face of the blade, the paddle will be stiff; if it runs parallel, it will have more "spring" or flex.
2. The Taper and Foil
Using the spokeshave, we taper the blade from the "throat" (where the shaft meets the blade) down to the tip. We want a thin, sharp entry edge to minimize turbulence. Mastery Tip: This involves the physics of fluid dynamics. A sharp edge slices the water molecules rather than pushing them, which reduces the "drag coefficient" and saves you massive amounts of energy over an eight-hour paddling day.
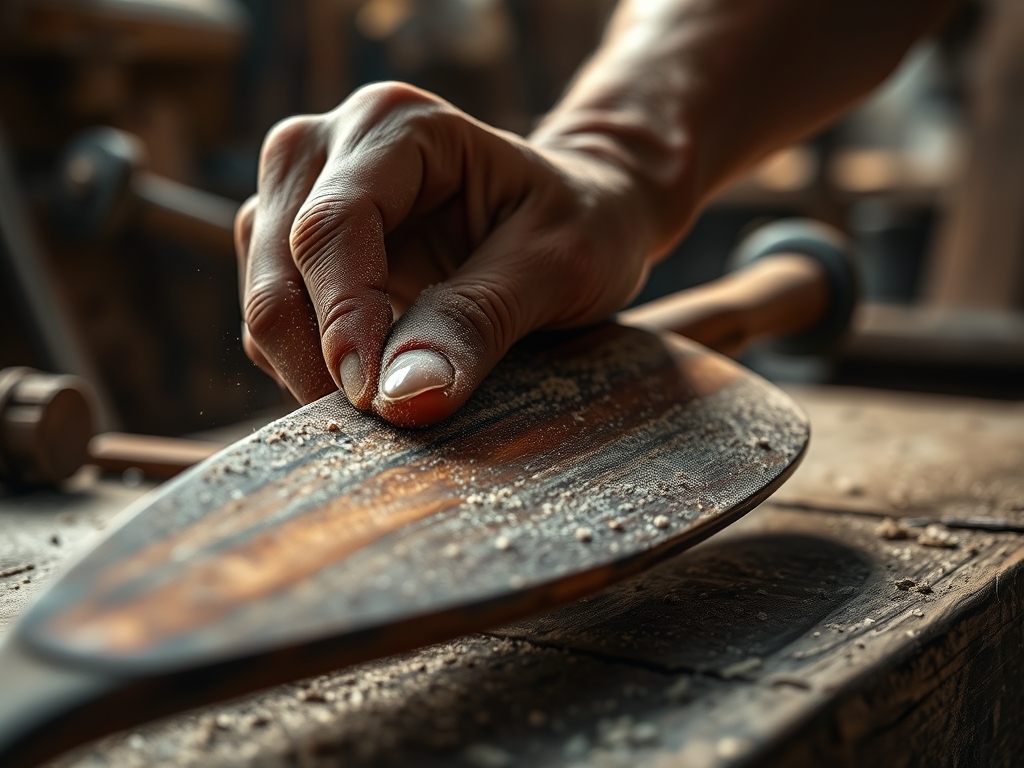
3. Hand Sanding a Canoe Paddle
We begin with 80 grit, sanding in long, fluid strokes that span the entire length of the piece. We never sand in one spot for too long to avoid creating "hollows." We progress through 120, 180, and 220 grits. Mastery Tip: Between each grit, we perform a "whisker rub" by wiping the wood with a damp cloth. This triggers capillary action, causing the compressed wood fibers to swell and stand up. Sanding these "whiskers" off ensures the paddle stays smooth even after it gets soaked in the river.
4. Refining the Grip
The grip must be shaped to fit your palm perfectly to prevent blisters. We use a small rasp and then fine sandpaper to create a "pear" or "T" shape. Mastery Tip: An ergonomic grip reduces "grip fatigue" by distributing the pressure across the entire palmar surface. This prevents localized friction points that lead to skin delamination during high-cadence paddling.
5. Sealing the Surface
We apply a deep-penetrating tung oil or spar varnish. The first coat is often thinned with mineral spirits to encourage deep penetration into the vascular bundles of the ash. Mastery Tip: This creates a hydrophobic barrier. By filling the cellular voids with cured oil, we prevent water from entering the wood, which would otherwise cause the paddle to warp or rot from the inside out.
THE TECHNICAL LEDGER
Maintenance & Longevity: After every trip, wipe the paddle dry. Once a year, lightly sand the surface with 320 grit and apply a fresh "maintenance coat" of oil. This replenishes the protective resins that have been eroded by UV exposure and water friction.
Material Variations:
- Sustainable: Reclaimed ash from "Emerald Ash Borer" salvage programs.
- Recycled: Laminated paddles using offcuts from flooring manufacturers.
- Premium: Quarter-sawn curly maple for high-shimmer chatoyancy and extreme hardness.
The Correction:
- The Gouge: If you slip with a tool, do not sand it out. Steam the area with a wet cloth and a soldering iron to "pop" the fibers back up.
- The Squeak: If the grip feels sticky, you applied the oil too thick. Wipe it down with citrus solvent and re-buff with a dry cloth.
- The Warp: If the blade twists during drying, clamp it to a straight board with a shim to "counter-bend" it back into alignment.
Studio Organization: Store your paddle horizontally in a cool, dry place. Never lean it against a wall at an angle for long periods, as the constant gravitational force can induce a permanent longitudinal bow in the ash shaft.
THE FINAL REVEAL
Look at that sheen! When you finish Hand Sanding a Canoe Paddle, the wood takes on a holographic quality. The light catches the latewood growth rings, showing off the incredible architectural strength of the ash. It feels warm, alive, and perfectly balanced at the fulcrum point. This isn't just a piece of wood anymore; it is a precision instrument designed for the silent, powerful movement of a vessel through water. You are ready to hit the rapids with a tool that was literally birthed from your own grip and grit.
STUDIO QUESTIONS
Why is ash the best wood for a river paddle?
Ash offers an elite strength-to-weight ratio and high tensile flexibility. It absorbs the shock of hitting rocks without snapping, making it the gold standard for durable, long-distance river trekking tools.
How do I know when I have sanded enough?
Close your eyes and run your bare hand over the surface. If you feel any "fuzz" or grain variation, keep sanding. The wood should feel like polished bone or cold silk before you apply the finish.
Can I use a power sander for this project?
You can use a random orbital sander for the flat blade surfaces, but the shaft and grip require the tactile feedback of hand sanding to maintain the subtle ergonomic curves and prevent flat spots.
What is the best finish for a working paddle?
A traditional oil finish like tung or linseed oil is best. It is easy to repair in the field and allows the wood to "breathe" and flex naturally without the cracking associated with thick epoxy coatings.

