
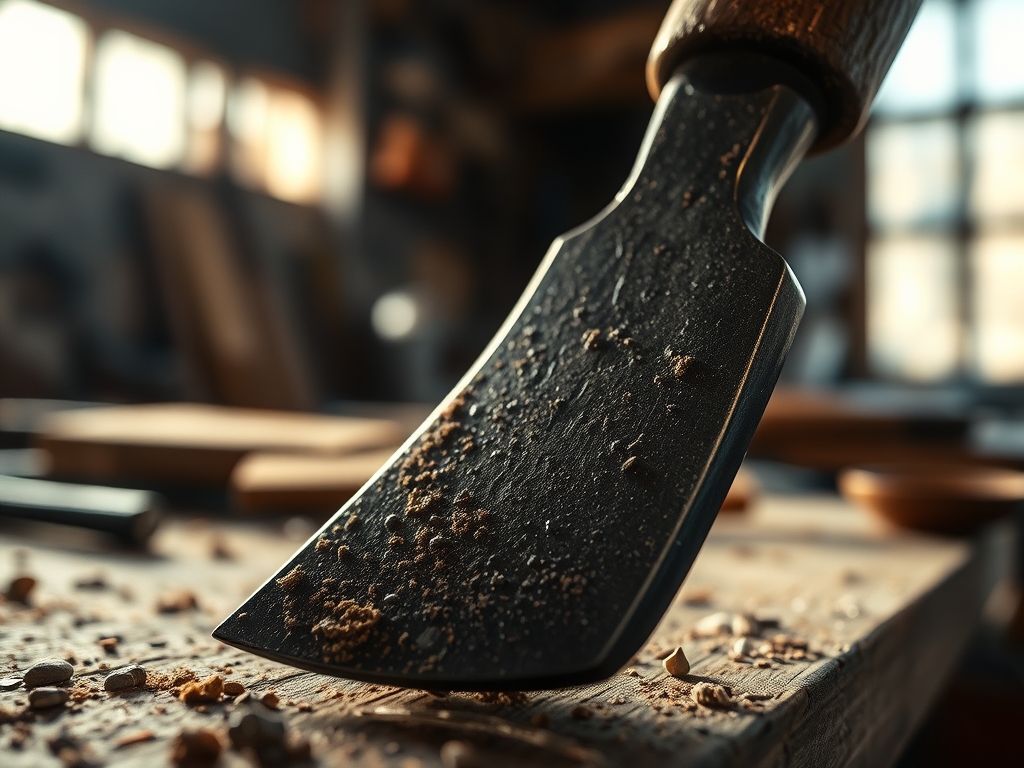
The scent of toasted tannins and cold iron is my absolute favorite morning perfume. There is something intensely visceral about the moment you realize your store bought tools are failing your craft. When you are pushing through a four millimeter thick vegetable tanned hide, you need more than just a pointy bit of metal; you need a masterpiece of geometry. Forging a Steel Awl is the ultimate rite of passage for any maker who bridges the gap between carpentry and leatherwork. It is about taking high carbon steel and forcing it to respect the delicate grain of a walnut handle. You can feel the potential energy humming in the raw materials. The steel is stubborn and cold, while the wood is porous and waiting for its purpose. We are not just making a hole puncher here. We are engineering a precision instrument designed to part fibers without tearing them. It is all about that perfect balance of tensile strength and ergonomic grace.
THE STUDIO KIT
To begin this transformation, your workbench needs a specific set of heavy hitters. We are looking for W1 Tool Steel or a repurposed high carbon drill bit. The carbon content is crucial because it allows us to achieve a Rockwell hardness that stays sharp through a thousand stitches. For the handle, grab a dense hardwood like Cocobolo or Black Walnut. These woods have a high natural oil content which aids in long term durability. You will also need a propane forge or oxy-acetylene torch, a heavy anvil or a flat section of railroad track, and a set of digital calipers to ensure your taper is mathematically sound.
If you are looking for Material Substitutions, do not panic. If you cannot source tool steel, an old masonry nail or a high quality hex key can be ground down. For the handle, if exotic hardwoods are out of reach, a piece of tightly grained white oak works beautifully, provided you treat it with a beeswax and linseed oil finish to seal the pores. You will also need a jeweler's saw for fine handle adjustments and a rotary cutter to prep your leather testing scraps.
THE TEMPO
The "Maker's Rhythm" is not about speed; it is about heat cycles and cooling rates. You should budget approximately four hours for this build. The forging phase takes about sixty minutes of focused "heat and beat" cycles. You are working against the clock of the metal's thermal conductivity. The annealing and tempering phase requires patience, often taking an hour of slow cooling to ensure the internal molecular structure is stable. Shaping the handle is the "flow state" portion, taking about ninety minutes of sanding and fitting. Finally, the sharpening and polishing phase is a thirty minute exercise in precision. Do not rush the cooling. If you quench too fast, you risk micro fractures that will snap the tip off during your first heavy stitch.
THE CORE METHOD
1. Drawing Out the Point
Heat the steel until it reaches a bright cherry red, roughly 1500 degrees Fahrenheit. Using your hammer, strike the end of the rod while rotating it to create a consistent four sided taper. Mastery Tip: This process relies on plastic deformation. By hammering the steel, you are physically displacing the atoms and refining the grain structure, which significantly increases the structural integrity of the final tip compared to just grinding it away.
2. The Diamond Geometry
Once the taper is established, refine the shape into a slim diamond cross section using a fine grade file or an oscillating tool with a metal sanding attachment. The diamond shape is essential for leatherwork because it slices a tiny slit that closes back up around the thread. Mastery Tip: This is all about surface tension reduction. A round awl tears a hole, but a diamond awl slices it, allowing the leather fibers to maintain their lateral strength.
3. Hardening and Tempering
Heat the tip back to non magnetic temperature and quench it in oil. The steel is now "glass hard" and brittle. Clean the metal and gently reheat it until it turns a light straw color. Mastery Tip: This is the science of martensite transformation. Hardening creates a rigid crystal structure, while tempering "relaxes" it just enough to provide toughness so the tool flexes instead of shattering under pressure.
4. Turning the Ergonomic Handle
Using a lathe or a drawknife, shape your hardwood into a bulbous "pear" shape that fits the palm of your hand. Use your calipers to measure the tang of your steel and drill a pilot hole slightly smaller than the metal's diameter. Mastery Tip: This creates an interference fit. The friction between the wood fibers and the steel tang ensures the tool will never wobble, even when applying significant downward force.
5. The Final Burnish
Sand the handle up to 1000 grit and apply a friction polish. Sharpen the steel on a series of whetstones up to 8000 grit until it can slice through a piece of 10 ounce bridle leather like butter. Mastery Tip: Use a bone folder to test the smoothness of your holes. A perfectly polished awl minimizes friction, meaning you use less physical energy per stitch, preventing hand fatigue over long projects.
THE TECHNICAL LEDGER
Maintenance & Longevity: Steel is prone to oxidation. After every session, wipe the blade with a drop of camellia oil. If the tip becomes dull, do not use a power grinder; use a manual strop with green chromium oxide paste to maintain the "scary sharp" edge without ruining the temper.
Material Variations: For a sustainable twist, use reclaimed "found" steel from old leaf springs. For a premium version, use Damascus steel for the blade and a brass bolster to prevent the wood from splitting at the stress point where the tang enters the handle.
The Correction:
- Mistake: The tip bends during use. Fix: The temper was too soft. Re-harden and temper at a lower temperature.
- Mistake: The handle splits. Fix: The pilot hole was too small. Use a drill bit that is exactly the thickness of the tang's midpoint.
- Mistake: The awl "grabs" the leather. Fix: There are microscopic scratches on the flats. Use a high grit polishing compound to achieve a mirror finish.
Studio Organization: Store your awl in a dedicated wooden rack or a leather sheath. Never toss it into a drawer with other metal tools. The high carbon steel will chip if it strikes other hardened surfaces, and the wood handle can dent, ruining the ergonomic feel.
THE FINAL REVEAL
Look at that! You have transitioned from a consumer to a creator. Holding a tool you forged yourself changes the way you approach your leather and wood projects. There is a specific "click" when the diamond point slides through a heavy hide, a sound that only a hand forged tool can make. The weight is perfect, the balance is centered in your palm, and the walnut handle feels like an extension of your own arm. This is not just a tool; it is a legacy piece that will probably outlive your workbench. Now, go find some scrap leather and feel that effortless glide. You earned it!
STUDIO QUESTIONS
What is the best steel for an awl?
W1 or O1 high carbon tool steel is ideal. These steels offer the best balance of edge retention and ease of heat treatment for home makers, ensuring the diamond point stays sharp through dense leather grains without frequent sharpening.
Why does my awl keep sticking in the leather?
Sticking is usually caused by microscopic burrs or a rough surface finish. To fix this, polish the blade to a mirror shine using high grit sandpaper and a leather strop. A smooth surface reduces friction and prevents the leather from gripping.
Can I use a regular hammer for forging?
A standard claw hammer is too light and the face is too small. Use a two pound cross peen hammer. The weight provides the necessary kinetic energy to move the hot steel, while the peen helps in drawing out the taper.
How do I know if the steel is tempered correctly?
Watch the oxide colors as you heat the cleaned steel. A light straw color (around 450 degrees Fahrenheit) indicates the perfect hardness for an awl. If it turns blue, the steel has become too soft and must be re-hardened.
Is hardwood necessary for the handle?
Yes, because hardwoods like walnut or oak have the density required to withstand the "driving" force of the awl. Softwoods like pine will compress and eventually allow the steel tang to wobble, ruining the tool's precision and safety.

