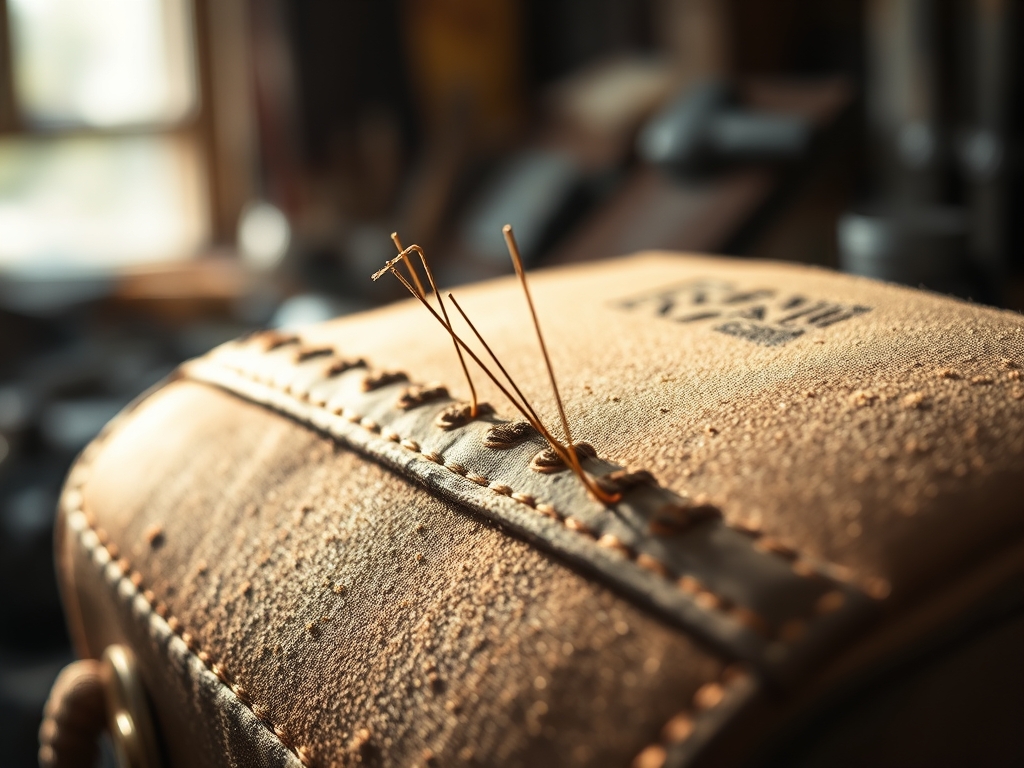
The scent of vegetable tanned leather is a heavy; intoxicating perfume that fills the studio the moment you unroll the hide. It is thick; fibrous; and possesses a structural integrity that demands respect before you even pick up a blade. When you are Hand Stitching a Saddle Bag; you are not just making an accessory; you are engineering a tactical vessel designed to withstand 80 mile per hour winds and the relentless vibration of a v-twin engine. Feel the grain. It is a tactile map of organic density. We are looking for a thickness of at least six ounces; providing the tensile strength necessary to hold its shape against the heat of the exhaust and the weight of your gear. This is the ultimate marriage of mechanical physics and high fashion. We are building something that breathes; ages; and survives. Grab your coffee; because we are about to turn this raw; porous material into a masterpiece of aerodynamic utility.
THE STUDIO KIT
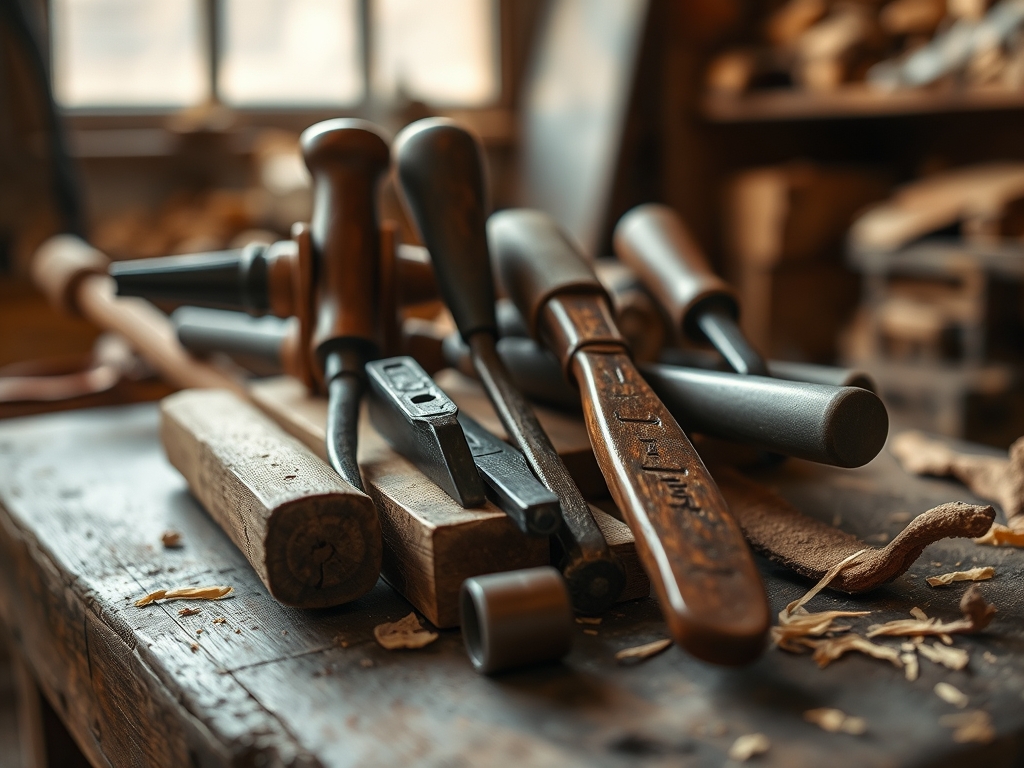
To build a professional grade carry system; your toolkit must be as precise as a surgeon's tray. We start with Full Grain Veg-Tanned Leather; specifically chosen for its ability to be wet-molded and its high collagen density. For the assembly; you will need Polyester Braided Thread; which offers superior UV resistance compared to nylon. Your primary tools include a Diamond Awl for piercing; Pricking Irons for consistent spacing; and Scratch Dividers to map your stitch lines with mathematical precision.
Material Substitutions: If you cannot source premium bovine hide; look for Heavyweight Synthetic Biothane for straps. It offers incredible tensile strength and is completely waterproof. For thread; a Waxed Linen can work for a vintage aesthetic; though it requires more frequent maintenance with beeswax to prevent fraying from wind friction. Always have your Digital Calipers ready to measure thickness variations across the hide; as leather is an organic material with natural fluctuations in gauge.
THE TEMPO
The "Maker's Rhythm" is a psychological state where the repetition of the needle becomes a metronome. Designing and Hand Stitching a Saddle Bag is not a weekend sprint; it is a forty hour marathon of focus. The Patterning Phase takes roughly five hours; requiring total mental clarity to account for seam allowances and hardware displacement. The Cutting and Edging Phase consumes another eight hours; as every edge must be beveled and burnished to seal the fibers against moisture.
The Stitching Phase is the longest; often requiring twenty plus hours of manual labor. This is where the rhythm settles in. You will find that your heart rate drops as you master the Saddle Stitch; a technique where two needles pass through the same hole from opposite directions. This creates a locking mechanism that will not unravel even if one thread is severed. Finally; the Finishing and Rigging Phase takes seven hours to ensure the mounting points are balanced and the weight distribution is ergonomically sound for the motorcycle frame.
THE CORE METHOD
1. Mapping the Architecture
Begin by using your Scratch Dividers to mark a line exactly four millimeters from the edge of your leather panels. This creates a guide for your stitching. Mastery Tip: This distance is critical for Structural Integrity. If the stitch is too close to the edge; the leather may "blow out" under the stress of heavy loads. If it is too far; the edges will flare and trap moisture; leading to premature rot.
2. The Punch and Pierce
Align your Pricking Irons on the scribed line and strike with a poly mallet. You are not just making holes; you are creating a path of least resistance for the thread. Mastery Tip: Use a Lead Weight or a heavy granite slab under your work surface. This prevents kinetic energy from dissipating; ensuring that every punch is clean and vertical; which maintains the Geometric Alignment of the front and back of the seam.
3. The Traditional Saddle Stitch
Measure your thread to be four times the length of the seam. Thread a needle on each end. Pass the first needle through; center the thread; and then begin the cross-over pattern. Mastery Tip: This technique utilizes Frictional Locking. By crossing the threads within the leather; you create a mechanical bond that distributes tension across the entire surface area of the hole rather than a single point.
4. Beveling and Burnishing
Once the stitching is complete; use an Edge Beveler to remove the sharp 90 degree corners of the leather. Rub the edges vigorously with a Wood Slicker and a bit of water or gum tragacanth. Mastery Tip: The heat generated by friction during burnishing causes the Lignin and Fibers to fuse together. This creates a localized plasticization that seals the edge; making it nearly impervious to water penetration.
THE TECHNICAL LEDGER
Maintenance & Longevity: To keep your saddle bag in peak condition; apply a Neatsfoot Oil or a high quality tallow conditioner every six months. This keeps the fibers lubricated; preventing the "brittle fracture" that occurs when leather dries out and loses its elasticity.
Material Variations: While we love traditional leather; Recycled Fire Hose is an incredible sustainable alternative for high friction areas. It has a high Denier Count and is designed to handle extreme pressure. For a premium upgrade; consider lining the interior with Pigskin; which is exceptionally abrasion resistant and adds a layer of luxury to the tactile experience.
The Correction:
- Misaligned Holes: If your pricking iron slipped; do not force the stitch. Use a Modeling Spoon to compress the leather and "heal" the hole; then re-punch.
- Thread Tension: If the leather is puckering; your tension is too high. Use a Bone Folder to smooth the seam and redistribute the thread slack.
- Uneven Burnish: If the edge looks fuzzy; you likely have "grain tear." Sand the edge with 400 Grit Sandpaper in one direction only before re-slicking.
Studio Organization: Store your leather flat in a climate controlled environment. Never store it in plastic; as leather is Porous and needs to breathe to prevent mold. Use a Vertical Rack for your templates to prevent warping.
THE FINAL REVEAL
There is a moment of pure electricity when you first cinch those straps onto the bike's frame. The bag sits flush; a custom engineered extension of the machine itself. The hand stitched seams catch the light; showing off the perfect; slanted rhythm of the thread. It feels rugged; heavy; and indestructible. This isn't just a bag; it is a testament to your patience and your understanding of material physics. As you hit the road; the wind will begin the natural "breaking in" process; softening the leather in all the right places while the saddle stitch holds everything in a permanent; secure embrace.
STUDIO QUESTIONS
Why is vegetable tanned leather better for saddle bags?
Veg-tanned leather has high dimensional stability and can be wet-molded. Unlike chrome-tanned leather; it contains tannins that react with heat to create a firm; protective shell that maintains its shape against the motorcycle's frame under heavy vibration.
What thread weight should I use for motorcycle gear?
Use at least a 0.8mm or 1.0mm braided polyester thread. This gauge provides the necessary tensile strength to support the weight of tools and gear while resisting the abrasive forces of wind and road debris over time.
How do I prevent the bag from sagging over time?
Integrate a Kydex or internal HDPE stiffener between the leather layers. This adds a rigid skeletal structure that compensates for the leather's natural tendency to soften; ensuring the bag does not interfere with the bike's moving parts.
Can I use a sewing machine instead of hand stitching?
While possible; hand stitching is superior for vibration-heavy environments. A machine's lockstitch will completely unravel if one loop breaks; whereas a manual saddle stitch remains secure because the two threads are not structurally dependent on one another.
How do I waterproof my hand stitched seams?
Apply a heavy coat of beeswax or paraffin directly over the stitches. Use a heat gun on a low setting to melt the wax into the thread and holes; utilizing capillary action to seal the gaps against moisture.