
Imagine the sharp, metallic tang of high carbon steel meeting the dry, earthy scent of a charcoal forge. There is a specific kind of magic in taking a discarded file and transforming it into a lifeline. Today, we are Forging a Steel Fire Striker using methods that haven't changed since the Iron Age. You can feel the potential energy stored in the cold metal; it is rigid, stubborn, and waiting for the heat to break its internal tension. When we talk about survival tools, we are not just making a gadget. We are manipulating the molecular structure of iron to create a tool that can literally conjure heat from a stone. Grab your safety gear because we are about to dance with fire and physics. This process requires more than just muscle; it demands an understanding of how heat travels through a crystalline lattice. We are going to bend, temper, and quench our way to a functional masterpiece that fits perfectly in the palm of your hand.
THE STUDIO KIT
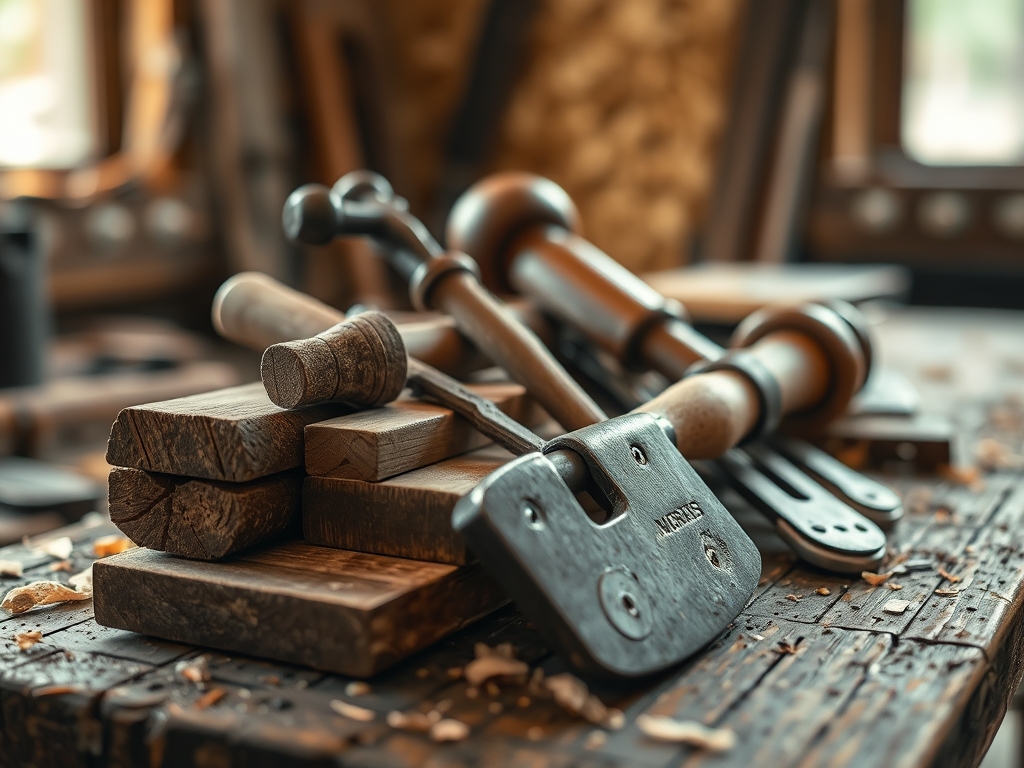
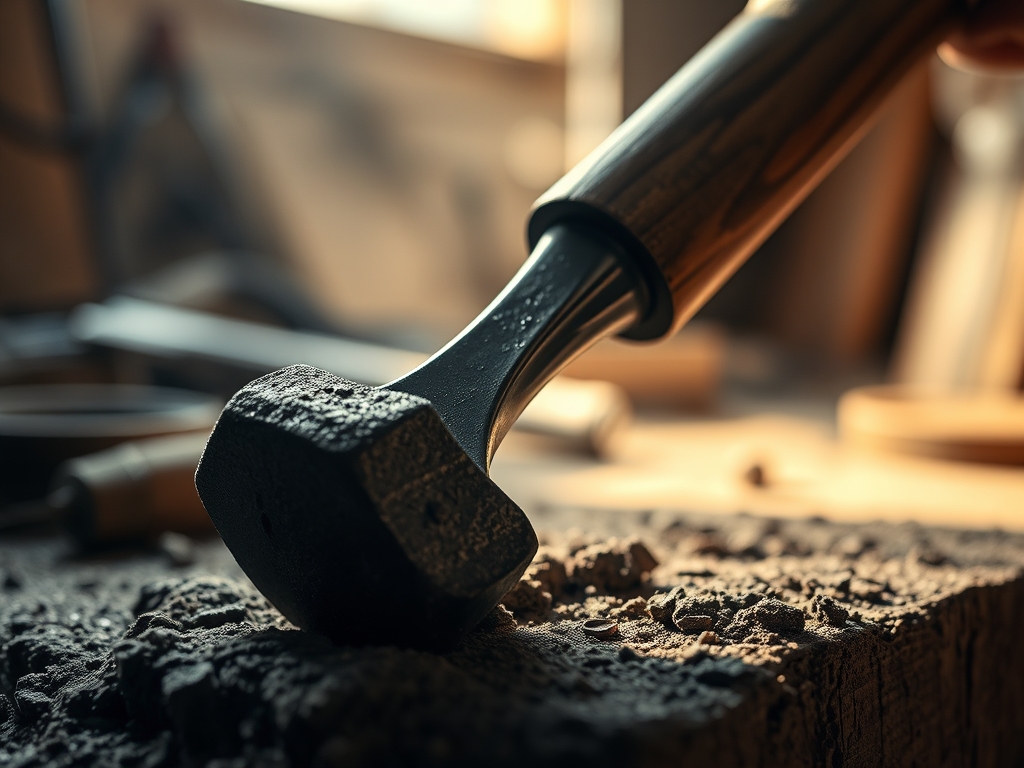
To master this craft, you need a kit that balances brute force with surgical precision. Our primary material is W1 or 1095 high carbon steel. This is non-negotiable because mild steel lacks the carbon content necessary to create those glorious, molten sparks. You will need a post anvil or a heavy steel block to act as your workspace. For shaping, a 2-pound cross-peen hammer is your best friend; it allows you to move metal in specific directions by concentrating force.
You will also need heavy-duty tongs to maintain a secure grip on the workpiece while it is at a glowing 1,800 degrees Fahrenheit. For the finishing touches, keep a bastard file and a wire brush nearby to clear away the fire scale. If you are working in a modern studio, an oscillating tool with a grinding attachment can speed up the smoothing process, though a traditionalist would stick to the file.
Material Substitutions: If you cannot source raw 1095 steel, look for an old farrier's file or a recycled leaf spring from a vintage truck. These are high-carbon goldmines. Just ensure they are not "case-hardened" mild steel, which only has a thin layer of carbon on the outside. We need that carbon density all the way through the gauge of the metal.
THE TEMPO
The "Maker's Rhythm" is all about heat management. You cannot rush the molecules. Forging the basic shape usually takes about 45 minutes of active hammer time, divided into short, intense bursts of "heats." Each heat lasts about 60 to 90 seconds before the metal loses its plasticity and must return to the forge.
The Annealing Phase requires patience; you must let the steel cool slowly in a bucket of vermiculite for several hours to soften it for filing. Finally, the Heat Treatment (the hardening and tempering) takes about an hour, including the soak time in the oil quench. Total active labor is roughly three hours, but the cooling cycles mean you should dedicate a full afternoon to the studio.
THE CORE METHOD
1. Drawing Out the Taper
First, we heat the steel until it reaches a bright cherry red. Using the cross-peen hammer, we strike the end of the bar to "draw it out," which involves lengthening the metal while reducing its thickness. This increases the tensile strength of the transition point where the handle meets the striking face.
Mastery Tip: Always maintain a consistent grain direction by hammering in one direction. If you hammer haphazardly, you risk creating "laps" or cold shuts, which are structural cracks that will cause the striker to snap during the quench.
2. Scrolling the Decorative Ears
Once the ends are tapered to a fine point, we use the horn of the anvil to curl the ends into elegant scrolls. This is not just for aesthetics; these scrolls provide an ergonomic grip and increase the surface area for heat dissipation. Use a jeweler's saw if you need to trim any ragged edges before the final curl.
Mastery Tip: This step relies on thermal mass. The thinner the tip, the faster it loses heat. Work quickly on the scrolls and return the piece to the forge the second the color fades to a dull red to prevent "red shortness" or cracking.
3. Flattening the Striking Face
The "business end" of the striker needs to be perfectly flat and smooth. We use the face of the hammer to plane the surface, ensuring there are no deep pits. A flat surface ensures maximum contact with the flint, which is essential for shearing off those tiny, glowing bits of steel.
Mastery Tip: Use a burnishing technique with a smooth hammer face at a lower heat (dull red) to "pack" the surface. This creates a denser surface finish and reduces the amount of grinding needed later.
4. The Hardening Quench
This is the moment of truth. We heat the striker until it is no longer magnetic; check this with a magnet on a string. Once it hits that critical temperature, plunge it vertically into a vat of warm canola oil. This "freezes" the carbon atoms in a state of high tension called martensite.
Mastery Tip: Avoid horizontal entry into the oil. This causes uneven cooling across the cross-section, leading to warping or "the ping of death" where the steel literally tears itself apart due to internal stress.
5. Tempering for Toughness
A fully hardened striker is as brittle as glass. We need to "draw the temper" by heating it gently (around 400 degrees Fahrenheit) until the steel turns a light straw color. This restores some elasticity without sacrificing the hardness needed for sparks.
Mastery Tip: Use a brass brush to clean a small window of steel before tempering so you can accurately see the oxide colors change. This visual feedback is more accurate than many consumer-grade thermometers.
THE TECHNICAL LEDGER
Maintenance & Longevity: Steel is porous at a microscopic level and prone to oxidation. After every use, wipe your striker with a light coat of mineral oil or beeswax. Store it in a dry leather pouch to prevent moisture from the air from causing "pitting," which ruins the striking edge.
Material Variations:
- Sustainable: Recycled railroad spikes (high carbon versions marked "HC").
- Premium: Damascus steel (pattern-welded) for a stunning visual ripple effect.
- Experimental: Adding a copper-clad handle for antimicrobial properties and weight balance.
The Correction:
- No Sparks: The steel is too soft. Fix: Re-harden the tool and ensure you are using a "fast" quench oil.
- Cracking: You hammered the steel while it was too cold. Fix: Grind out the crack if shallow; otherwise, you must start over with a fresh blank.
- Warping: Uneven heating or quenching. Fix: Re-heat to a dull red and gently straighten on a wooden block before re-quenching.
Studio Organization: Store your high-carbon blanks in a "VCI" (Vapor Corrosion Inhibitor) paper wrap or a sealed bin with silica packets. This prevents the degradation of the raw material before you even start your project.
THE FINAL REVEAL
Look at that! You have successfully manipulated fire and iron to create a tool that is both primitive and sophisticated. The finished fire striker should feel balanced in your hand, with a striking face that is glass-hard and scrolls that are smooth to the touch. When you strike it against a piece of English flint, it should produce a shower of hot, white sparks. There is an incredible sense of empowerment in knowing you can create fire using a tool you forged yourself. This isn't just a survival item; it is a piece of functional art that carries the weight of history in its steel.
STUDIO QUESTIONS
Why does high carbon steel produce sparks?
When the hard flint shears off microscopic flakes of carbon steel, the friction generates enough heat to ignite the iron. The carbon acts as a fuel, causing the tiny particles to burn brightly as they fly through the air.
Can I use a propane torch instead of a forge?
Yes, a high-output propane torch can reach the necessary temperatures for small strikers. However, you must use a firebrick "forge" setup to trap the heat, or the metal will lose temperature too quickly to hammer effectively.
What happens if I quench the steel in water?
Water is a much more aggressive quench medium than oil. While it makes the steel extremely hard, it often causes high-carbon steel to crack or shatter instantly due to the violent speed of the thermal contraction.
How do I know if my old file is high carbon?
Perform a "spark test" with a grinder. High carbon steel produces a dense "bush" of sparks that explode into many smaller starbursts. Mild steel produces long, straight sparks with very few secondary explosions at the ends.

