
Imagine the scent of fresh sap and the gritty, cool texture of raw bark against your palms as you begin Building a Rustic Log Fence. There is a specific, primal satisfaction in dragging a heavy limb across the earth; the weight tells you everything about the density of the wood and its moisture content. We are not just stacking sticks here. We are engineering a boundary that breathes with the landscape. You can feel the potential energy stored in every cedar or locust post. It is heavy, it is honest, and it is going to look absolutely incredible once we master the physics of the joinery.
THE STUDIO KIT
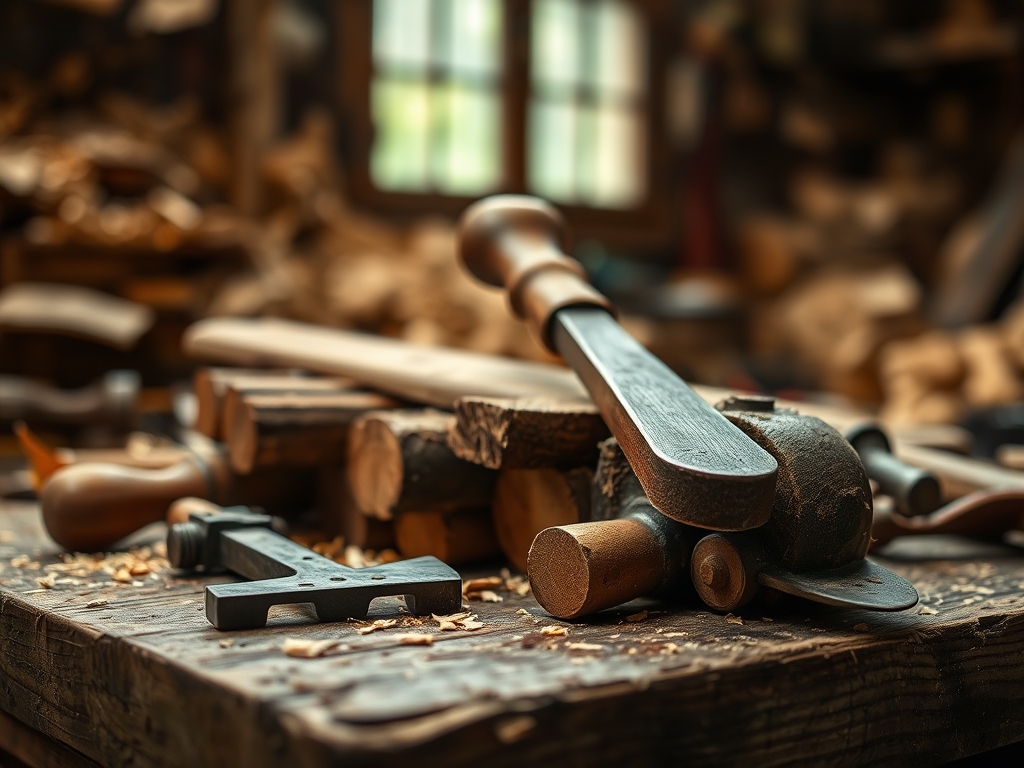
To execute this project with professional precision, you need tools that respect the tensile strength of organic fibers. Forget the flimsy garden shears. You need a heavy-duty post hole auger to penetrate the subsoil and a high-torque oscillating tool for detail work on the notches. Grab a pair of calipers to measure the diameter of your logs at both the butt and the tip; this ensures your rails remain level despite the natural taper of the wood.
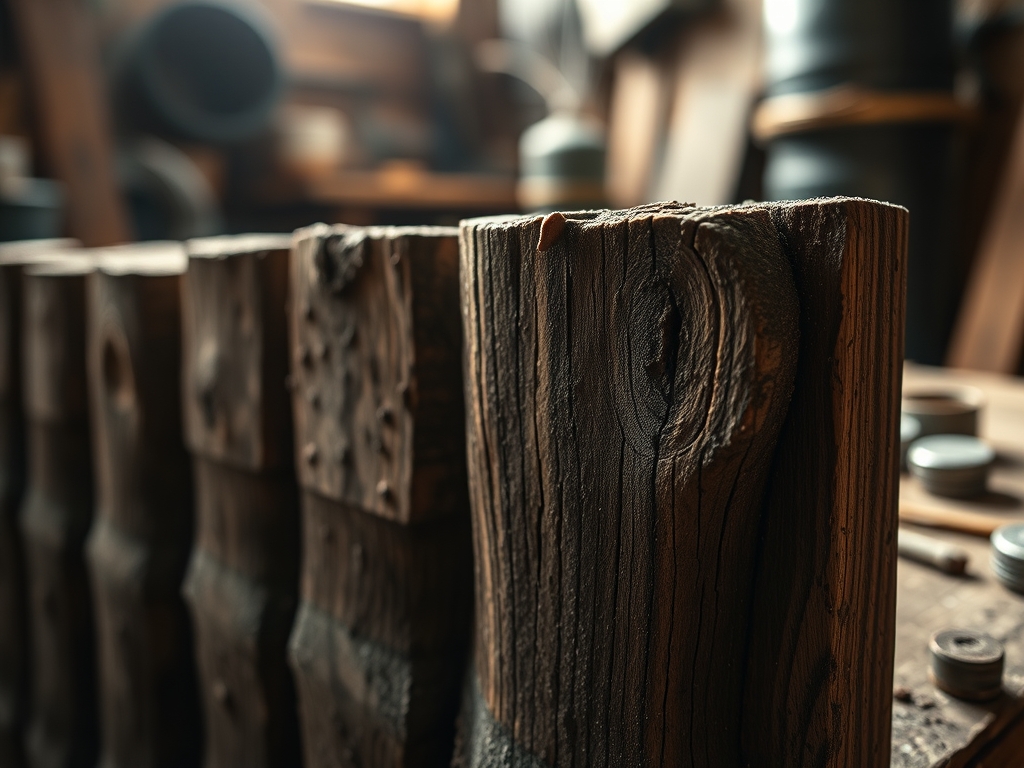
The primary material is raw timber. Black Locust or Western Red Cedar are the gold standards because their high tannin content provides a natural defense against rot. For the hardware, use hot-dipped galvanized spikes to prevent the corrosive reaction that occurs when steel meets the acidic moisture in green wood.
Material Substitutions: If you cannot source rot-resistant hardwoods, you can use pressure-treated pine, but you must burnish the ends with a torch or apply a copper naphthenate solution to mimic the natural longevity of cedar. For a more delicate look, swap the heavy logs for saplings, though you will need to increase the post frequency to maintain structural integrity.
THE TEMPO
The "Maker's Rhythm" for a log fence is dictated by the sun and your own physical endurance. This is a high-impact project that requires a steady cadence to avoid fatigue.
- The Harvest and Prep (4-6 Hours): Stripping bark and sorting logs by diameter.
- The Foundation (3-5 Hours): Setting posts. This is the most critical phase for long-term stability.
- The Assembly (4-8 Hours): Notching and securing rails.
- The Curing (2 Weeks): Allowing the wood to settle and lose initial surface moisture before any final sealing.
THE CORE METHOD
1. Surveying the Topography
Before you dig, you must understand the hydrostatic pressure of your land. Use a string line and a line level to establish a datum point. This ensures that even if the ground dips, your fence line maintains a professional, cohesive flow.
Mastery Tip: Always account for capillary action. If you set your posts directly into concrete without a gravel base, moisture will be pulled upward into the wood fibers, leading to premature internal rot. A six-inch layer of crushed stone at the bottom of the hole allows for essential drainage.
2. Setting the Anchor Posts
Your end posts are the anchors for the entire system. Dig your holes at least thirty inches deep to get below the frost line. This prevents heaving, where the freezing and thawing of the soil physically ejects your fence from the ground.
Mastery Tip: Use a plumb bob rather than a standard level for tall posts. Gravity is the ultimate arbiter of verticality, and a plumb bob is unaffected by the natural bumps and curves of a rustic log's surface.
3. The Scarf Joint and Notching
To join two rails over a single post, you need a scarf joint. This involves cutting overlapping angles on the rail ends so they sit flush against one another. Use an oscillating tool or a sharp drawknife to create a "saddle" notch in the post.
Mastery Tip: This is all about surface tension and friction. A tight-fitting notch increases the surface area contact between the two pieces of wood, which distributes the load more evenly across the grain and prevents the wood from splitting under its own weight.
4. Securing the Rails
Drive your galvanized spikes at a slight angle rather than straight down. This "toenailing" technique creates a mechanical lock that is much harder to pull apart as the wood shrinks and expands with the seasons.
Mastery Tip: Understanding hygroscopy is vital. Wood is a living sponge; it will expand in the humidity and shrink in the dry cold. By leaving a 1/8-inch gap in your joints, you provide a "breathing room" that prevents the wood from buckling or cracking your posts.
THE TECHNICAL LEDGER
Maintenance & Longevity
A rustic fence is a marathon, not a sprint. Every two years, inspect the "ground-to-air" interface. This is where the post meets the soil and is the most common point of failure. Apply a specialized wood preservative to this area to maintain the porous seal. If a rail begins to sag, check the grain direction; you may need to flip the rail so the natural "crown" of the wood faces upward, using gravity to straighten it over time.
Material Variations
- Sustainable: Use "dead-standing" timber cleared from fire-mitigation zones.
- Recycled: Repurpose old telephone poles, though be wary of the creosote treatments.
- Premium: Hand-peeled Larch logs offer a stunning, smooth aesthetic with incredible weather resistance.
The Correction: 3 Common Mistakes
- Mistake: Setting posts in "wet" concrete. Fix: Use a dry-pack method or gravel to allow moisture to escape.
- Mistake: Ignoring the taper. Fix: Alternate the direction of your rails (butt-to-tip) to keep the fence height consistent.
- Mistake: Using small-gauge nails. Fix: Switch to 6-inch timber screws with a wide head to prevent the hardware from pulling through the soft outer rings of the wood.
Studio Organization
Store your extra logs off the ground on "stickers" (small scrap wood spacers). This allows air to circulate around all sides of the timber, preventing mold growth and ensuring the wood cures evenly without warping.
THE FINAL REVEAL
Look at that line! There is nothing quite like the sight of a hand-built log fence stretching across a field. It looks like it grew there. By respecting the cellular structure of the wood and the physics of the earth, you have created a border that is both a fortress and a work of art. The way the light hits the raw, textured grain in the evening is pure magic. You did not just build a fence; you mastered the land.
STUDIO QUESTIONS
What is the best wood for a log fence?
Black Locust and Western Red Cedar are superior due to their high tannin content. These natural chemicals act as a built-in fungicide and insect repellent, ensuring the wood remains structurally sound for decades without heavy chemical treatments.
How deep should fence posts be buried?
Posts should be buried at least one-third of their total height. In colder climates, you must dig below the local frost line, typically 30 to 36 inches, to prevent the ground from heaving the posts upward during winter.
Should I remove the bark from the logs?
Yes, removing bark is essential for longevity. Bark traps moisture and provides a habitat for wood-boring insects. Use a drawknife to strip the logs, which exposes the cambium layer and allows the wood to dry and harden properly.
How do I stop the logs from splitting?
Apply a wax-based end-grain sealer to the cuts immediately after sawing. This slows the evaporation of moisture from the ends of the logs, preventing the rapid shrinkage that causes deep cracks, known as checking, along the length of the wood.
Can I build this fence on a slope?
Absolutely. Use the "stepping" method where rails remain horizontal while the posts vary in height. This maintains the structural integrity of the joinery and creates a clean, professional look that follows the natural rise and fall of your landscape.

