
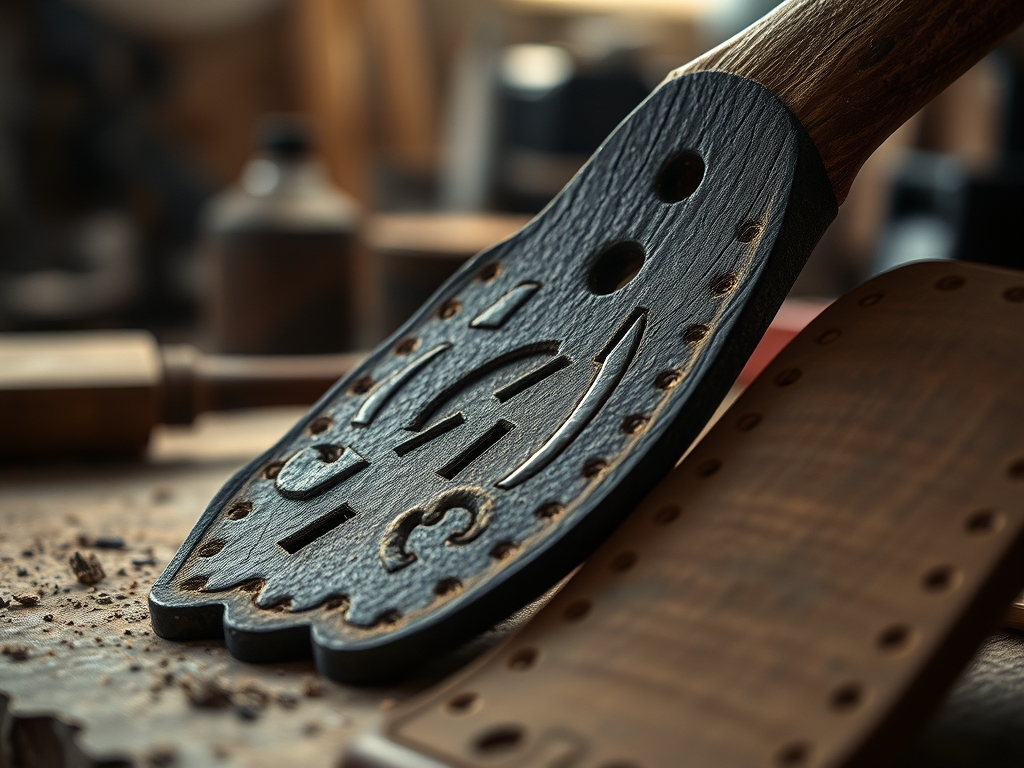
The scent hits you before you even walk through the studio door; it is that rich, earthy perfume of vegetable tanned hide that promises a day of absolute creative focus. You know the feeling when you run your thumb across a piece of raw, four ounce shoulder and realize it is basically a blank canvas with the structural integrity of a skyscraper? That is the magic of working with Hand Tooled Leather Patterns in a classic western floral style. We are talking about taking a biological material with complex collagen fibers and literally sculpting it into art. It is not just about drawing pretty flowers; it is about understanding how the moisture content of the leather affects its plasticity and how your swivel knife interacts with the grain direction. When you get the casing just right, the blade glides through the surface like it is cutting through chilled butter. It is tactile, it is grounded, and it is honestly the most satisfying way to spend an afternoon. Grab your coffee because we are about to dive deep into the physics of the Sheridan style.
THE STUDIO KIT
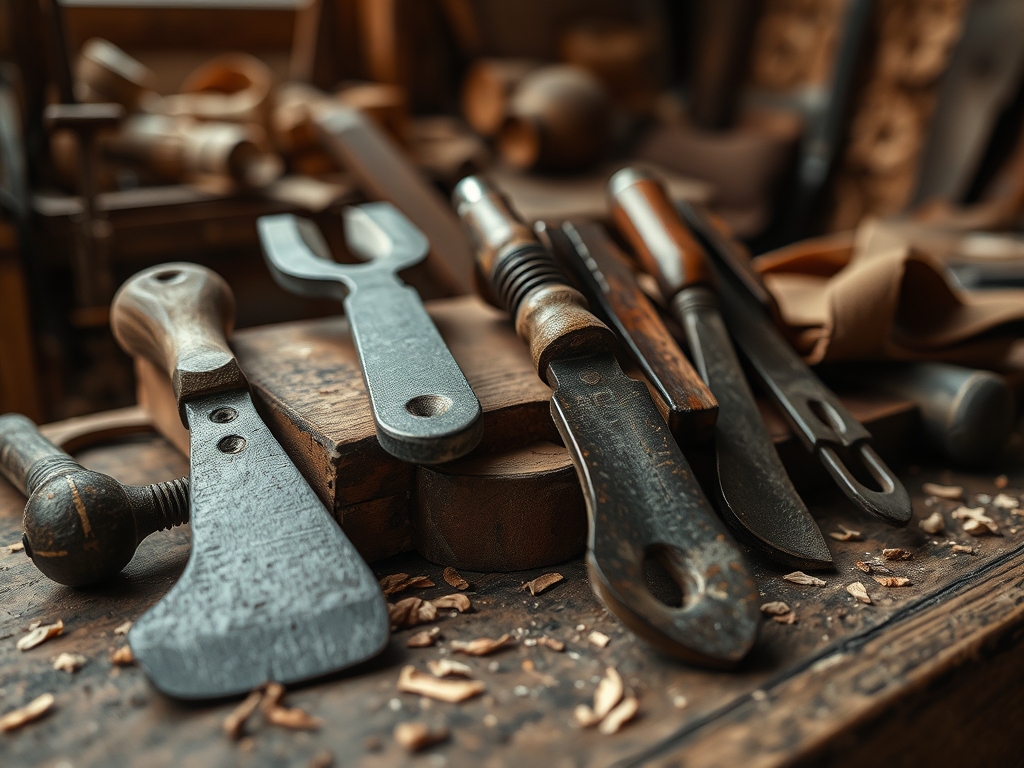
To master this craft, you need a kit that respects the tensile strength of your medium. At the heart of your bench sits the swivel knife, a tool with a ball bearing yoke designed for ergonomic fluid motion. You will want a high carbon steel blade; it holds a finer edge than stainless steel, which is vital when you are navigating the tight radii of a traditional scroll. Next, your stamping set should include a checkered beveler, a pear shader, and a mule foot. These are your chisels for creating three dimensional depth.
You also need a poly mallet or a rawhide maul. Never use a metal hammer on your stamps; the shock waves can shatter the tool or mar the leather surface. For the material itself, stick to vegetable tanned cowhide. This specific tanning process uses tannins from tree bark, leaving the leather porous enough to absorb water and retain the shape of your impressions. If you are looking for Material Substitutions, you can use heavy synthetic leather for basic stamping practice, but it lacks the capillary action required for true casing and burnishing. For a more sustainable route, look for "deadstock" leather from high end upholstery shops, though you must ensure it is not chrome tanned, as chrome tanned hides will not hold a stamped impression.
THE TEMPO
Every project has a heartbeat, and in leatherwork, that rhythm is dictated by the evaporation rate. You cannot rush the casing phase, which takes about four to six hours depending on your studio's humidity. This is when you saturate the leather and let it dry until it returns to its natural color but feels cool to the touch. The actual carving and stamping of your Hand Tooled Leather Patterns will take another three to five hours for a standard belt or wallet panel.
The "Maker's Rhythm" is a cycle of tension and release. You spend an hour in high focus with the swivel knife, followed by the rhythmic, percussive beat of the mallet during the beveling stage. Finally, the finishing and burnishing phase takes about two hours. Total active time usually lands around ten hours, but the "calendar time" is closer to two days to allow for proper moisture stabilization between steps.
THE CORE METHOD
1. Casing the Hide
Before a single tool touches the surface, you must manage the leather's internal moisture. Submerge your leather in distilled water until the bubbling stops, then place it in a sealed plastic bag overnight. This ensures the water penetrates the medullary layer of the hide.
Mastery Tip: This process relies on capillary action to distribute moisture evenly. If the leather is too wet, the fibers will mush; if it is too dry, they will resist the tool. Proper casing allows the collagen fibers to become temporarily plastic.
2. Scribing the Pattern
Transfer your design using a stylus or a dull awl. You are not cutting yet; you are merely compressing the surface fibers to create a roadmap for your knife. Ensure your pattern alignment respects the grain direction of the hide to prevent warping during the stamping phase.
Mastery Tip: Use a caliper to check the thickness of your leather at various points. Variations in density can cause your stylus to skip, so maintain consistent downward pressure to ensure a uniform indentation.
3. The Swivel Knife Carve
Hold the swivel knife with your index finger in the yoke and use your thumb and middle finger to rotate the barrel. Cut approximately one third of the way through the leather's thickness. Your cuts should be fluid and confident to avoid "stutter" marks in the grain.
Mastery Tip: The physics of the cut involves shear stress. A sharp blade reduces the force required to part the fibers, preventing the leather from bunching up ahead of the knife and maintaining the structural integrity of the design.
4. Beveling for Depth
Use your checkered beveler and mallet to compress the leather on one side of your cut lines. This creates the illusion of height and shadow. Work in a continuous motion, overlapping each stamp mark slightly to create a smooth, graduated slope.
Mastery Tip: This step utilizes compression force to permanently displace the leather fibers. By densifying the material in specific areas, you are increasing the local hardness of the leather, which helps the pattern stay crisp for decades.
5. Decorative Finishes and Burnishing
Add life to your flowers with a pear shader to create organic dips and a veiner for texture. Finally, use a bone folder or a wooden slicker to burnish the edges. Friction creates heat, which reacts with the natural waxes in the leather to create a sealed, glossy edge.
Mastery Tip: Burnishing is a result of thermo-plasticization. The heat generated by friction melts the fibers and waxes together, creating a smooth, hydrophobic barrier that prevents the edges from fraying or absorbing oils.
THE TECHNICAL LEDGER
Maintenance & Longevity: To keep your hand tooled pieces in peak condition, apply a light coat of neatsfoot oil every six months. This replenishes the internal fats that keep the fibers supple. Avoid over-oiling, as this can saturate the porous structure and cause the leather to lose its shape.
Material Variations: While premium vegetable tanned hide is the gold standard, you can experiment with recycled leather board for structural internal components. For a luxury feel, use a high gauge goatskin lining, which adds strength without excessive bulk.
The Correction:
- The Over-Cut: If you carve too deep, reinforce the back with a piece of high tensile strength tape before stamping to prevent a total tear.
- The Dry Stamp: If your stamps leave faint impressions, the leather has lost its "bloom." Re-moisten slightly with a damp sponge and wait ten minutes.
- The Slip: If your knife slips, do not try to erase it. Incorporate the stray mark into a "grass" or "leaf" detail to mask the error.
Studio Organization: Store your unfinished projects in a cool, dark place. Use a hygrometer to monitor studio humidity; if it drops below 30 percent, your leather will become brittle. Store patterns flat in acid free folders to prevent the paper from degrading or transferring chemicals to your hides.
THE FINAL REVEAL
There is nothing quite like the moment you apply the final antique paste and watch your Hand Tooled Leather Patterns jump into high relief. The dark pigment settles into the deep valleys you carved, highlighting every petal and scroll with dramatic contrast. Your finished piece should feel substantial yet flexible, a testament to the balance between artistic vision and material science. When you run your hand over the surface, you are feeling the result of hours of calculated pressure and precision. It is a classic western style that feels modern because it is authentic, rugged, and uniquely yours. You have officially turned a piece of hide into a legacy.
STUDIO QUESTIONS
How do I know if my leather is cased correctly?
Touch the leather to your cheek; it should feel noticeably cooler than the ambient air. The surface should have returned to its original light color, but it should take a fingernail impression easily without the mark disappearing or "bruising" the fibers.
What is the best way to sharpen a swivel knife?
Use a jeweler's rouge on a leather strop. Hold the blade at a consistent thirty degree angle and pull it toward you. Repeat until the edge is mirror polished. A sharp blade is essential for maintaining the tensile strength of the grain.
Can I use Hand Tooled Leather Patterns on chrome tanned leather?
Generally, no. Chrome tanning uses chemicals that make the fibers "springy," meaning they will pop back into place after being stamped. For lasting impressions and the classic western look, always choose vegetable tanned leather for its superior plasticity and fiber density.
Why are my stamped impressions fading over time?
This usually happens if the leather was too dry during stamping or if it was not "cased" deeply enough. If the moisture does not reach the inner fibers, the compression is only superficial and will eventually relax, causing the design to flatten.

