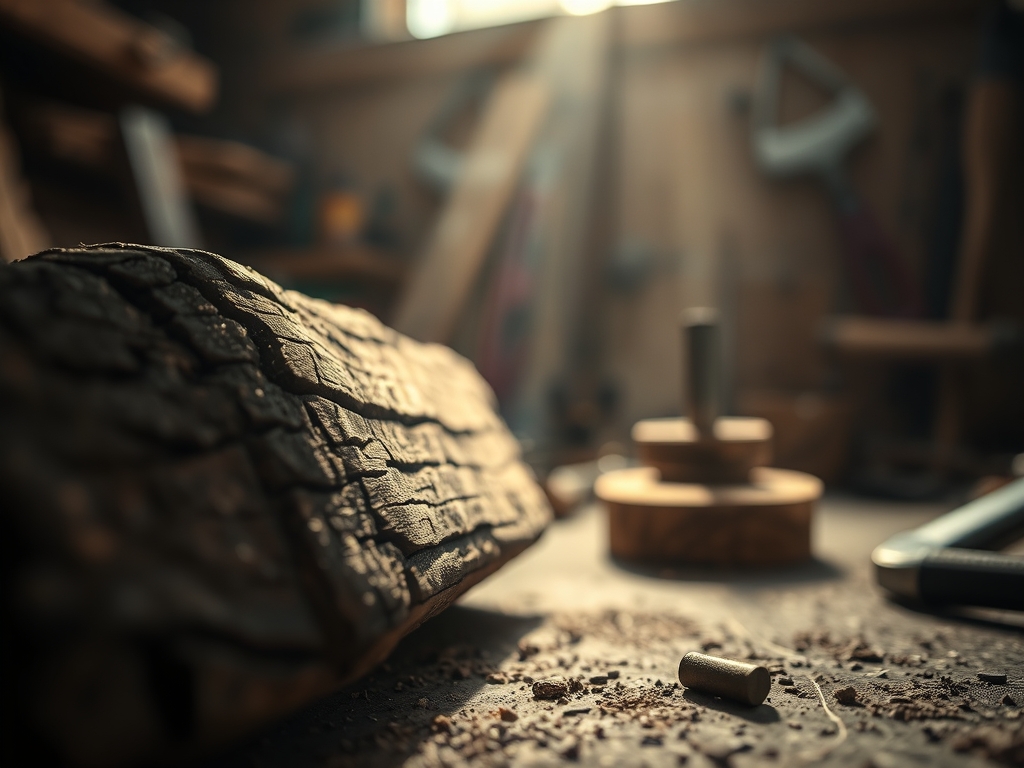
The damp smell of cedar and the crunch of frozen needles under my boots are the first signs that the hunt is on. There is a specific, electric thrill in Foraging Timber From the Woods that you just cannot get from a sterile lumber yard. When I find a fallen oak limb, I am not just looking at a stick; I am assessing the tensile strength of the cellulose fibers and the potential for spalling patterns. My fingers trace the bark, searching for that perfect density that tells me the heartwood is still sound. It is about the weight in your hand and the way the light hits the grain. You want a piece that feels heavy for its size, indicating that the lignin has not yet succumbed to fungal decay. We are looking for the sweet spot between a living tree and forest floor mulch. It is a game of physics and intuition, where the reward is a piece of history hidden inside a rough, mossy shell.
THE STUDIO KIT

THE STUDIO KIT
Before we dive into the brush, we need to talk gear. You cannot just hack away with a dull pocketknife; you need tools that respect the cellular structure of the wood. My go-to kit includes a high-carbon steel folding saw for clean cross-cuts and a pair of digital calipers to measure the diameter of the pith. I always carry a moisture meter because the internal saturation level dictates whether the wood will crack as it dries. You will also need a stiff nylon brush to clear away debris and a mallet for checking the resonance of the log.
If you do not have a professional moisture meter, a material substitution is the "weight-and-touch" method. Freshly fallen wood is heavy and cold; seasoned wood is lighter and resonates with a higher pitch when struck. For the carving phase, swap expensive gouges for a sharp utility knife and a hand-crank drill if you are working in the field. The goal is to minimize shearing forces that can lead to grain tear-out before you even get the timber back to your workbench.
THE TEMPO
The "Maker's Rhythm" is not a sprint; it is a slow dance with the seasons. The scouting phase takes about two hours of active hiking. Once you find your specimen, the initial processing (removing bark and sealing ends) takes another hour. However, the real test of patience is the stabilization period. Green wood can take weeks or even months to reach equilibrium moisture content.
I like to break my workflow into three distinct beats. First is the Adrenaline Beat, where I am out in the elements, physically hauling logs. Second is the Analytical Beat, where I sit in the studio and map out the grain direction. Finally, there is the Meditative Beat, the actual carving. If you rush the drying phase, the internal stresses will cause the wood to check and split. Respect the tempo, and the wood will respect your blade.
THE CORE METHOD
1. The Resonance Test
I start by striking the log with a wooden mallet or another branch. A dull, thudding sound suggests internal rot or high water content, while a sharp "ping" indicates tight, healthy fibers. This is essentially an acoustic check of the structural integrity of the timber.
Mastery Tip: Sound waves travel faster through denser materials. A high-pitched resonance means the fiber saturation point is lower, which translates to a more stable piece of wood that is less likely to warp during the curing process.
2. Assessing the Pith Center
Once I find a candidate, I examine the end grain to locate the pith. I look for tight, concentric growth rings. If the rings are wide, the tree grew fast and the wood might be soft; if they are tight, the mechanical properties are much higher.
Mastery Tip: The pith is the most unstable part of any log because it contains the highest concentration of juvenile wood. By identifying its location early, you can plan your cuts to avoid the "heart-shake" cracks that occur as the wood shrinks radially.
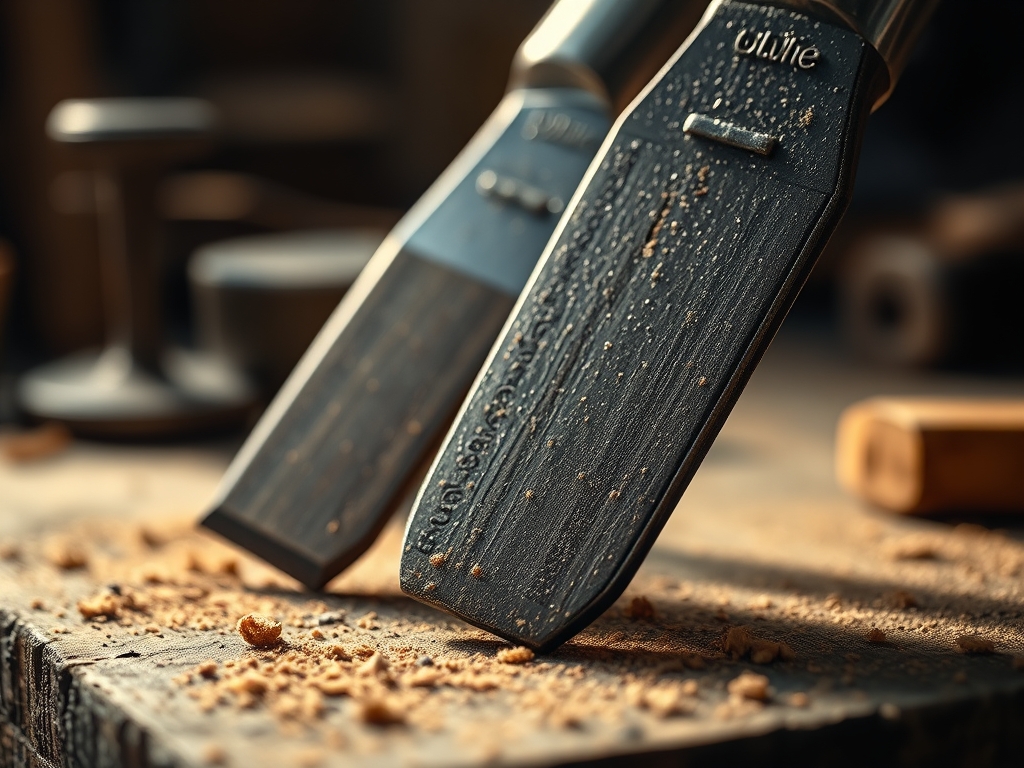
3. Bark Stripping and Cleaning
I use a drawknife or a heavy-duty scorp to peel back a small section of bark. This reveals the cambium layer. I am looking for a clean, creamy surface free of boring-beetle holes or deep staining from mold.
Mastery Tip: Removing the bark immediately reduces the risk of insect infestation and speeds up the evaporation rate. However, you must seal the end grain with wax to prevent capillary action from pulling moisture out too fast, which causes the ends to split.
4. Mapping the Grain Direction
Using a marking gauge, I trace the visible lines of the wood. I want to see how the grain flows around knots. This tells me how the wood will behave under a chisel.
Mastery Tip: Wood is anisotropic, meaning its strength varies depending on the direction of the grain. Mapping the "flow" allows you to utilize the natural tensile strength of the fibers to reinforce the thin areas of your carving.
THE TECHNICAL LEDGER
Maintenance & Longevity: To keep your foraged finds from turning into dust, you must treat them with an antifungal solution or a light coat of mineral oil. Store your timber in a cool, dry place with plenty of airflow. Avoid direct sunlight, which can cause UV degradation of the lignin.
Material Variations:
- Sustainable: Fallen birch or maple from your own backyard.
- Recycled: Driftwood found along riverbanks (watch out for salt crystals!).
- Premium: Storm-felled black walnut or cherry, which offer incredible color density.
The Correction:
- Mistake: The wood is cracking at the ends. Fix: Apply a thick layer of paraffin wax or specialized end-grain sealer to slow the drying.
- Mistake: The wood feels "punky" or soft. Fix: This is early-stage rot; use a stabilizing resin to harden the fibers before carving.
- Mistake: Your tools are dragging. Fix: The wood is too wet; let it sit in a paper bag with its own shavings to reach hygroscopic balance.
Studio Organization: Store your logs horizontally on stickers (small spacers) to allow air to circulate around all sides. This prevents "sticker stain" and ensures the wood dries at a uniform rate, maintaining its dimensional stability.
THE FINAL REVEAL
There is nothing quite like holding a finished spoon or bowl and knowing exactly which hillside that wood came from. The final piece feels alive; it has a tactile warmth that plastic or store-bought pine simply cannot replicate. When you burnish the surface with a smooth stone, the compressed fibers take on a glass-like sheen that highlights every year of the tree's life. It is a high-energy transformation from forest "trash" to a functional masterpiece. You have harnessed the physics of the forest and turned it into art. Now, go grab your boots and get out there!
STUDIO QUESTIONS
How do I know if a log is too rotten to use?
Strike the wood with a mallet; a hollow or dull thud indicates internal decay. If you can poke a finger into the grain, the lignin has broken down too much for structural carving.
Why does my wood crack after I bring it inside?
The sudden drop in humidity causes the outer layers to shrink faster than the core. This creates internal tension that pulls the fibers apart, resulting in deep cracks known as checking.
Can I carve wood while it is still wet?
Yes, this is called green woodworking. It is much easier on your tools because the fibers are pliable, but you must allow for shrinkage as the piece dries to its final shape.
What is the best way to seal the ends of a log?
Apply a thick layer of paraffin wax, latex paint, or a commercial grain sealer. This forces moisture to exit through the sides of the log slowly rather than rushing out the ends.
How long should I wait before carving foraged timber?
If you want seasoned wood, the rule of thumb is one year of drying time per inch of thickness. For green carving, you can start as soon as you get home!