Imagine the smell of a rain-drenched cedar forest mixed with the sweet, oily scent of beeswax. That is the aroma of a real workshop. When you pick up a piece of vegetable-tanned hide, you are feeling the dense network of collagen fibers that have been preserved through tanning. If you want a wallet that survives a century, you must master Leather Stitching Without Machines. While a sewing machine is fast, it is essentially a glorified hole-puncher that creates a series of weak points. Hand stitching is an entirely different beast. It is about the physical marriage of two organic surfaces through tension and friction. You can feel the tensile strength of the thread as it bites into the grain. It is tactile; it is intimate; and honestly, it is the only way to ensure your gear does not fall apart when life gets messy. We are not just making things today; we are engineering heirlooms with our own two hands.
THE STUDIO KIT
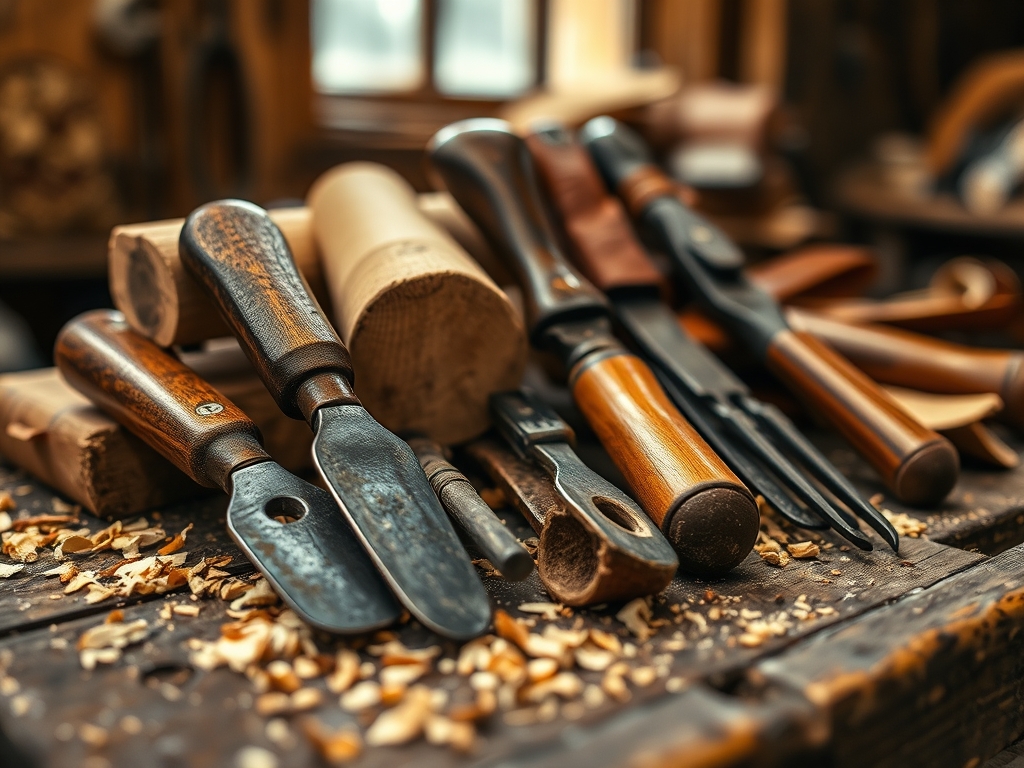
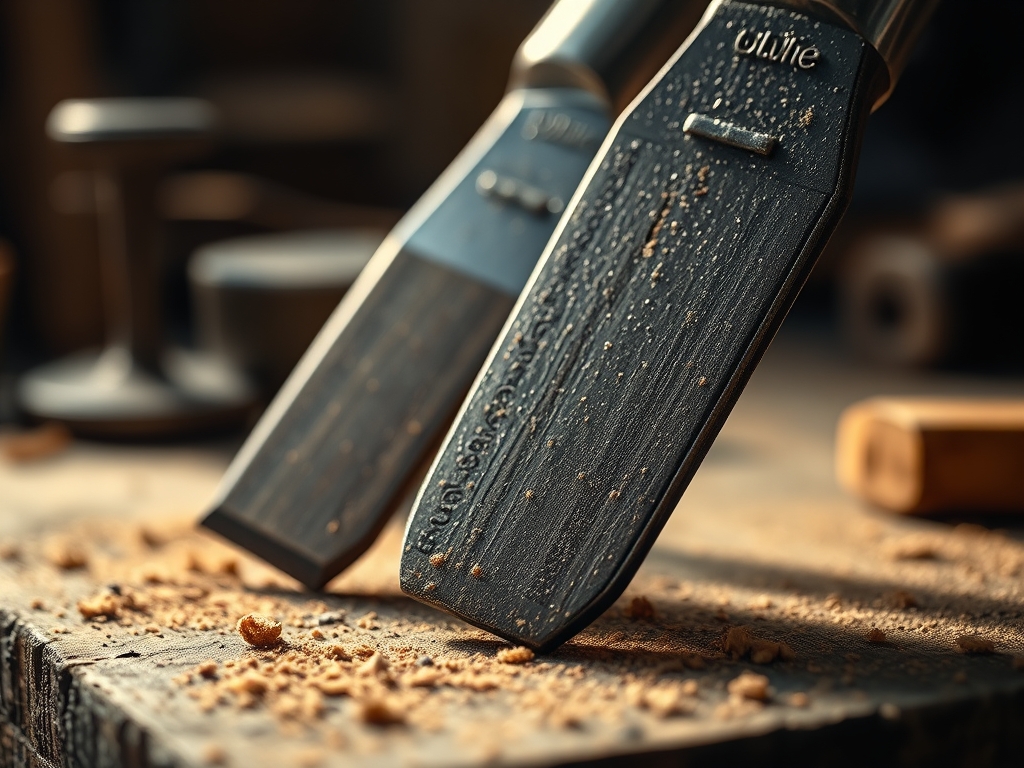
To get started, we need the heavy hitters of the leather world. First, grab your diamond awl. Unlike a round needle, the diamond shape slices a tiny "X" into the leather, which allows the hole to close back up around the thread, creating a water-resistant seal. You will also need harness needles, which have blunt tips so you do not accidentally pierce the thread itself. For the thread, we use waxed polyester or linen. The wax is not just for show; it acts as a lubricant to reduce friction heat and then serves as an adhesive once the stitch is set.
You will also need a wing divider or calipers to mark your stitch line with mathematical precision. If you do not have a professional stitching pony to hold your work, you can substitute it by clamping two smooth boards in a bench vise. For Material Substitutions, if you cannot find traditional beeswax, a bit of paraffin will help the thread glide, though it lacks the natural antimicrobial properties of the real stuff. Always keep a bone folder nearby to compress the fibers and smooth out any grain distortions.
THE TEMPO
Time is the secret ingredient in high-end leatherwork. A machine can zip through a belt in thirty seconds, but we are looking at a different "Maker's Rhythm." Expect to spend about twenty minutes on layout and marking, ensuring your gauge is consistent. The actual stitching moves at a pace of roughly one inch every two to three minutes. This deliberate speed allows you to monitor the surface tension of every single loop. If you rush, your tension will vary, causing the leather to pucker or "smile" in ways that ruin the structural integrity. This is a meditative process where your heart rate syncs with the pull of the needle.
THE CORE METHOD
1. Marking the Path
Use your wing dividers to scribe a light line exactly 3.5mm from the edge. This line follows the grain direction of the hide. If you deviate, the structural load will be unevenly distributed. Mastery Tip: The science here involves shear stress. By keeping the stitches a consistent distance from the edge, you ensure that the leather has enough "meat" to resist tearing under heavy use.
2. Punching the Portals
Using a pricking iron and a poly mallet, drive the teeth through the leather. You are not just making holes; you are creating a geometric pattern. Mastery Tip: This is about displacement. A sharp tool pushes the fibers aside rather than removing them. When the thread enters, the fibers try to return to their original position, gripping the thread in a permanent embrace.
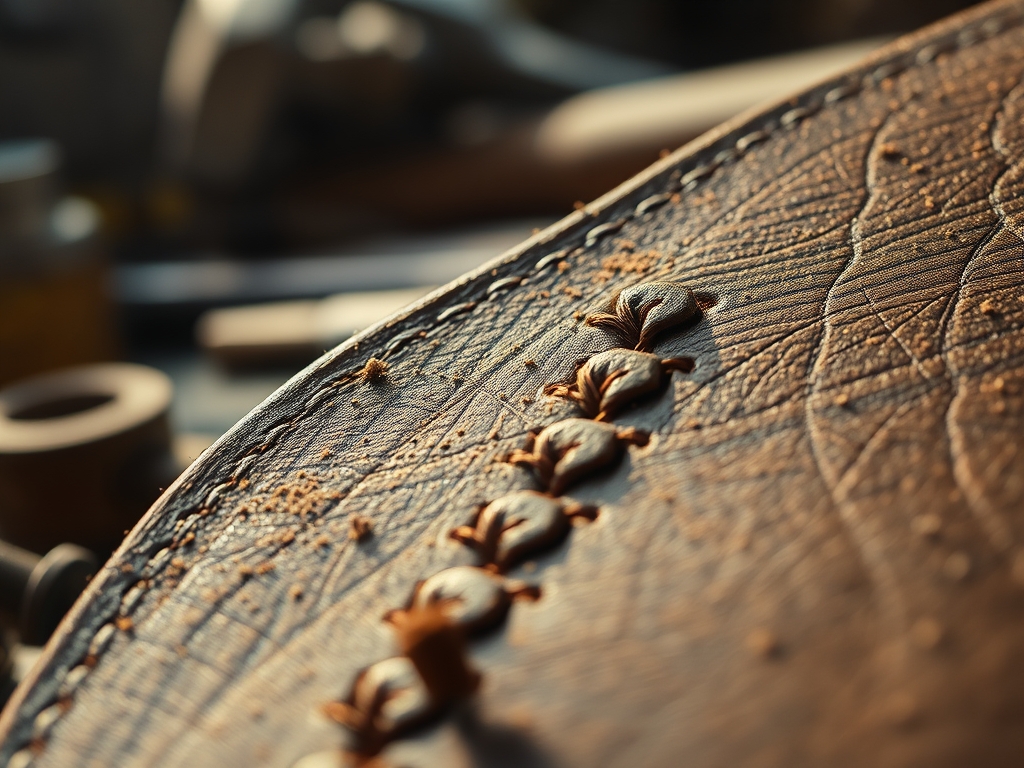
3. The Saddle Stitch Dance
Thread two needles on a single length of twine. Pass the first needle through, then follow with the second from the opposite side into the same hole. Cross them in a specific "over-under" pattern every time. Mastery Tip: This creates a double-helix structure. If one thread ever snaps, the other remains locked in place. A machine's lockstitch, by contrast, will unravel like a zipper if a single loop fails.
4. Setting the Tension
As you pull each stitch tight, apply even pressure with both hands. Do not over-tighten, or you will crush the porous cells of the leather. Mastery Tip: This involves capillary action. A perfectly tensioned stitch prevents moisture from seeping into the holes, which protects the internal fibers from rot over the coming decades.
5. The Backstitch Finish
Once you reach the end, stitch backward for three holes. Snip the thread and use a lighter to melt the tip if using synthetic, or tuck it if using linen. Mastery Tip: This creates a friction lock. The added bulk in the final holes increases the surface area contact, making it physically impossible for the thread to pull through without extreme force.
THE TECHNICAL LEDGER
Maintenance & Longevity: To keep your hand-stitched items alive, apply a light coat of neatsfoot oil once a year. This keeps the fibers supple and prevents the thread from becoming brittle.
Material Variations: While Full Grain leather is the gold standard for its intact fiber density, you can use Recycled Leather composites for smaller projects. Just be aware that composites have lower tensile strength and may require a shorter stitch length to prevent tearing.
The Correction:
- Uneven Slant: This happens if you flip the order of your needles. Always put the left needle in first to maintain a consistent angle.
- Thread Fraying: Your awl might be dull. Sharpen it until it glides through the hide like butter to avoid shredding the thread fibers.
- Puckering: This is a tension issue. If the leather ripples, you are pulling too hard. Back off the strength and let the ply of the thread do the work.
Studio Organization: Store your leather flat in a cool, dark place. Never roll it tightly for long periods, as this can cause the grain to crack. Keep your needles in a magnetized tray so they do not lose their temper or get lost in the scrap pile.
THE FINAL REVEAL
Look at that! The way the light hits those slanted stitches is something a machine can never replicate. The thread sits slightly recessed into the leather, protected from abrasion. When you run your thumb over the seam, it feels like a single, solid unit. This is the peak of ergonomic design. You have created something that is not just a product, but a piece of functional art. It feels heavy, substantial, and ready for a lifetime of adventure.
STUDIO QUESTIONS
Why is hand stitching stronger than a machine?
Hand stitching uses the saddle stitch, where two independent threads cross in every hole. If one thread breaks, the other remains locked. Machines use a lockstitch that unravels completely if a single loop is severed during use.
What thread is best for leather?
Waxed polyester is the industry favorite for its extreme durability and resistance to UV rot. For a traditional look, burnished linen thread offers a beautiful aesthetic, though it requires more frequent waxing to maintain its structural integrity over time.
How do I stop my thread from tangling?
Always "stretch" your thread before starting to remove the factory twist. Applying a fresh coat of beeswax also flattens the stray fibers and adds enough weight to prevent the thread from knotting as you pull it through the leather.
Can I stitch leather without an awl?
You can use stitching chisels to punch all the way through the material before you begin. This is often easier for beginners as it ensures perfectly spaced holes on both sides of the leather, maintaining a clean, professional gauge throughout.