Imagine the smell of a workshop after a long day of sanding; it is that heavy, sweet scent of sawdust mixed with the anticipation of the final reveal. My hands are usually covered in fine grit, but the moment I pop the lid on a fresh tin, everything changes. We are talking about the soul of the craft here. Traditional Oil Wood Finishes are not just about aesthetics; they are about a molecular handshake between the liquid and the cellular structure of the timber. When I reach for boiled linseed oil, I am looking for that deep, amber glow that synthetic polyurethanes simply cannot replicate. It is a tactile experience that transforms a dry, thirsty plank into a living piece of art. The oil penetrates the porous surface, saturating the wood fibers and hardening within the grain to provide a flexible, durable barrier. This is not just a coating; it is a chemical bond that celebrates the natural tensile strength of the wood while highlighting every unique swirl of the grain.
THE STUDIO KIT
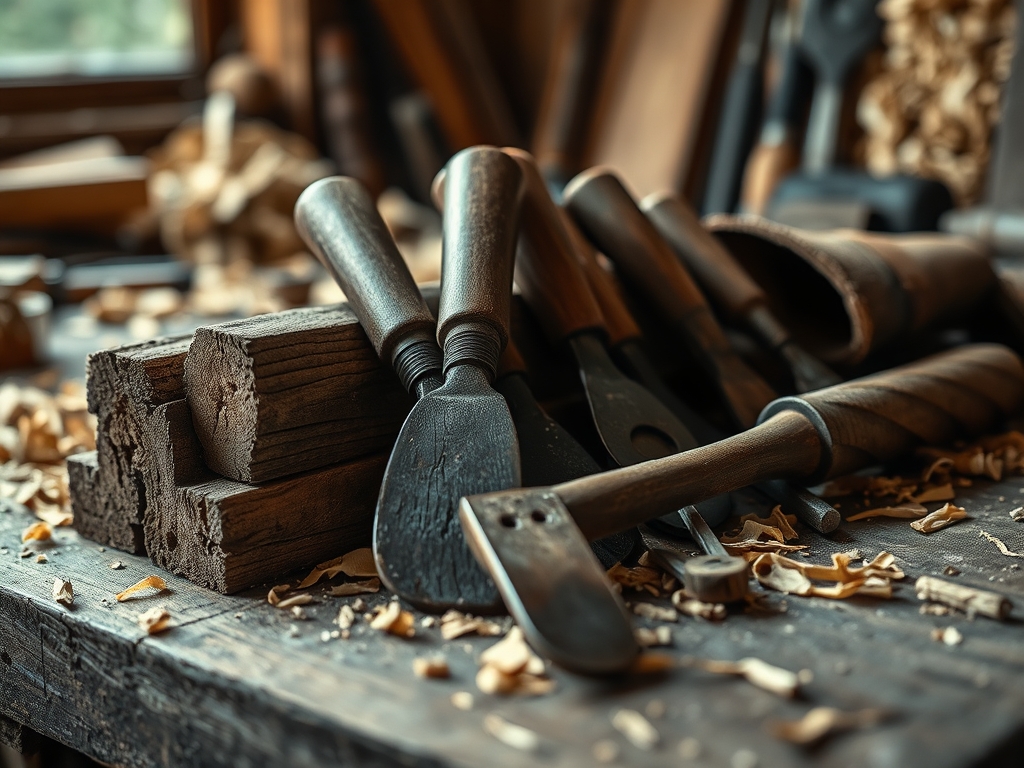
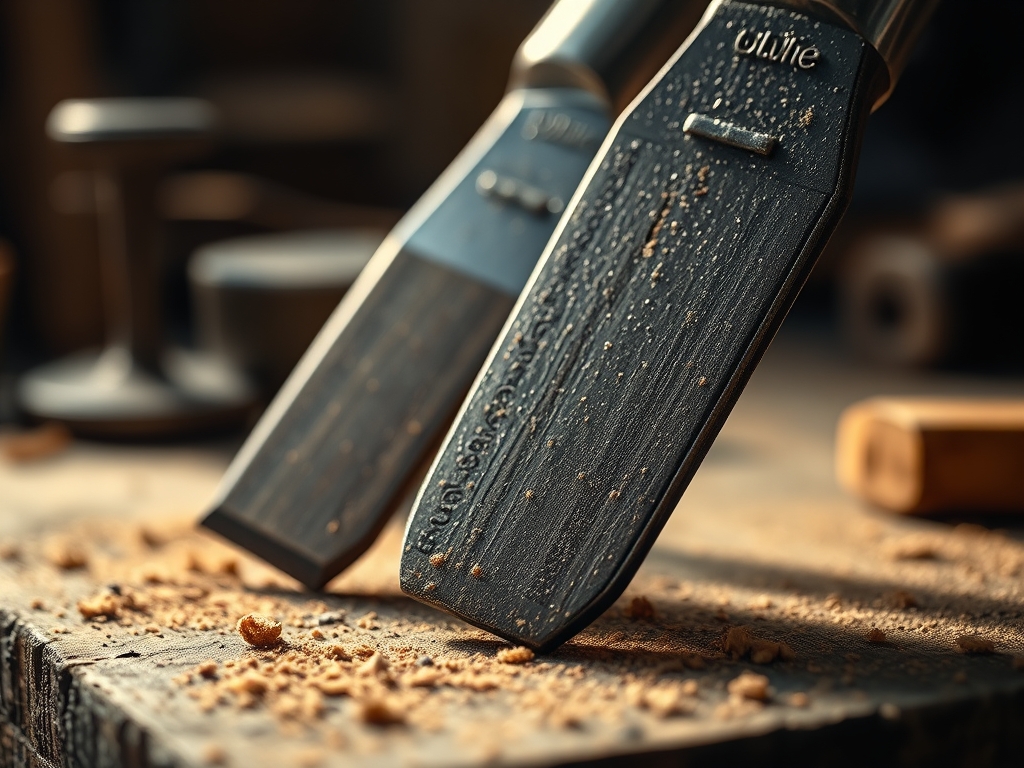
To master this finish, your workbench needs to be staged with precision. You will need high-quality boiled linseed oil (BLO), which differs from raw oil because it contains metallic driers that accelerate the polymerization process. Grab a stack of lint-free cotton rags; old t-shirts work, but surgical huck towels are the gold standard for avoiding stray fibers. You will also need a range of sandpaper grits from 120 up to 400. For the ultimate smooth finish, keep a burnishing tool or a piece of fine steel wool (0000 grade) nearby to knock back the grain between coats.
Technical Fact: Boiled linseed oil undergoes an exothermic reaction as it cures, meaning it releases heat. Always lay your rags flat to dry or submerge them in water to prevent spontaneous combustion.
Material Substitutions: If you want a faster cure time or a harder surface, you can swap BLO for a polymerized tung oil. For a more sustainable, food-safe option, raw walnut oil is a fantastic alternative, though it lacks the rapid drying agents found in commercial BLO. If you are working on a piece with high moisture exposure, consider a "Danish Oil" blend, which mixes oil with a small amount of varnish for increased water resistance.
THE TEMPO
The rhythm of oil finishing is a slow, methodical dance. You cannot rush the chemistry of oxidation. The initial preparation and first coat will take about an hour of active labor, but the "Maker's Rhythm" is defined by the waiting. Each coat requires a minimum of 24 hours to cure. For a professional-grade finish, I recommend a five-day cycle: one day for the flood coat, three days for thin build-up coats, and a final day for the buffing and curing phase. This tempo allows the oil to migrate deep into the capillary structure of the wood before the surface seals shut.
THE CORE METHOD
1. Surface Preparation and Grain Raising
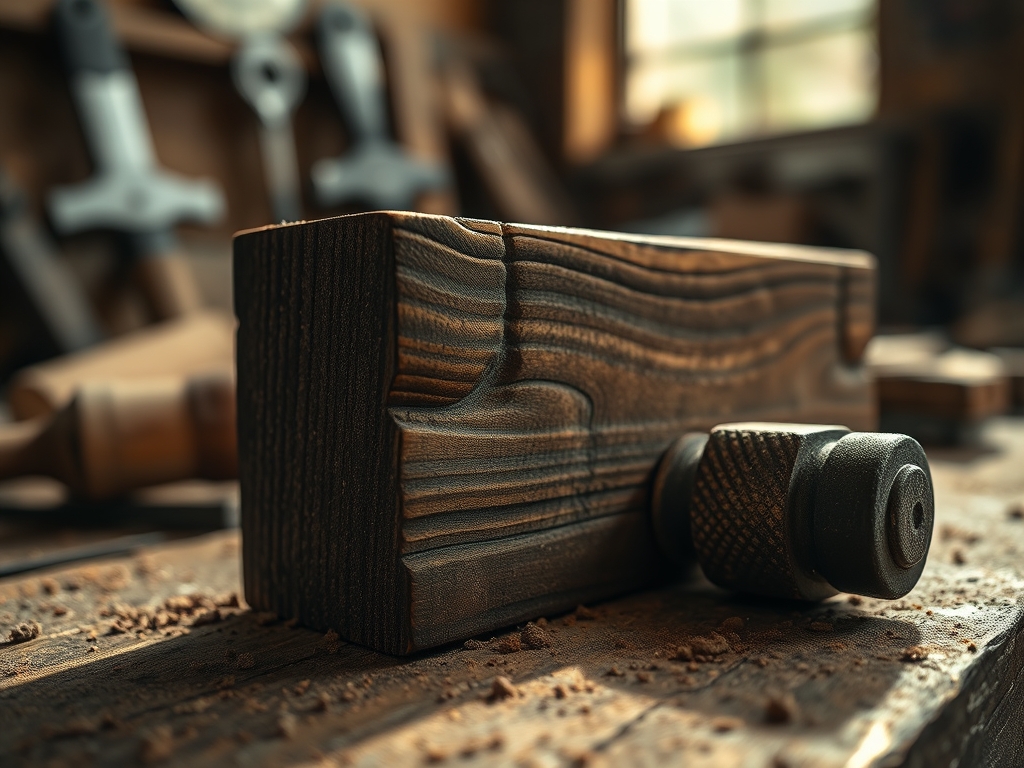
Before the oil even touches the wood, you must ensure the surface is pristine. Sand the piece through the grits, moving from coarse to fine. Use a digital caliper to check for uniform thickness if you are working on furniture components. Once you hit 220 grit, wipe the wood with a damp cloth to "raise the grain." This causes the loose wood fibers to stand up. Once dry, sand them off with your final 400-grit paper.
Mastery Tip: Raising the grain prevents the oil from making the wood feel fuzzy later. By pre-collapsing the cellular voids, you ensure the oil sits evenly across the surface rather than being absorbed sporadically.
2. The Flood Application
Pour a generous amount of oil directly onto the wood or a rag. You want to "flood" the surface until it stays wet for at least ten minutes. Watch for "dry spots" where the wood is particularly thirsty; this is common in end-grain areas where the pore density is highest. Keep adding oil to these spots until the entire surface has a uniform, glassy sheen.
Mastery Tip: This stage relies on capillary action. The oil is pulled into the tracheids and vessels of the wood. If you do not saturate these areas fully, the final finish will look blotchy and lack structural depth.
3. The Wipe-Back Phase
After twenty minutes of saturation, use a clean, dry rag to wipe away every bit of excess oil. The surface should feel damp but not tacky. If you leave puddles, they will dry into a sticky, gummy mess that is a nightmare to remove. Use a bright LED work light at a low angle to check for any glistening spots that you might have missed.
Mastery Tip: Polymerization requires oxygen. By wiping away the excess, you leave a microscopic layer that can interact efficiently with the air, ensuring a hard, non-tacky finish.
4. Burnishing and Re-coating
Wait 24 hours, then lightly buff the surface with 0000 steel wool or a grey abrasive pad. This creates "mechanical tooth" for the next layer. Apply a much smaller amount of oil for the second and third coats, rubbing it in vigorously to generate a bit of friction heat.
Mastery Tip: The friction from rubbing lowers the viscosity of the oil momentarily, allowing it to flow into the microscopic scratches left by the steel wool, resulting in a mirror-like clarity.
THE TECHNICAL LEDGER
Maintenance & Longevity: A boiled linseed oil finish is "living." It will dull over time as the wood breathes. To maintain the luster, apply a "refresh" coat once a year. Simply wipe on a thin layer, let it sit for five minutes, and wipe it off. This replenishes the lipid barrier and prevents the wood from becoming brittle.
Material Variations:
- Sustainable: Look for "Bio-based" linseed oils that use citrus-based driers instead of heavy metals.
- Premium: Stand oils (vacuum-heated linseed oil) offer a thicker consistency and higher gloss for fine instrument making.
- Recycled: Some boutique brands now offer reclaimed oils filtered from industrial food processes, though these often have longer cure times.
The Correction:
- The Tacky Surface: If the oil stays sticky, you likely didn't wipe enough off. Fix it by wiping the area with mineral spirits and a coarse cloth to strip the excess.
- Dust Nibs: Tiny bumps in the finish are usually trapped dust. Use a razor blade or a cabinet scraper to gently "level" the nibs before the final buffing.
- Blotchy End Grain: End grain absorbs oil faster. To fix this, pre-seal the end grain with a 1lb cut of shellac before applying the oil.
Studio Organization: Store your oil in a cool, dark place. To prevent the oil from "skinning over" in the can, drop clean glass marbles into the container to raise the liquid level and displace the oxygen. Always hang your oily rags on a dedicated metal rack outside the studio until they are bone dry and stiff.
THE FINAL REVEAL
There is nothing quite like the moment you step back and look at a finished piece. The wood looks "wet" even though it is dry to the touch; the chatoyancy of the grain seems to shift as you move around the room. It feels warm, organic, and incredibly high-end. When you run your hand across the surface, you aren't feeling plastic; you are feeling the actual texture of the timber, protected and enhanced. It is a sophisticated, professional result that screams craftsmanship.
STUDIO QUESTIONS
How long does boiled linseed oil take to fully cure?
While it feels dry to the touch in 24 hours, it takes approximately 30 days to fully reach its maximum hardness through polymerization. Avoid heavy use or placing cold drinks on the surface during this crucial window.
Can I apply wax over a linseed oil finish?
Yes, applying a high-quality carnauba or beeswax over a cured oil finish adds an extra layer of protection and a beautiful soft sheen. Ensure the oil has cured for at least 72 hours before waxing.
Why is my oil finish turning yellow over time?
Linseed oil has a natural amber tint that deepens with age and UV exposure. This is a characteristic of the material. If you want to avoid yellowing, consider a water-based finish or a clear acrylic instead.
Is boiled linseed oil safe for cutting boards?
Most commercial boiled linseed oils contain metallic driers like cobalt or manganese, which are not food-safe. For kitchen items, use raw linseed oil, pure tung oil, or food-grade mineral oil to ensure safety.
How many coats of oil are actually necessary?
For most projects, three coats provide an adequate balance of protection and aesthetics. However, for porous woods like oak or walnut, five to seven thin coats will produce a much deeper, more professional luster.