Imagine the scent of a crisp autumn morning mixed with a hint of toasted almonds; that is the immediate olfactory reward when your gouge first kisses a fresh block of Prunus serotina. There is a specific, high-frequency vibration that travels through the handle of a sharp tool when you begin Carving Cherry Wood Bowls, a tactile feedback that tells you exactly where the grain is heading before your eyes even register the shift. Unlike the stubborn, clunky resistance of oak or the almost oily softness of pine, cherry offers a sophisticated, medium-density resistance that feels intentional. It is a wood that respects your effort. As the curls of timber spiral off the blade, they reveal a shimmering, pinkish-tan interior that will eventually deepen into a rich, burnt umber through the natural process of photo-oxidation. This wood is not just a material; it is a living partner in the studio. We are looking for that perfect balance between structural integrity and workable suppleness, ensuring every stroke contributes to a vessel that is as durable as it is beautiful.
THE STUDIO KIT
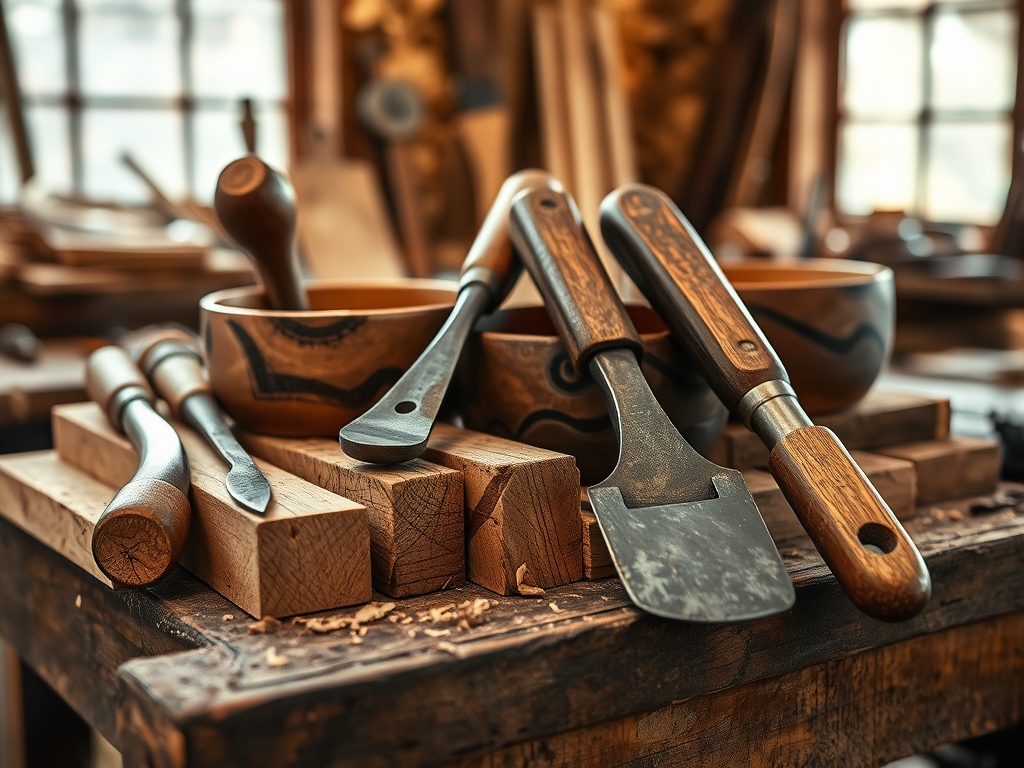
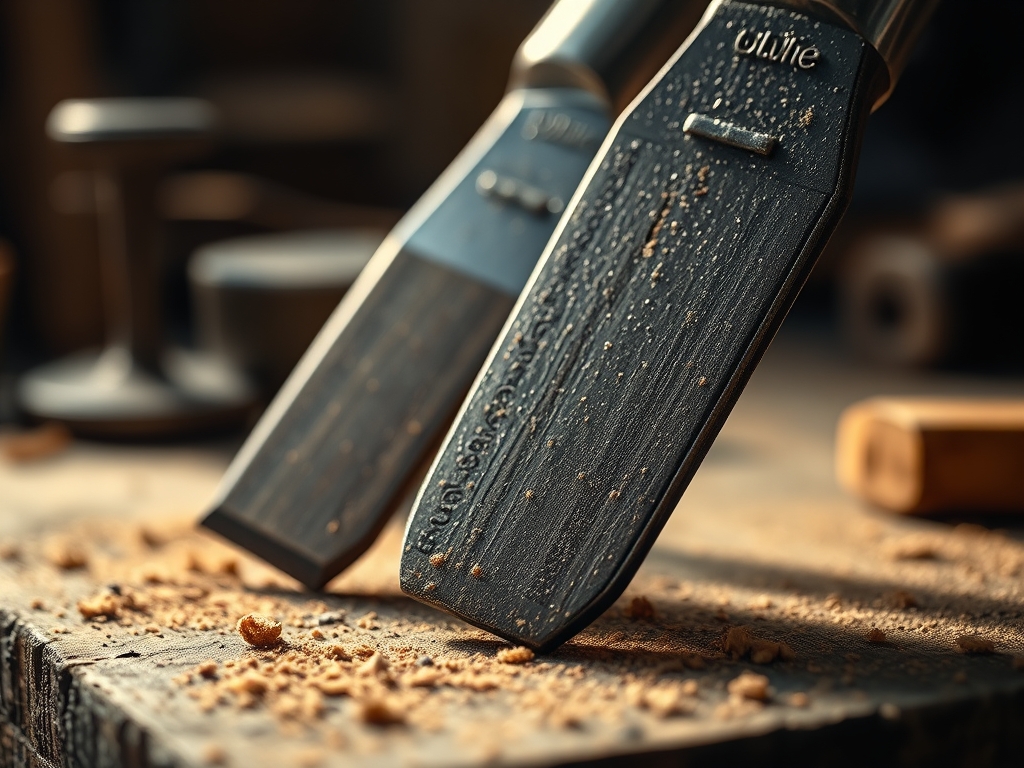
To master the art of the cherry vessel, your workbench needs to be curated with precision. We start with a heavy-duty bowl adze for the initial waste removal; this tool utilizes centrifugal force and a curved edge to hog out the interior volume. For the refined shaping, you will need a set of deep-sweep gouges and a straight-edge chisel with a high-carbon steel core. Measurement is non-negotiable, so keep your outside calipers and a depth gauge within reach to monitor wall thickness. I also swear by an oscillating tool with various sanding attachments for those tight interior curves where manual sanding feels like an eternity.
Regarding material substitutions: if you cannot source high-quality black cherry, black walnut offers a similar Janka hardness rating, though it is more porous and requires more grain filler. For a more sustainable route, look for reclaimed orchard wood; it often features "spalting" or unique fungal patterns that add immense character, though you must check the moisture content with a digital meter to ensure it is below 12 percent before final finishing. Always keep a honing strop and chromium oxide paste nearby; cherry is unforgiving to dull blades, which will crush the wood fibers rather than slicing them cleanly.
THE TEMPO
The "Maker's Rhythm" for a cherry bowl is a marathon, not a sprint. You should budget approximately ten to fifteen hours of active labor, spread across several weeks if you are working with green wood. The initial rough-out takes about three hours; this is the high-energy phase where you are moving large volumes of material. Then comes the drying hiatus, which can take fourteen days to a month depending on your studio's humidity. Once the wood has stabilized, the refining and truing phase requires another four hours of meticulous work with scrapers and fine gouges. Finally, the sanding and burnishing sequence demands three hours of progressive grit transitions to achieve that glass-like luster. This cadence allows the wood to breathe and prevents the catastrophic cracking that occurs when you rush the internal tension release of the timber.
THE CORE METHOD
1. Mapping the Blank
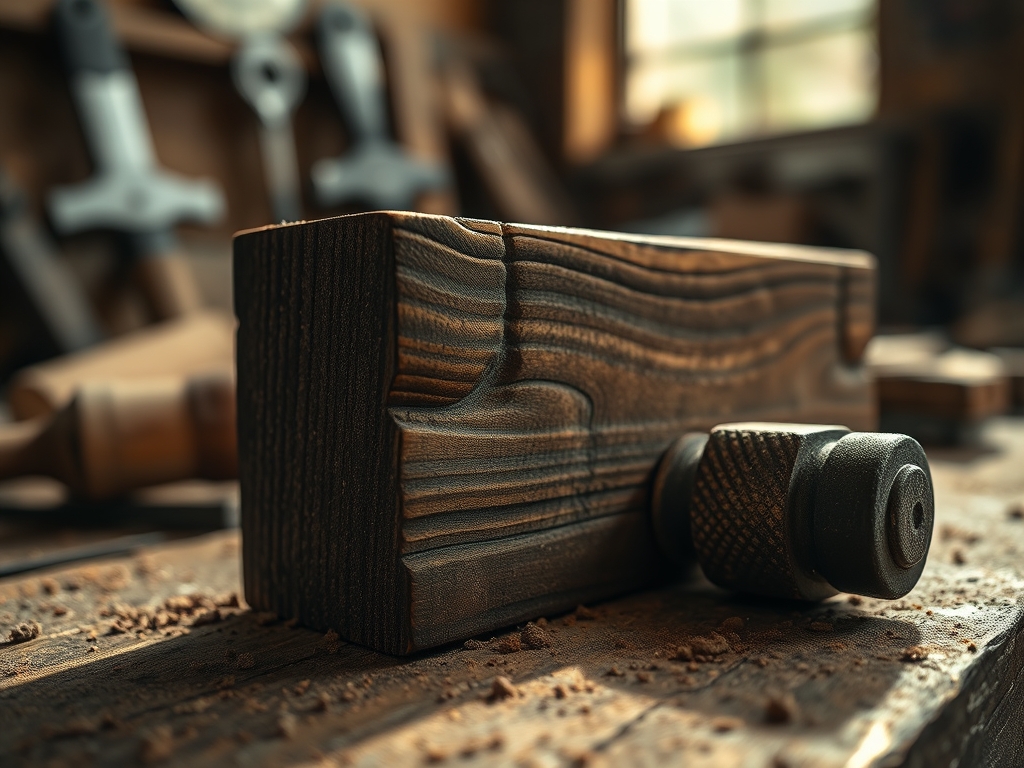
We begin by identifying the pith and the sapwood boundaries. Use a compass to scribe your concentric circles directly onto the end grain. By centering your design away from the heartwood center, you reduce the risk of radial checking.
Mastery Tip: Wood is essentially a bundle of straws; the capillary action of the cells means that moisture leaves through the end grain much faster than the face. Sealing the end grain with wax during the layout phase prevents uneven shrinkage.
2. The Interior Excavation
Using your adze or a large gouge, work from the perimeter toward the center. Always carve with the grain, never against it, to avoid "tear-out" which ruins the tensile strength of the bowl walls.
Mastery Tip: Maintain a consistent wall thickness of approximately one inch during the rough-in. This uniformity ensures that the internal stresses are distributed evenly as the wood loses moisture, preventing the bowl from warping into an oval.
3. Refining the Silhouette
Once the bowl has dried to a stable state, use a curved cabinet scraper to remove the tool marks left by the gouges. This tool shears the fibers at a microscopic level, creating a surface that is much smoother than what sandpaper can achieve alone.
Mastery Tip: Use your calipers every few minutes. The goal is to reach a final thickness of about one-quarter inch. Any thinner and the wood becomes brittle; any thicker and the piece feels heavy and unrefined.
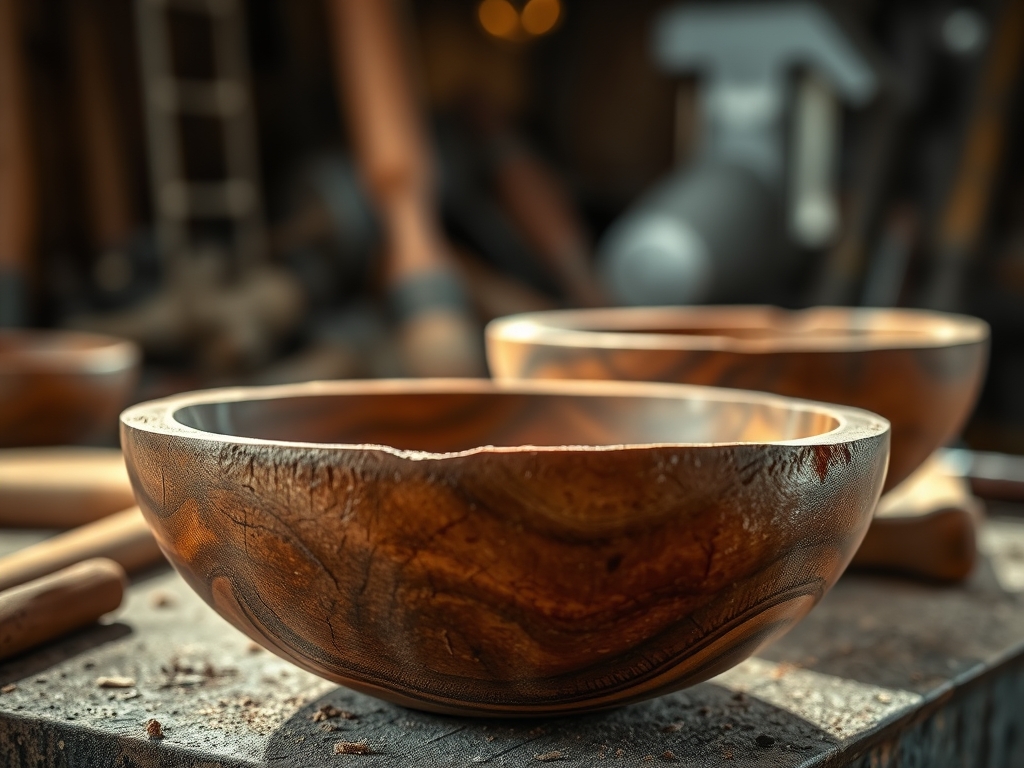
4. Burnishing and Finishing
After sanding through 400 grit, use a smooth piece of bone or a polished stone to burnish the surface. This compresses the surface fibers, increasing the wood's density and natural sheen.
Mastery Tip: Apply a food-safe tung oil or beeswax finish. Cherry is highly diffuse-porous, meaning it absorbs oils evenly without the blotchiness seen in woods like pine, resulting in a deep, holographic glow.
THE TECHNICAL LEDGER
Maintenance & Longevity: Cherry is a heritage wood. To maintain the structural integrity, never soak the bowl in water. Re-apply a light coat of mineral oil every six months to keep the fibers hydrated and prevent the wood from becoming "thirsty" and brittle.
Material Variations:
- Sustainable: Reclaimed cherry from old furniture or storm-felled trees.
- Premium: Figured or "curly" cherry, which features undulating grain patterns that catch the light.
- Recycled: Offcuts from cabinet shops, perfect for smaller "pinch bowls."
The Correction:
- The Mistake: Hairline cracks in the rim. The Fix: Drill a tiny "stop hole" at the base of the crack and fill with CA glue and cherry sawdust.
- The Mistake: Tear-out on the interior curve. The Fix: Change the angle of your attack; use a shear-scraping motion with a freshly honed scraper.
- The Mistake: Uneven drying warping the base. The Fix: Leave extra material at the bottom during the rough-in so you can "re-turn" or flatten the base once the wood is dry.
Studio Organization: Store your unfinished blanks in a box filled with their own shavings. This slows down the evaporation process, mimicking a high-humidity environment and protecting the wood from the hygroscopic shock of dry studio air.
THE FINAL REVEAL
There is nothing quite like the moment you apply the first drop of oil to a finished cherry bowl. The wood "pops" with a vibrant, sunset glow that highlights every intentional stroke of your blade. It feels substantial yet elegant in the hand; a perfect marriage of ergonomic design and raw natural beauty. The surface should feel soft, almost like skin, thanks to the tight grain structure of the cherry. As you hold it up to the light, you can see the subtle chatoyancy of the fibers. This isn't just a kitchen utensil; it is a testament to your patience and your understanding of the physics of the forest. You have taken a raw, heavy log and transformed it into a light, resonant vessel that will only get more beautiful as it ages and darkens over the next decade.
STUDIO QUESTIONS
Why is cherry better than maple for hand carving?
Cherry has a lower Janka hardness than maple, making it easier on hand tools. Its diffuse-porous structure allows for cleaner cuts with less splintering, providing a superior surface finish for intricate manual work without the need for heavy machinery.
How do I prevent my cherry bowl from cracking?
Slow the drying process by keeping the rough-cut bowl in a paper bag with damp shavings. This controls the evaporation rate, ensuring the interior and exterior fibers shrink at the same speed, which minimizes the internal tension that causes splitting.
What is the best way to sharpen tools for cherry?
Use a series of water stones up to 8000 grit, then finish with a leather strop. Cherry requires an extremely keen edge to slice through its dense fibers without crushing them, which ensures the wood retains its natural luster.
Can I use green wood for carving cherry bowls?
Yes, green cherry is exceptionally soft and easy to carve. However, you must leave the walls thick during the initial stage to allow for shrinkage and movement as the moisture leaves the cellular structure before the final refining.
Does cherry wood change color over time?
Absolutely. Cherry contains natural tannins that react to UV light. This photo-oxidation process transforms the initial pale pink into a deep, reddish-brown patina over several months, a hallmark characteristic that makes cherry highly prized by collectors and woodworkers.